June 18, 2017.
As our excursions have been getting longer and more remote, I’ve started paying more attention to things like the amount of extra fuel and water we carry. It’s still nothing too extreme - 6 gallons of fuel (50-100 miles) and 6 gallons of water (several days).
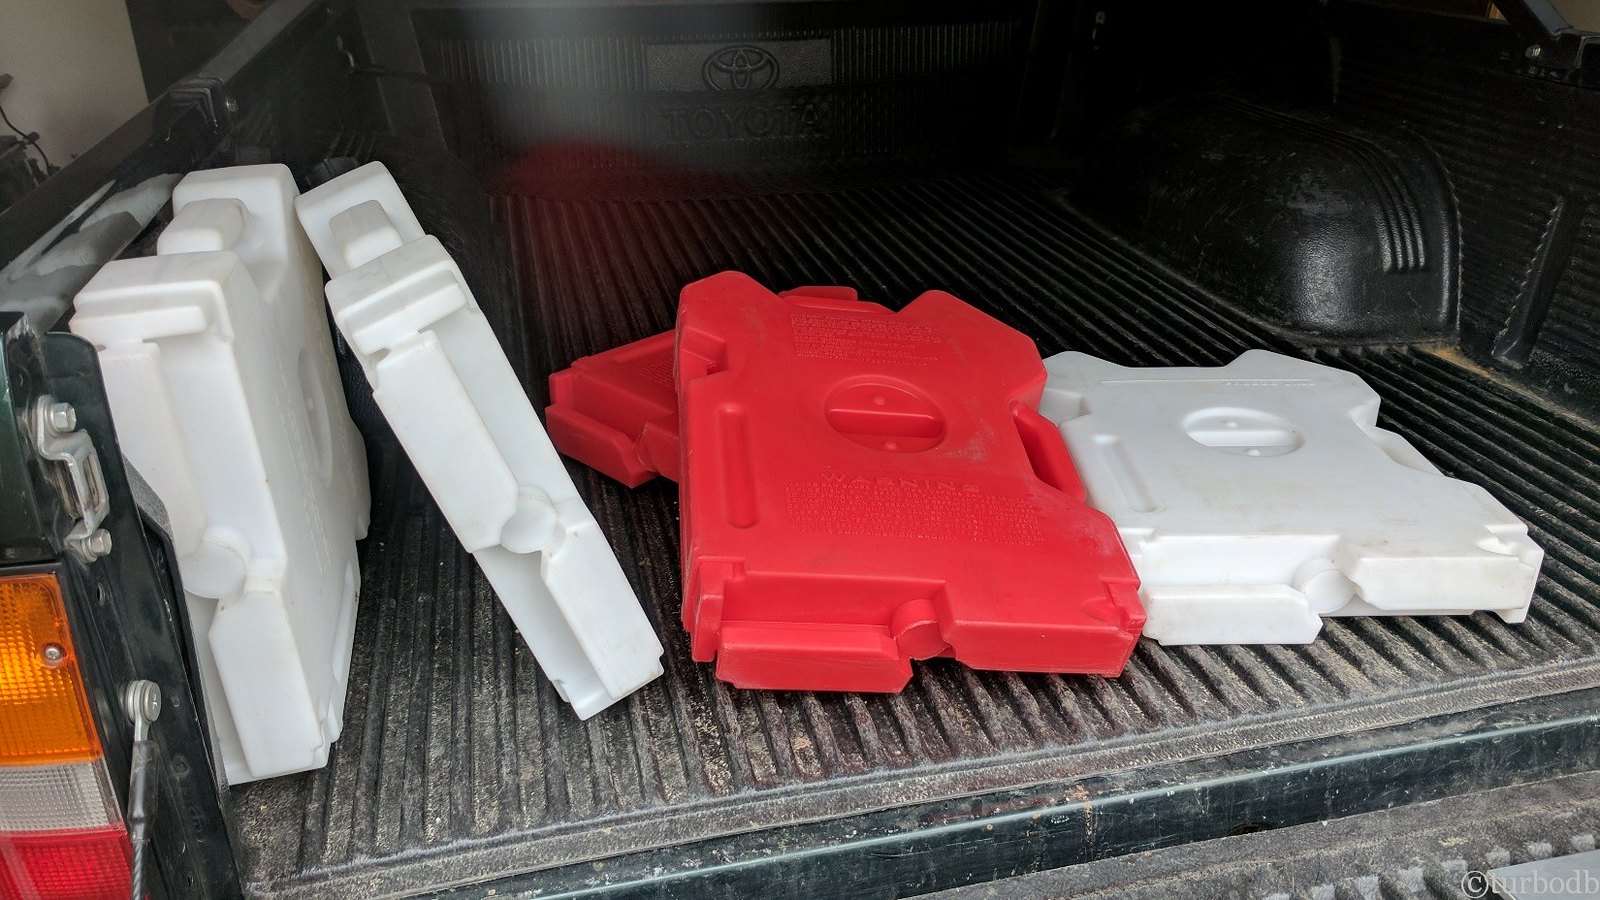
And for convenience of packing, I’ve switched over to Rotopax from the cheapo red plastic gas cans and 1-gallon milk jugs. Of course, even finding deals on Craigslist means that I’ve spent a small fortune on the containers. But, they look great and are relatively compact when a trip gets started…

Of course, after driving for a while - over the mountains and through the woods - they quickly rearrange themselves in the bed of the truck, especially now that so much of our sleeping gear is permanently stored on the rack above the bed in the new CVT.
Keen to solve this problem, I quickly looked past the cheapest, easiest, and most obvious solution: build a 3-6” tall box out of ½” plywood that would contain the Rotopax and keep them from sliding around - or at least would have them slide around as a unit, much like the other storage bins in the back of the truck.
In fact, I looked past this solution so quickly that it never even occurred to me until Pops suggested it on the phone as I was describing the more elaborate solution I’d employed.
My first thought was to mount them to the bed rack, but the height of the rack precluded this solution (I kept it purposefully low so that the CVT is in the wind-shadow of the cab).
My next thought was “new rear bumper with swing-out” but I knew that’d be months in the manufacturing and delivery. (This is still my favorite long-term solution.)
So in the end, the solution I choose was to mount everything to the inside of the tailgate - which would keep it from sliding around, and would utilize materials I mostly had on hand (I’d acquired two Rotopax mounts for free as part of one of my Craigslist finds).
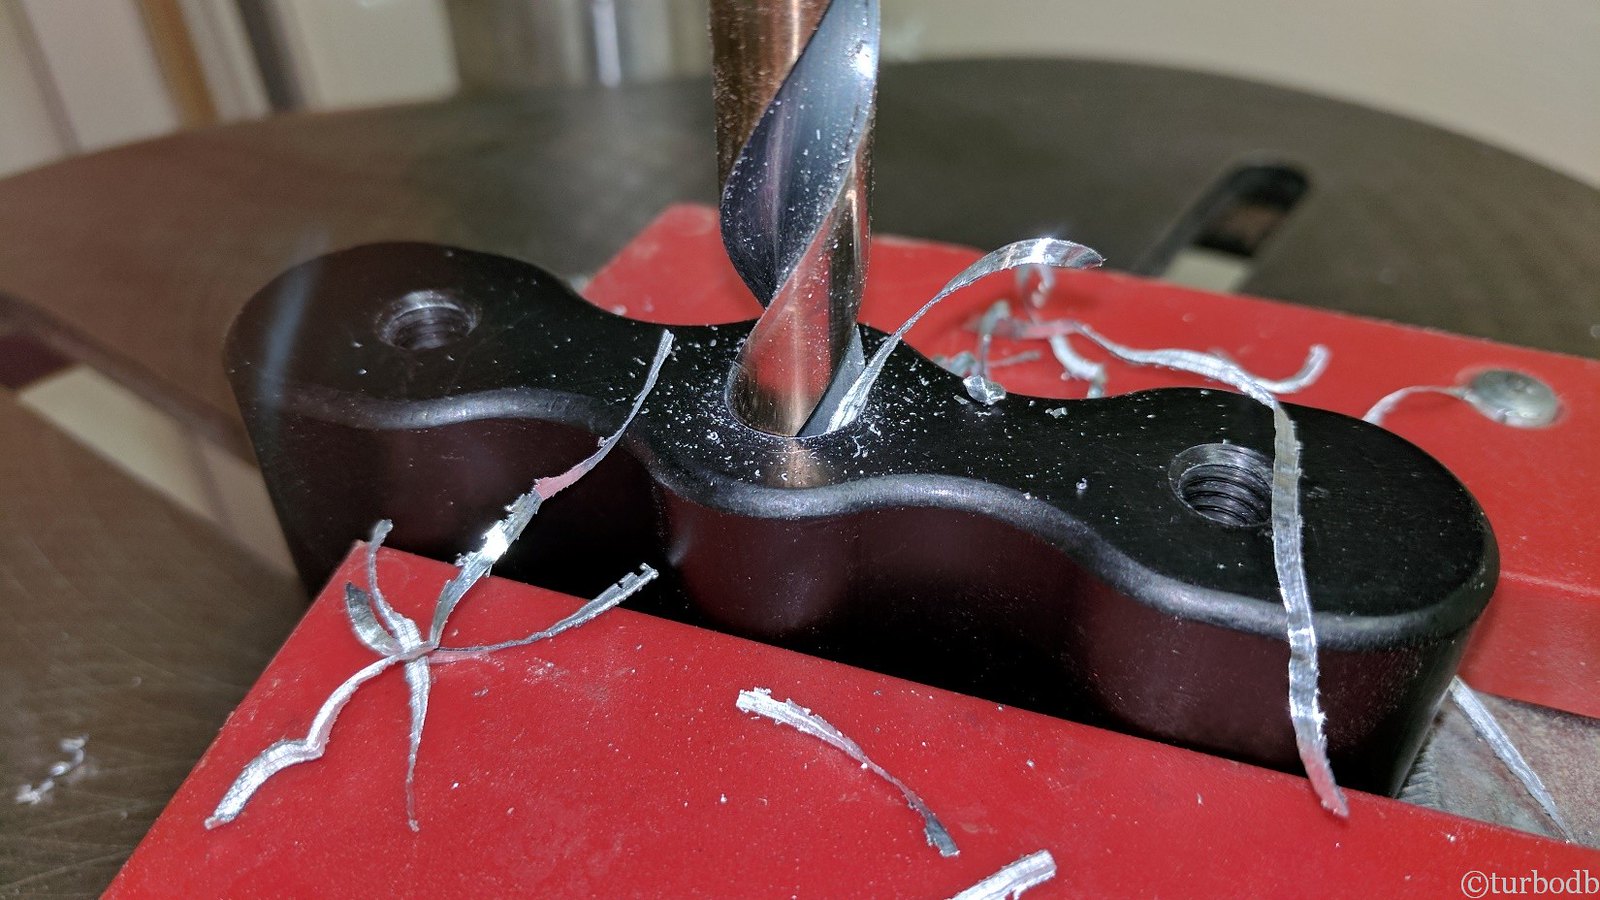
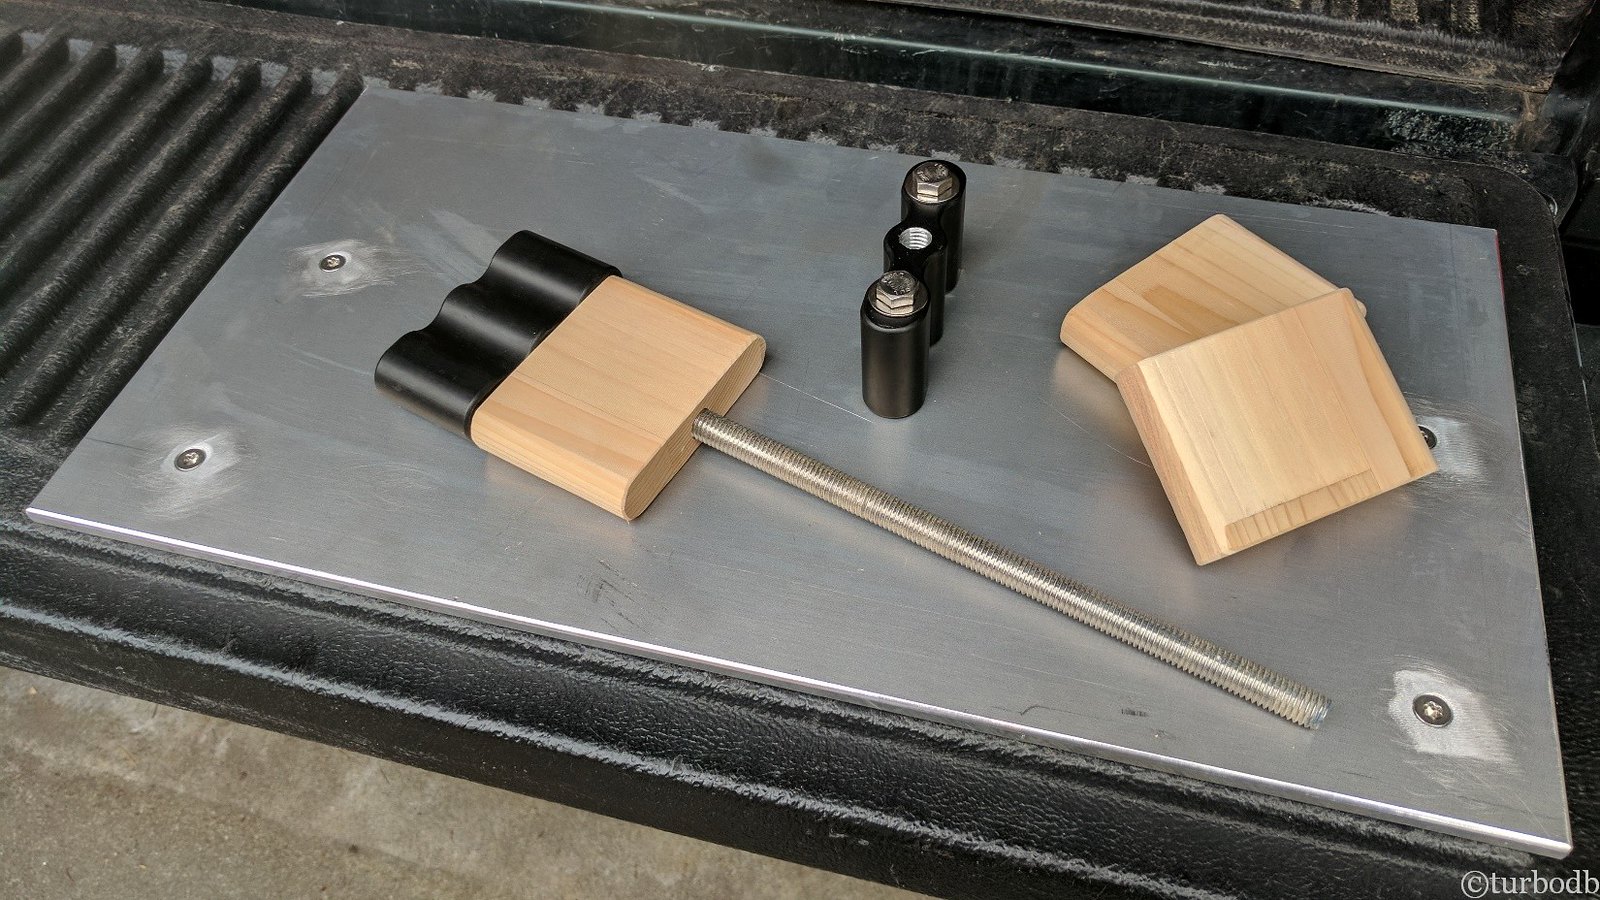
My idea was to mount a steel plate (though I ended up with aluminum) to the inside of the tailgate, and then bolt the “extended mounts” to that in the appropriate position, holding the Rotopax in tension against the tailgate. I’d make the “extended mounts” by using an appropriate length of ½” threaded rod between two standard Rotopax mounts.
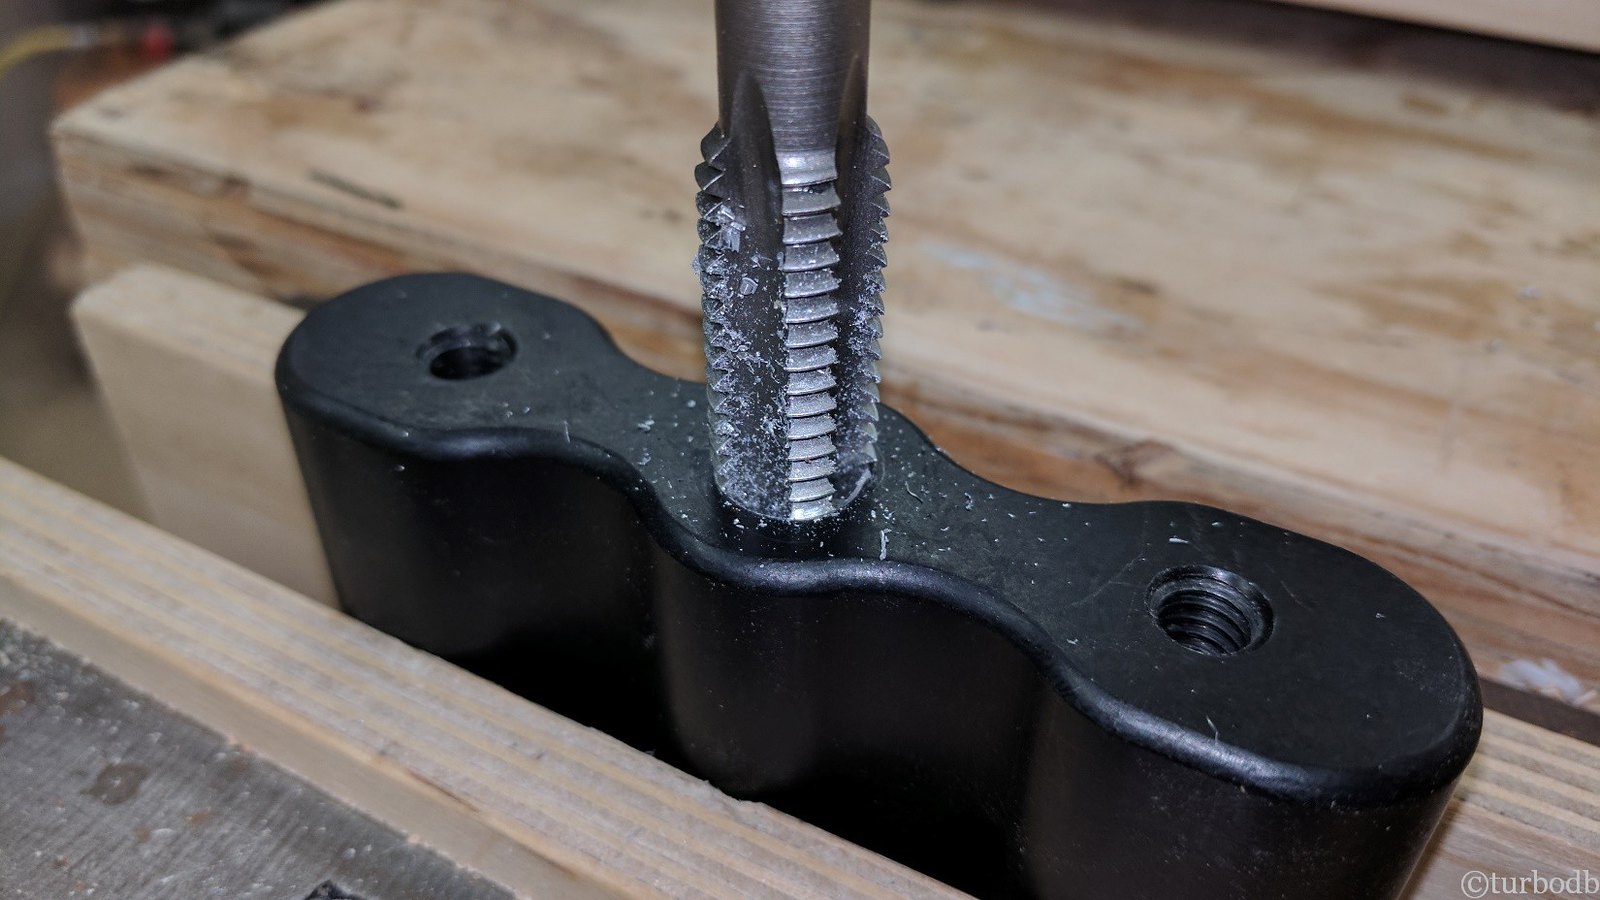
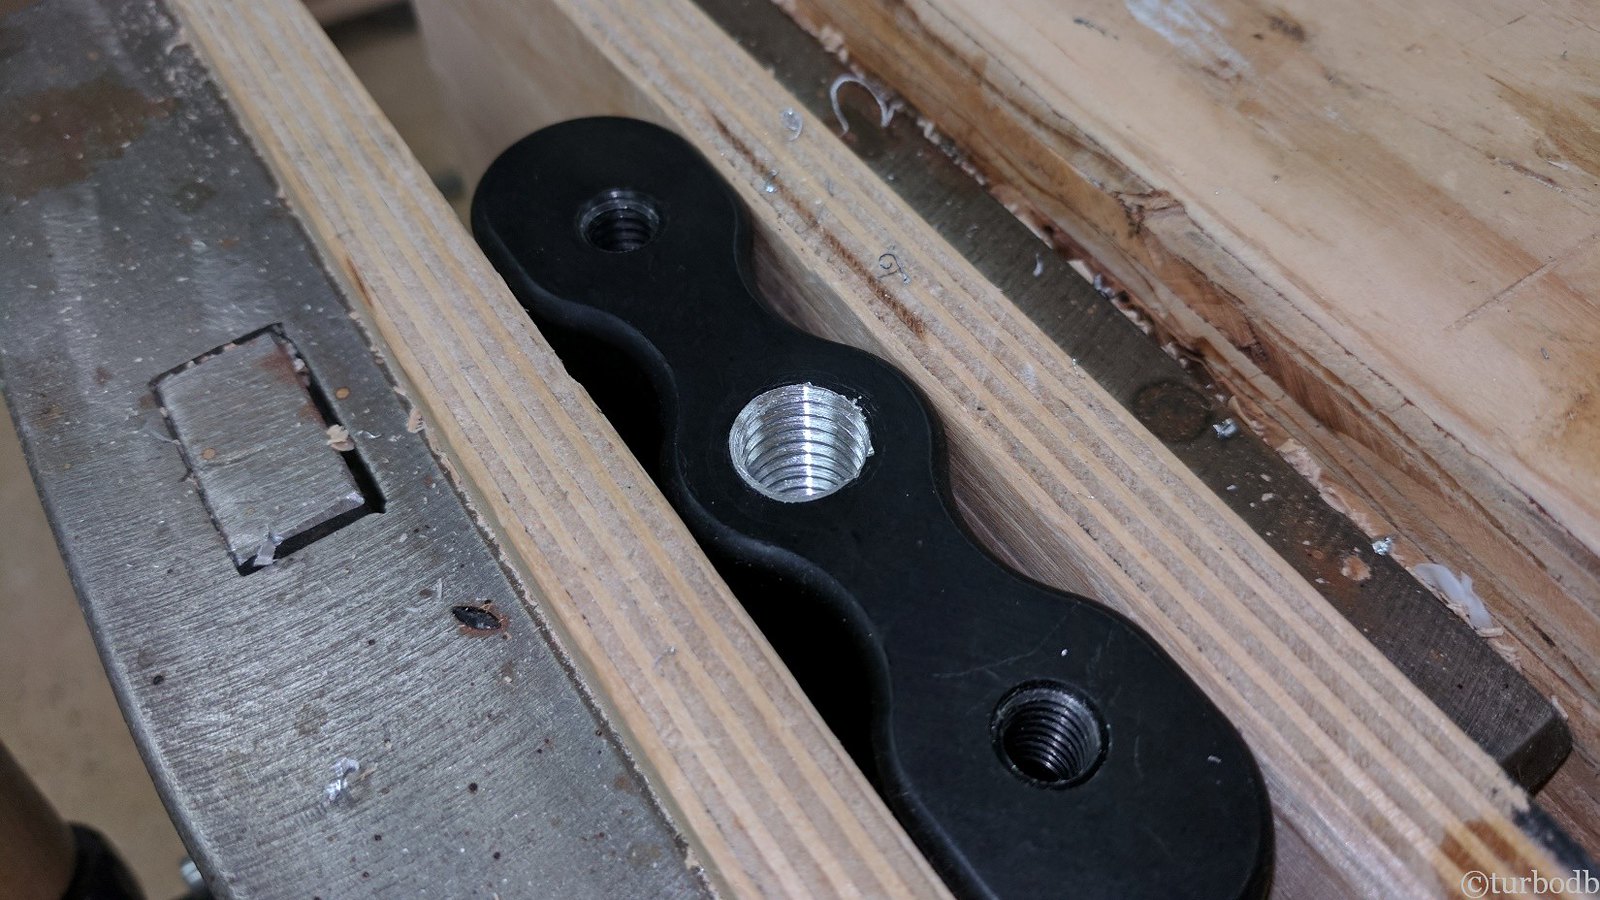
I got started by drilling out and tapping the center hole of the two Rotopax mounts to accept the threaded rod. I was pleasantly surprised to discover that they were made of aluminum, which made the whole process a piece of cake (and easier on the tools!).

With the mounts prepped, it was time to remove the existing plastic clips in the tailgate and weld in some ¼” stainless steel nuts that would accept screws from the front of the aluminum plate. Again, this went relatively smoothly (so much so that I forgot to take a picture of the welded-in nuts…but they are in those square holes).
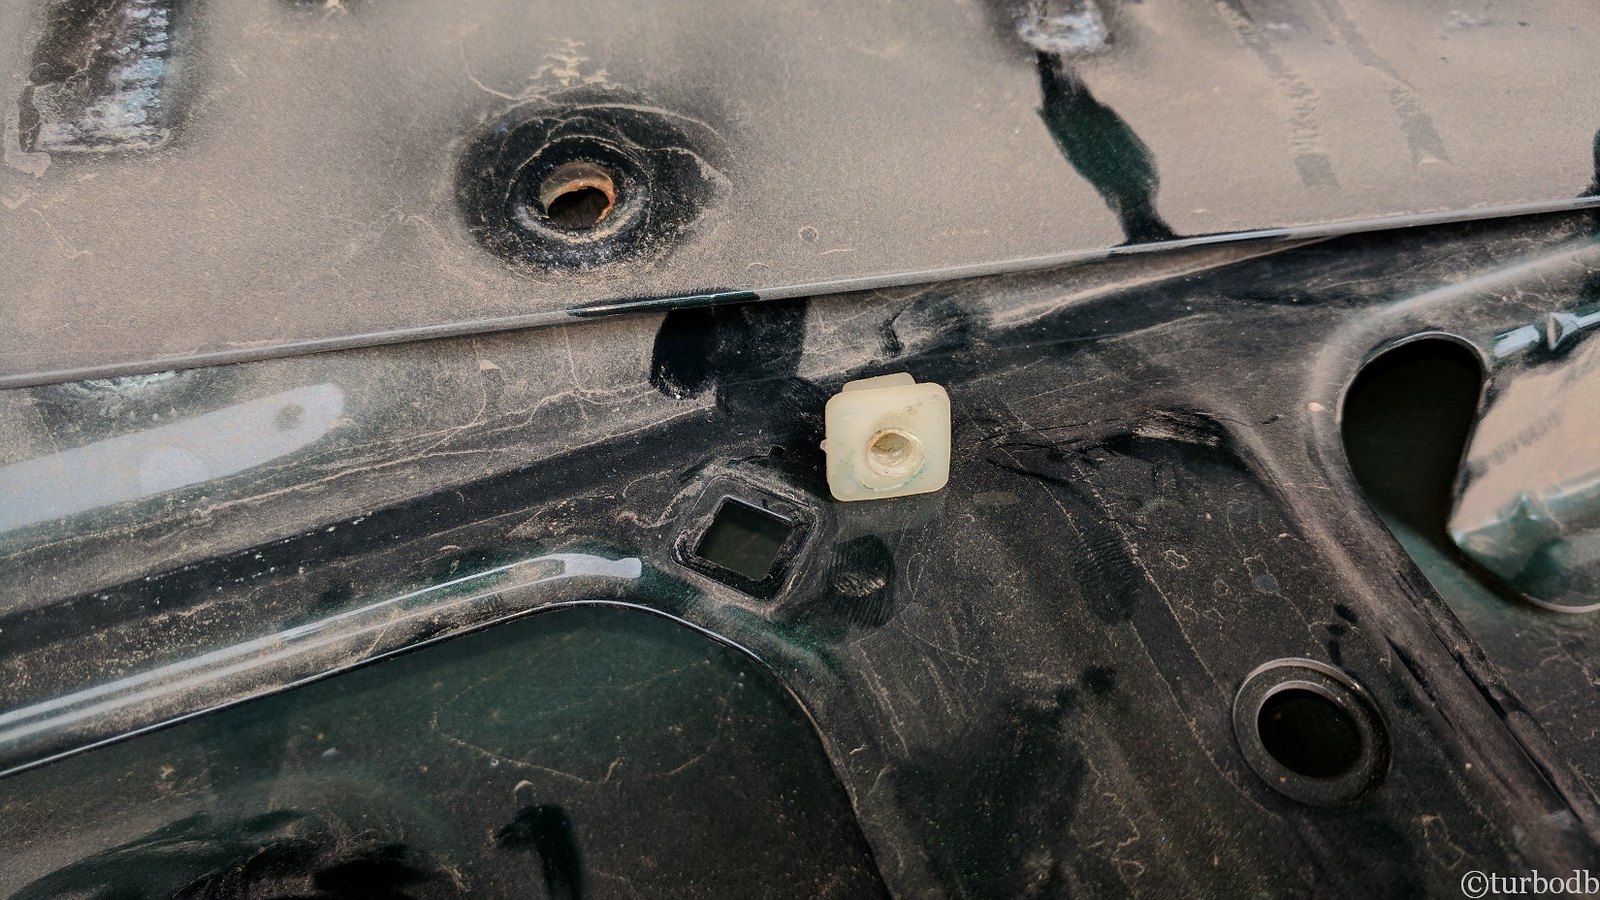
With the tailgate prepped and the plastic liner back on, I marked for and drilled the necessary holes in the 3/8” aluminum plate I’d picked up at the salvage yard - 4 holes to hold the plate to the tailgate, and two 3/8” threaded holes to mount one Rotopax mount to the plate. I also made some wood blocks to keep the Rotopax aligned.
By removing those two bolts, I get “normal” usage of the tailgate as well - a nice plus for hauling situations!
And with that, all that was left was to stack the Rotopax, test out the “clamp,” and see how it was opening and closing the tailgate. The clamp worked great, and the tailgate seems reasonable (with the packs full). I have to be careful opening and closing due to the extra weight, but it’s totally workable.

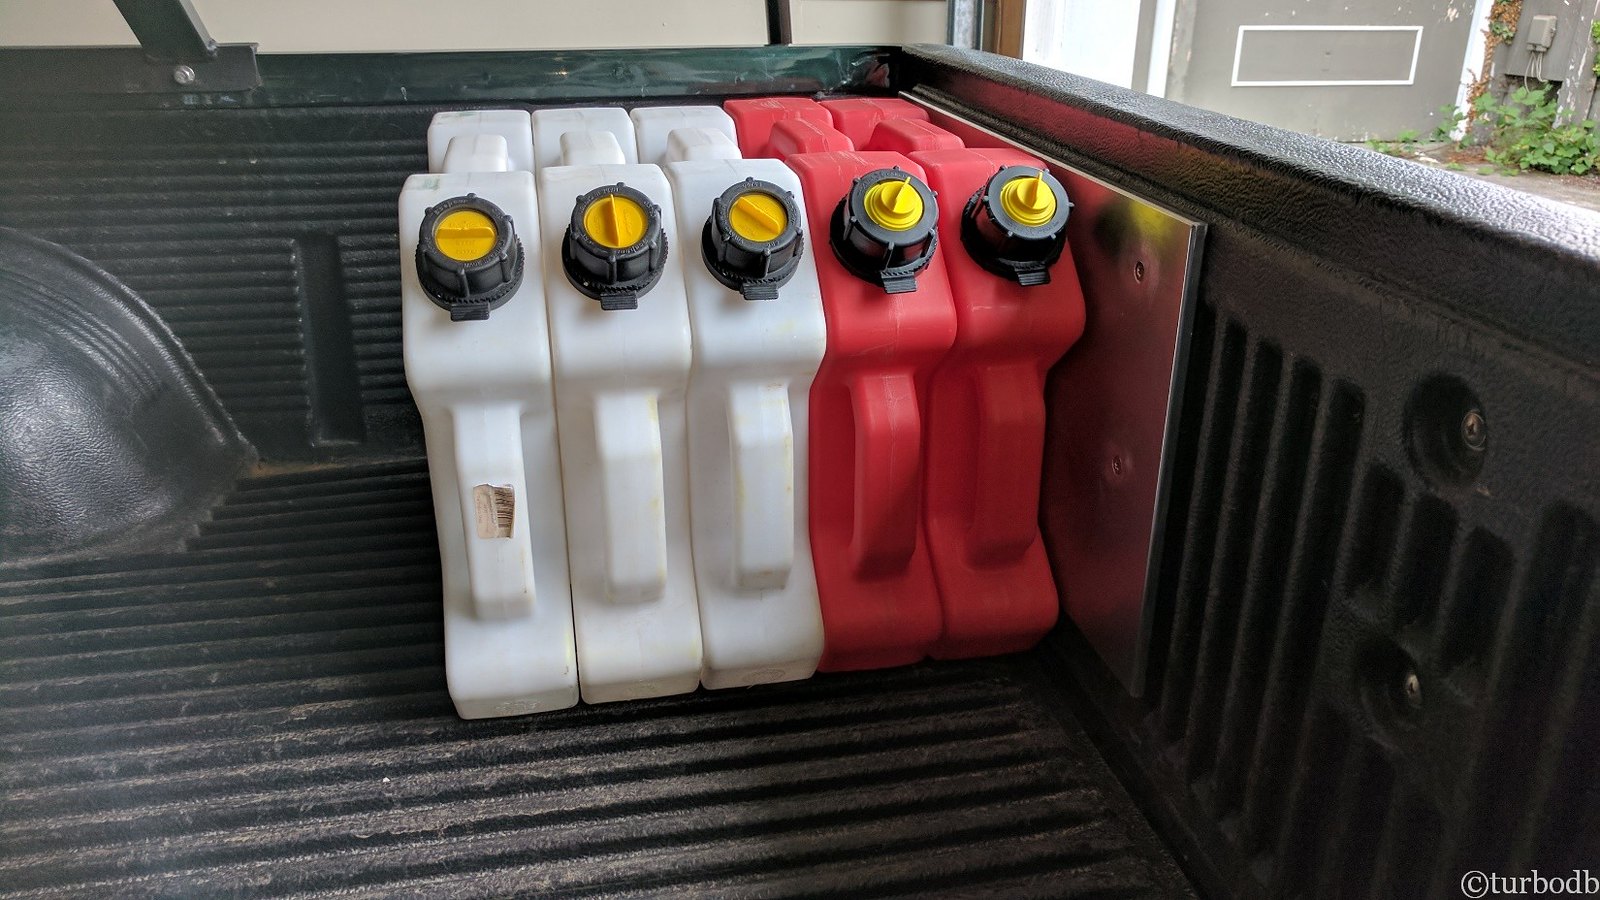
And with that, the packs are sure to stay well organized in their corner of the bed.