December 3-4, 2018.
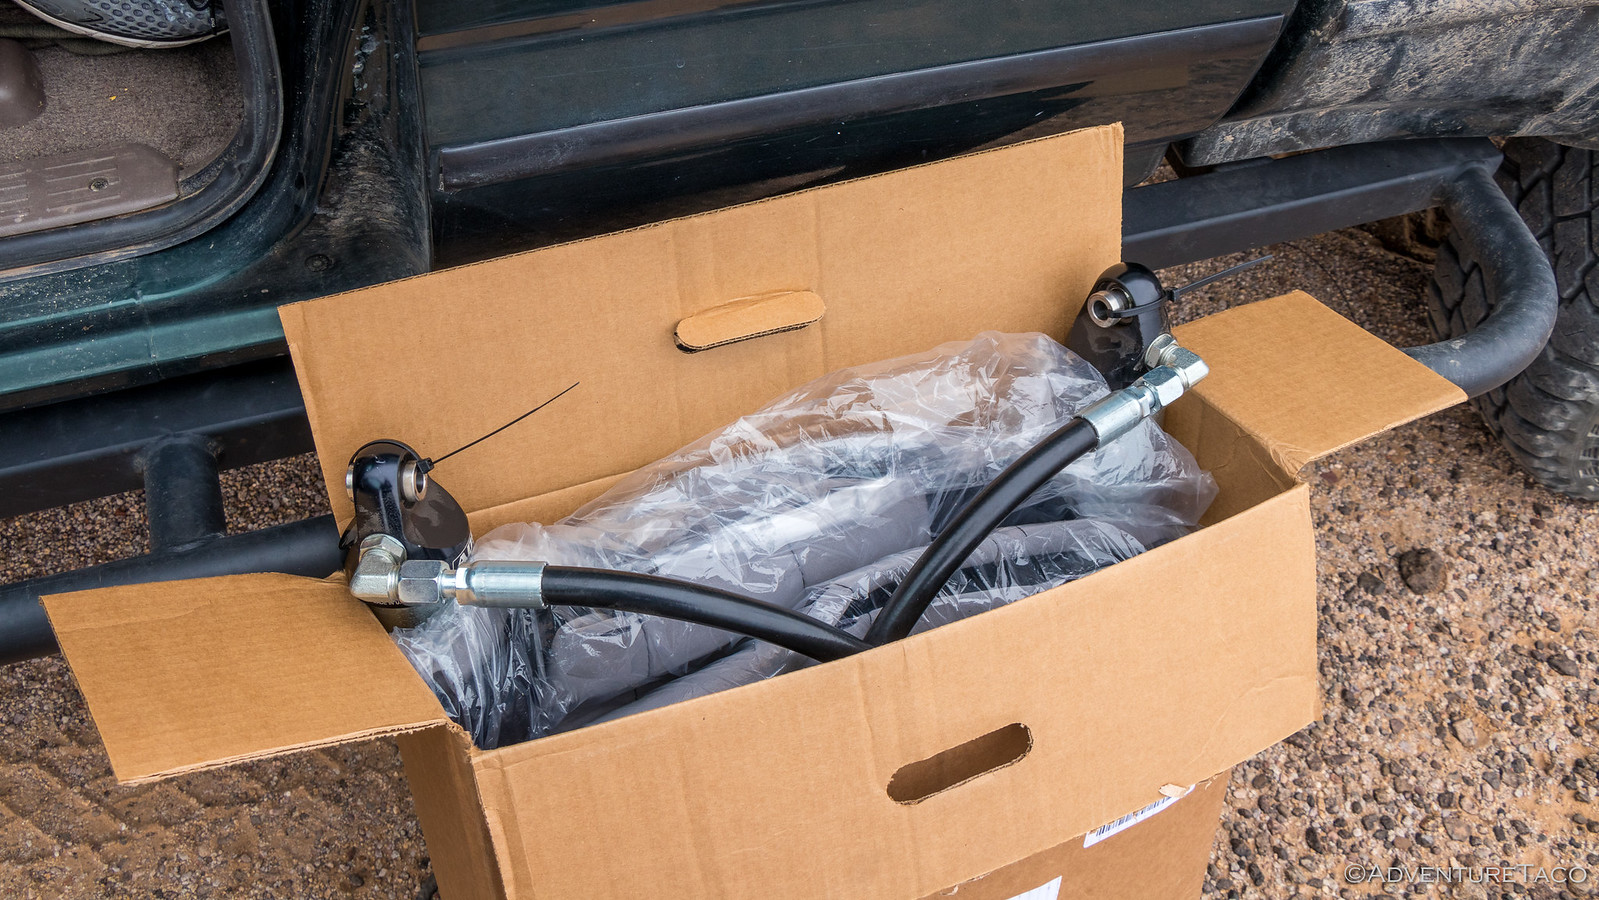
Rear shock relocation day was finally here! Zane @Speedytech and I were up bright and early so we could be at ADS right around their opening time of 8:00am to pick up the rear shocks they'd been holding for me for the last couple of months.

As generally seems to be the case when it comes to truck parts stores, we were both like kids in a candy store as we ogled around the ADS facility. Definitely quite the setup they've got going on there!
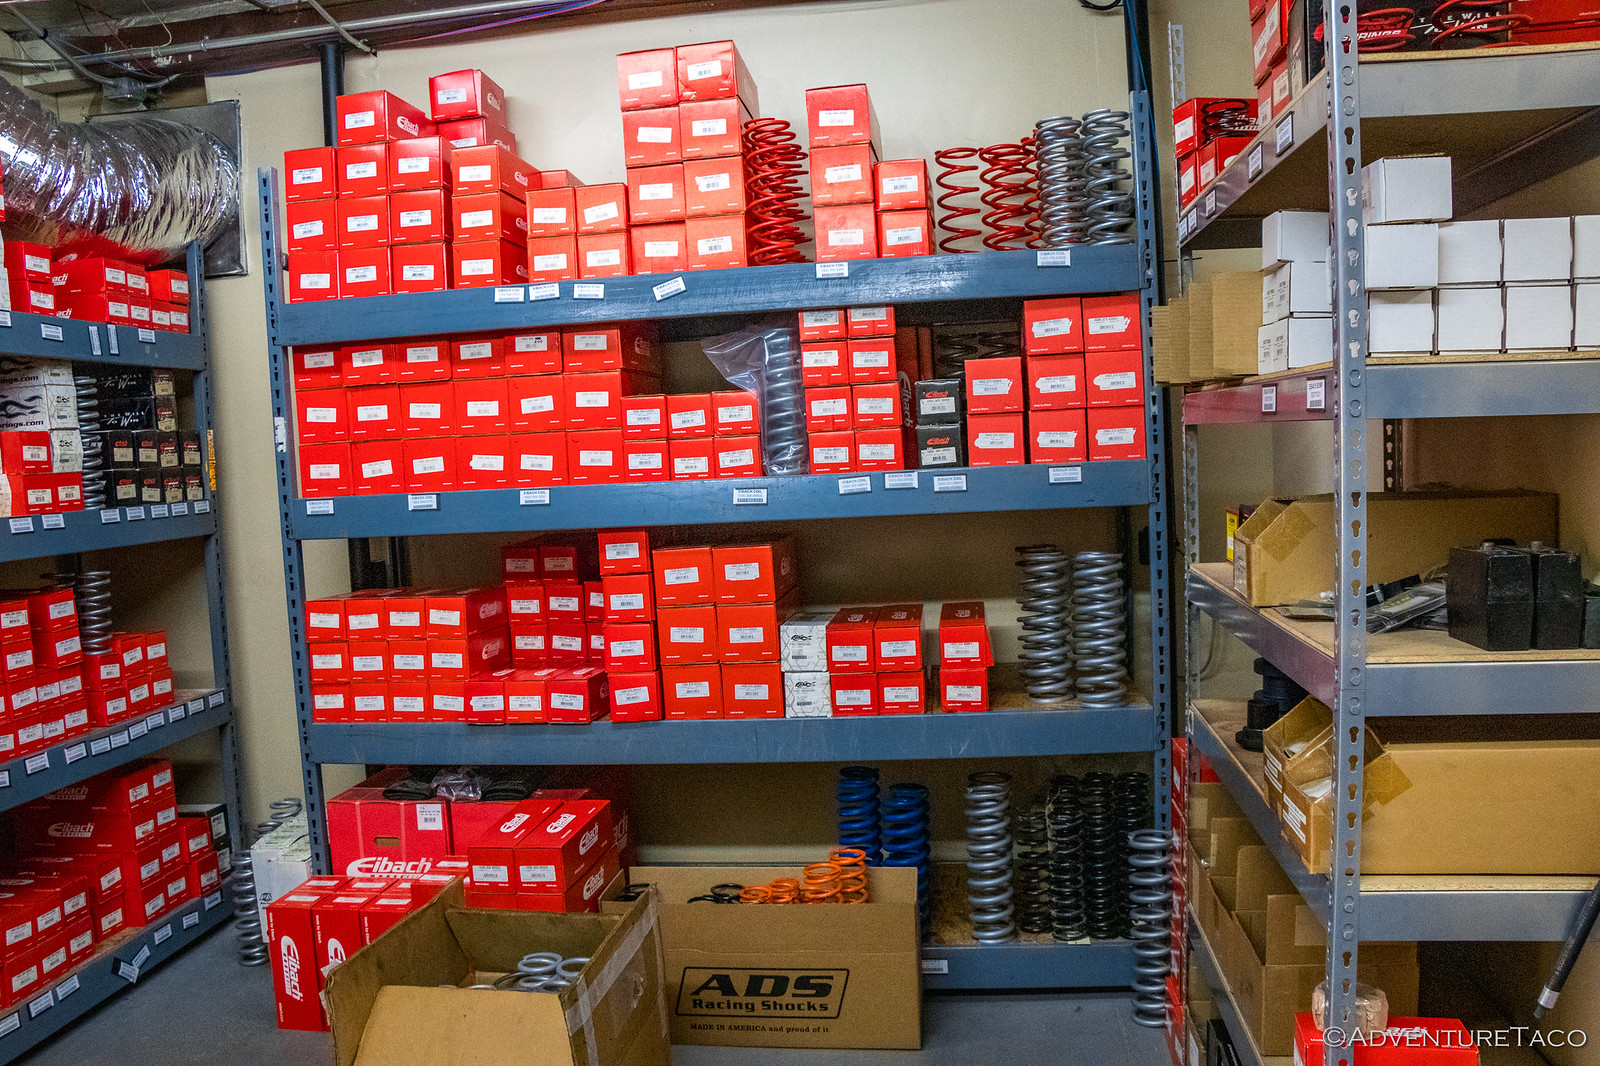
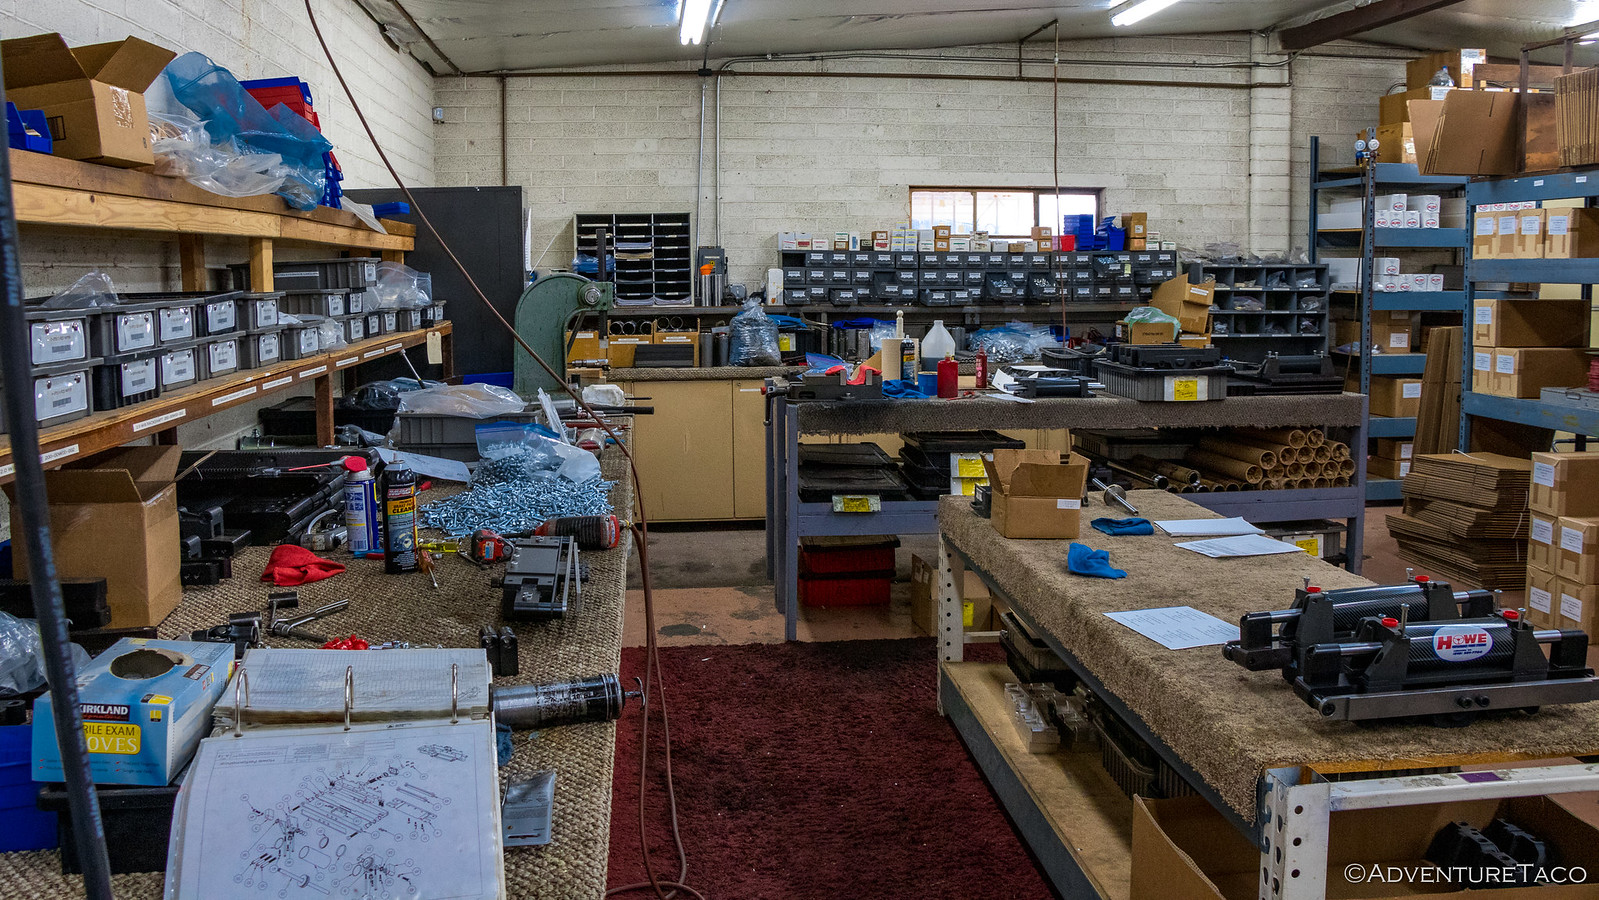
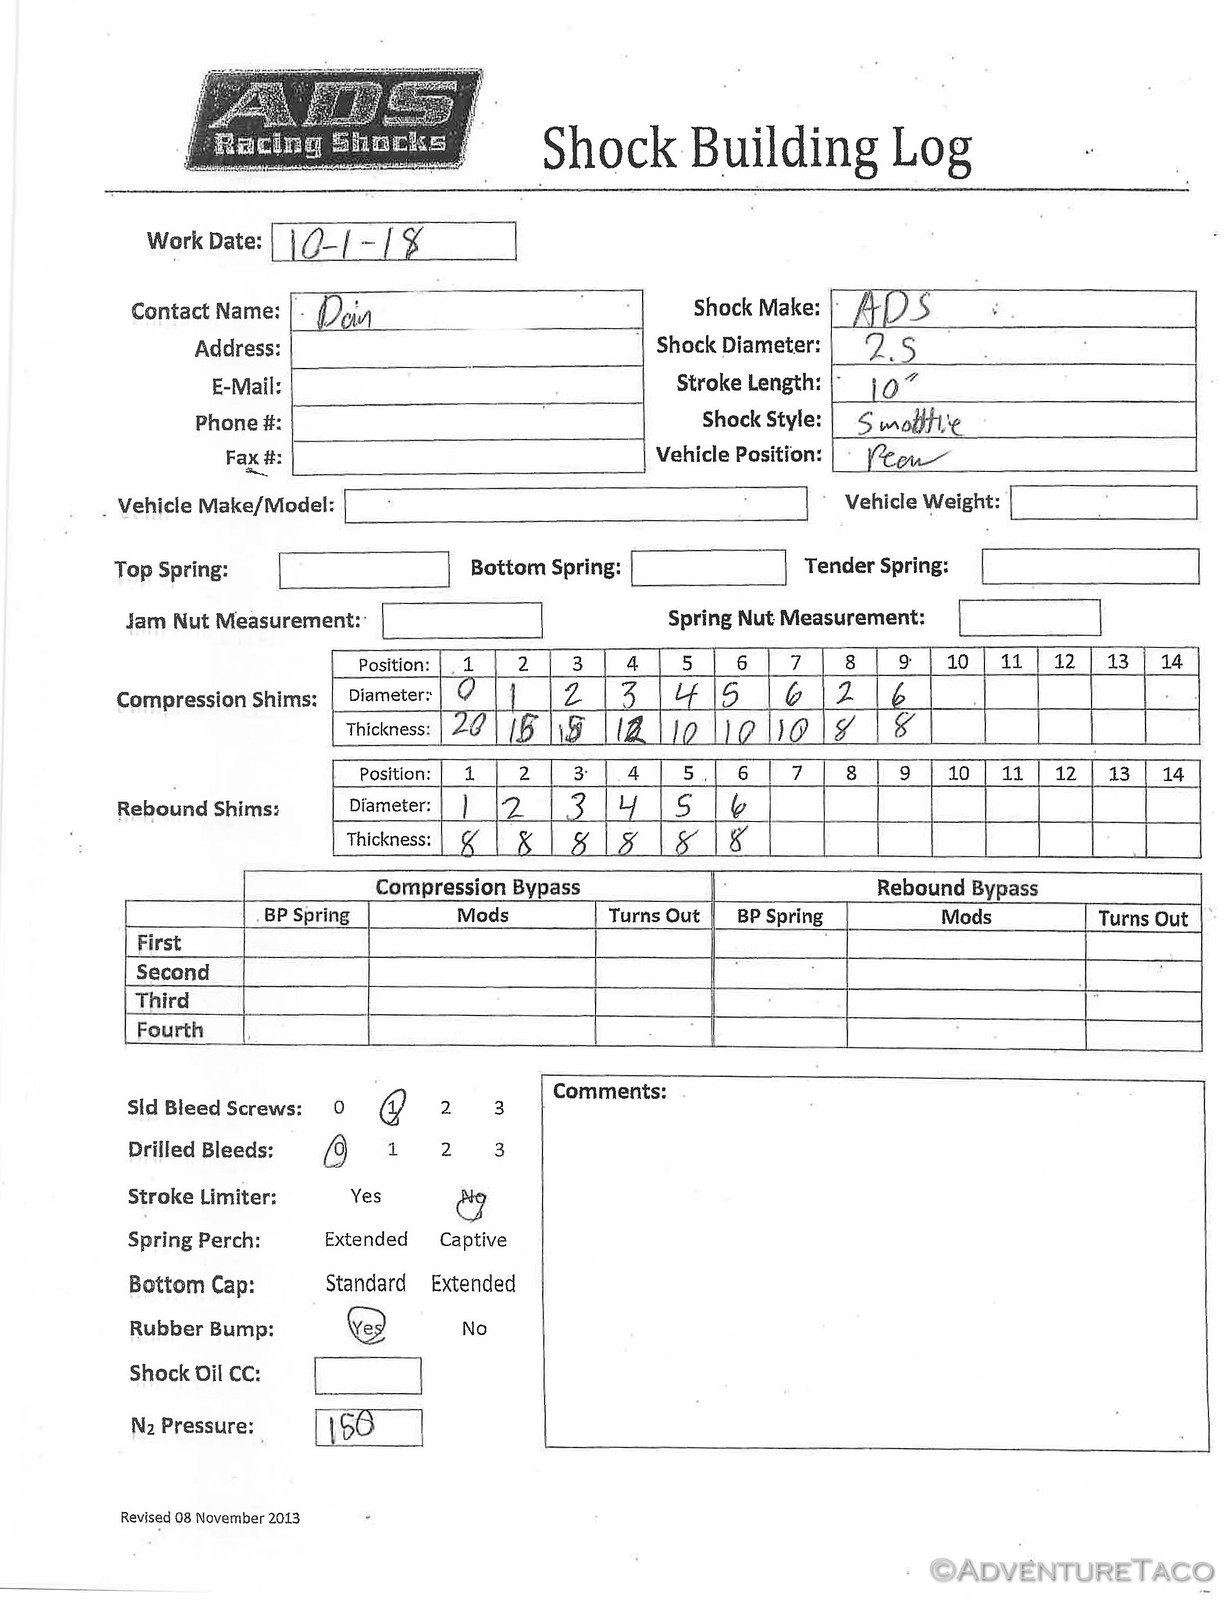
Tyler, who'd been helping me with my shocks, walked us around for a quick tour and made sure that we had everything we needed to do the install, including a copy of the valving setup they'd configured, in case that needed to be changed in the future. (I'm sure it will.)
And with that, we headed back to do the actual work. Have I mentioned that I was excited? And yes, probably also a bit nervous.
Now, hindsight is 20/20, and several good folks may know - and others will have figured out from the title of the post - that not everything turned out "just right." But at this point, we were confident that we knew what we were doing and so we set about with the following high-level plan of action:
- Unbolt and remove the rear bumper and bed from the truck.
- Raise the rear end up on jack stands to remove the rear wheels; support the rear axle with a floor jack.
- Disassemble the leaf springs, removing all but the top leaf.
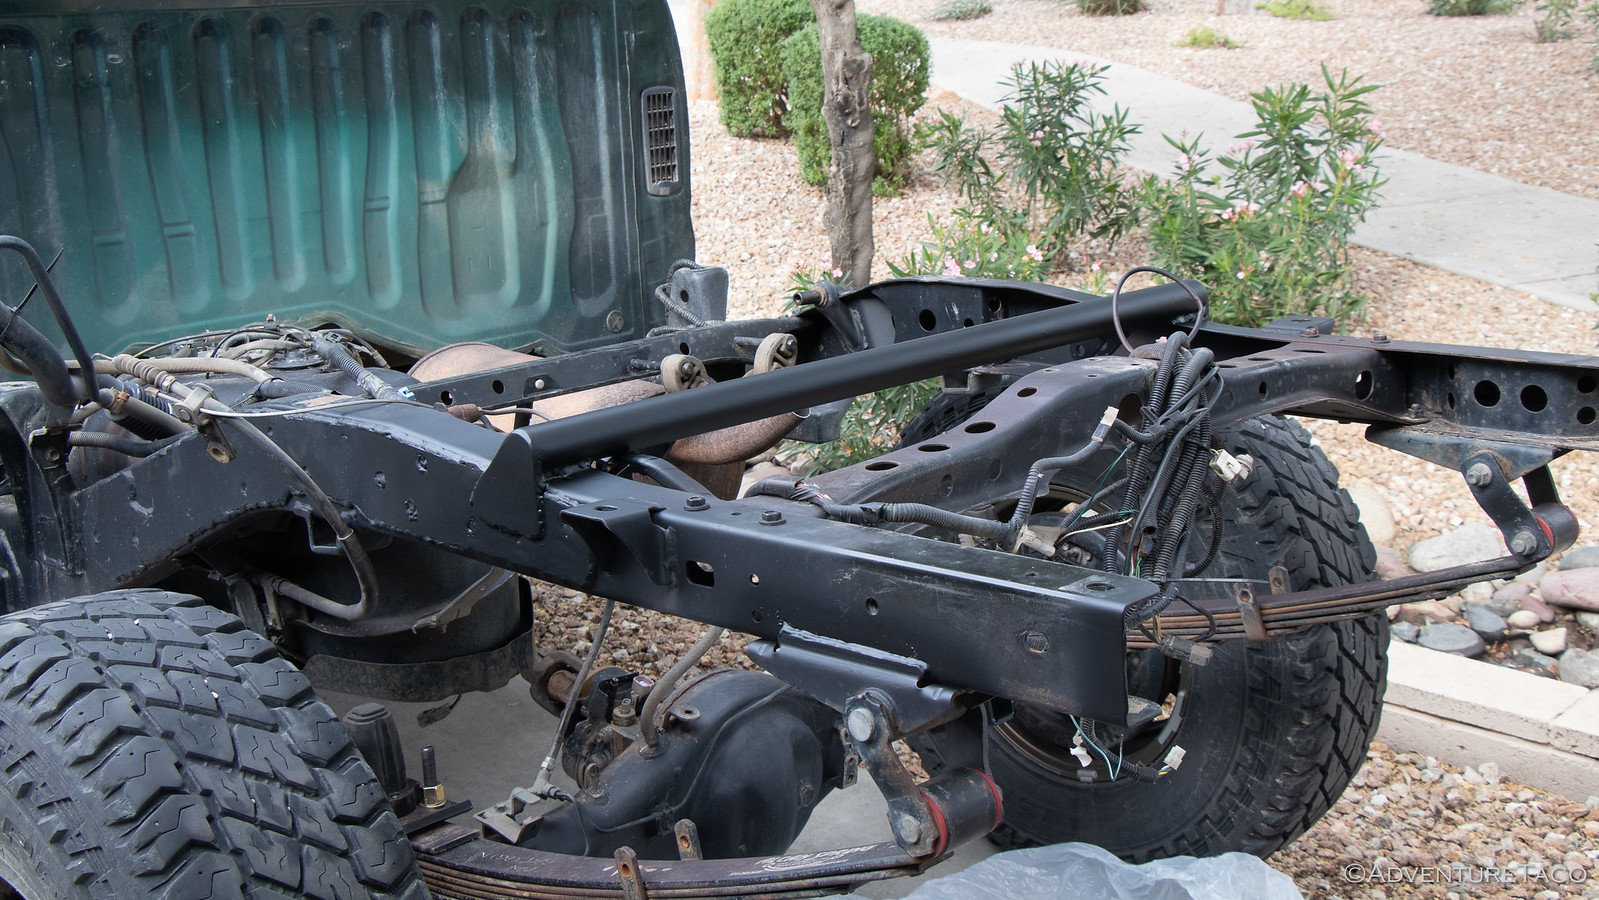
- Position new top shock mounts (with zip ties at this point) on a length of 1.75" tubing that we positioned on top of the frame, just under the height of the bed.
- Use a floor jack to press the top leaf as high as it would go before starting to lift the truck, and to drop it as far as it would go, noting the overall travel and positioning of the leaf springs in relation to the new top shock mounts.
- Weld (a) the 1.75" metal tube to the frame, (b) new upper shock mounts to the tubing, and (c) new lower shock mounts to the rear axle in positions that would mean the shock wouldn't bottom out when the leaf spring was compressed to the height we'd determined, and wouldn't overextend when the leaf springs were fully drooped.
- Paint everything and install the new shocks.
- Reinstall all the bits we'd removed (wheels, bed, bumper).
Now - I should note that if you're reading this and thinking, "Cool, now I know what I need to do in order to do this to my truck." - stop and listen: These are not the right steps. The right steps will come right after the next chapter of this story. Hang tight. Even better, sign up here to get an email when it's posted:
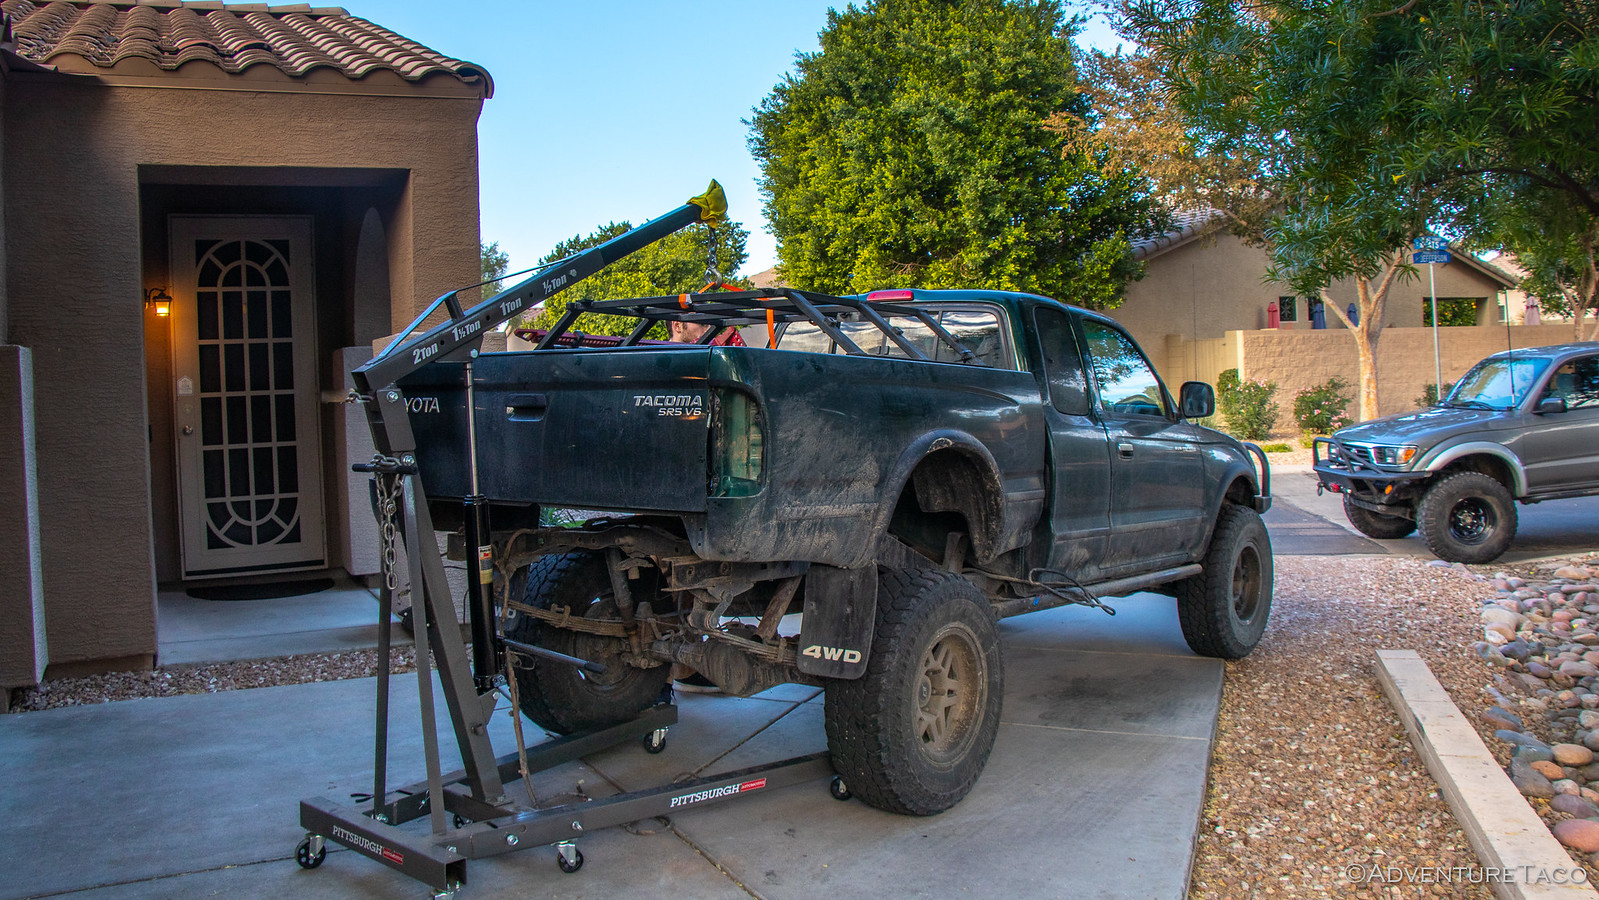
As we got started, everything was going swimmingly. Zane's got an engine hoist, and that made it much easier to remove the rear bumper with just two people. In no time, it was on the ground and we moved it out of the way.
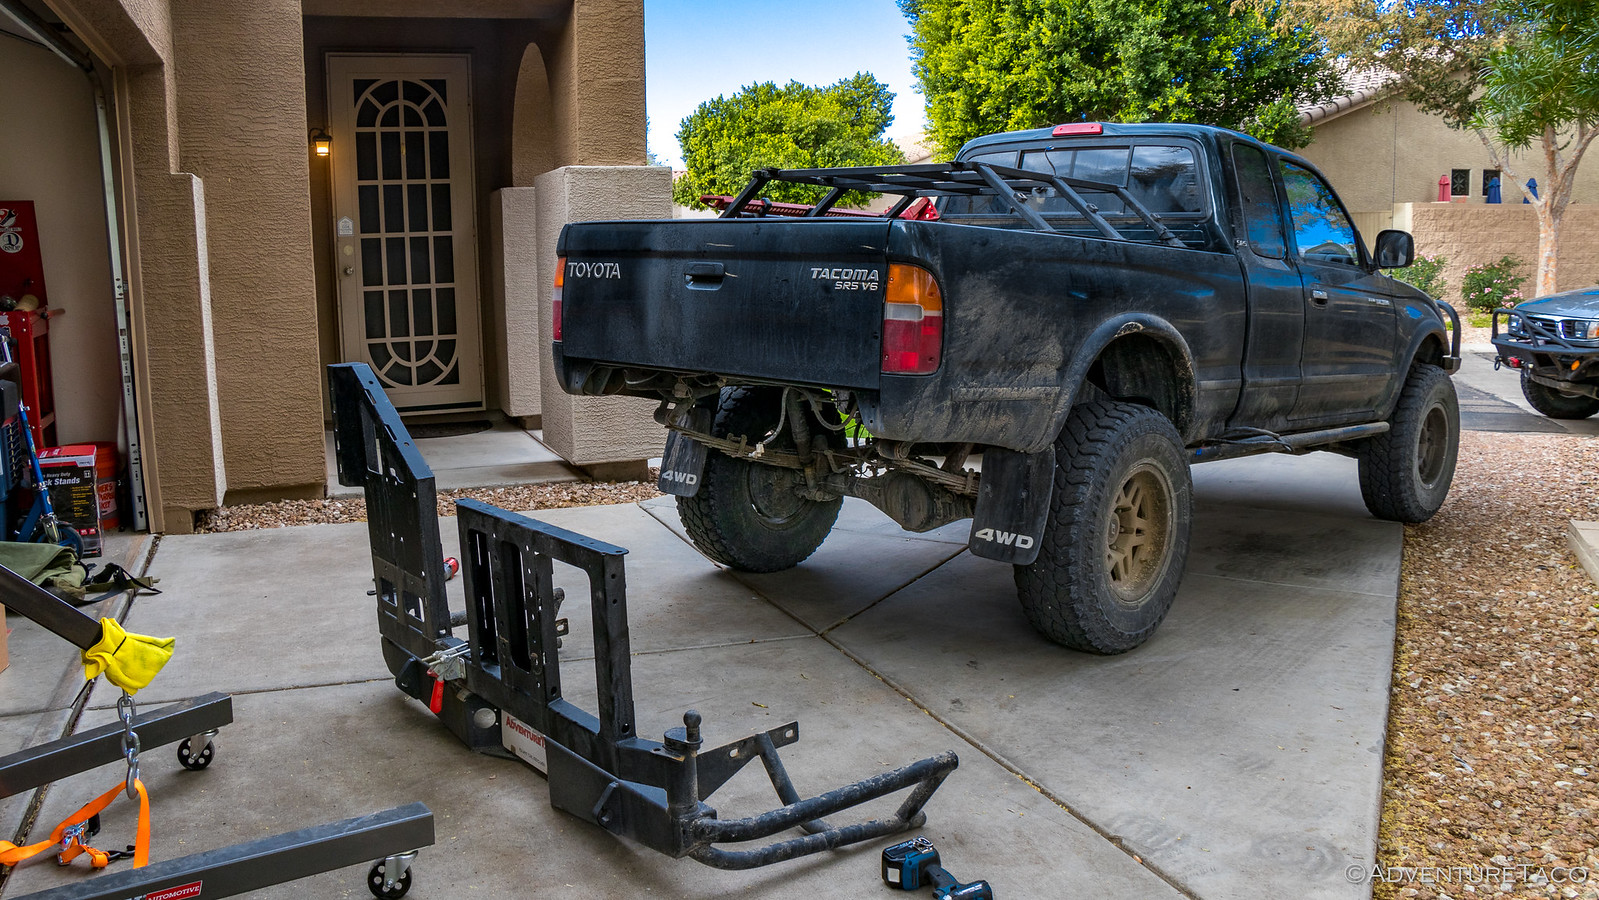
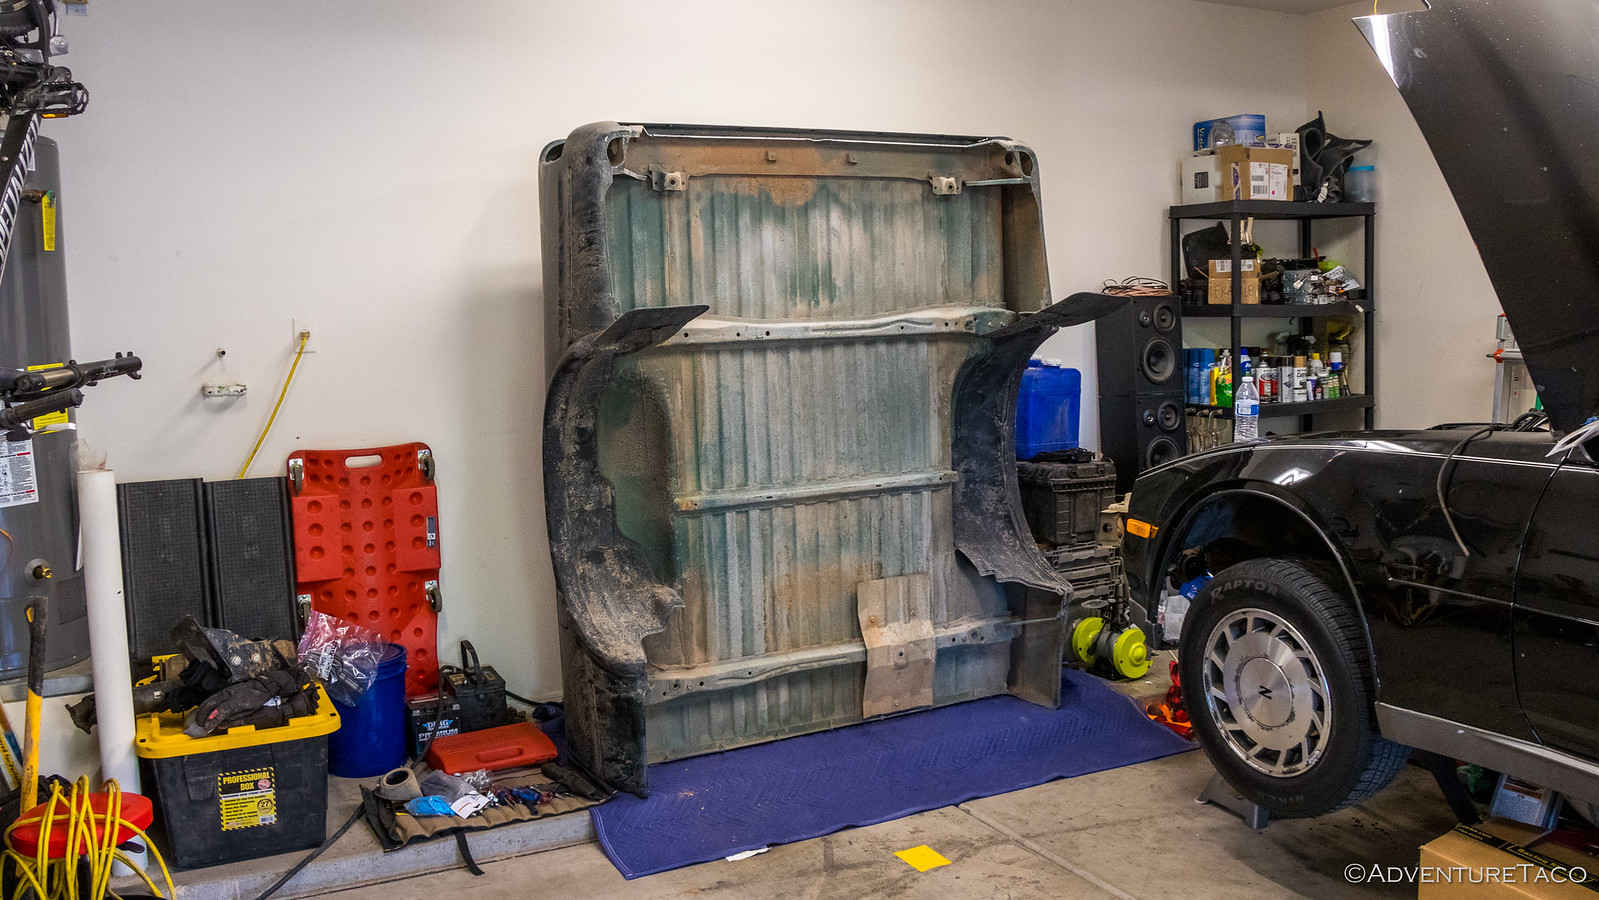
Next, it was onto the bed. This too is much easier with a hoist. We simply attached the hoist to the bed rack, removed the tail lights, and then used the impact wrench to unbolt the bed from the frame. A few pumps on the hoist, and if I'd gotten the angles right it could have looked like Zane was Mr. Muscle. Oh well. 
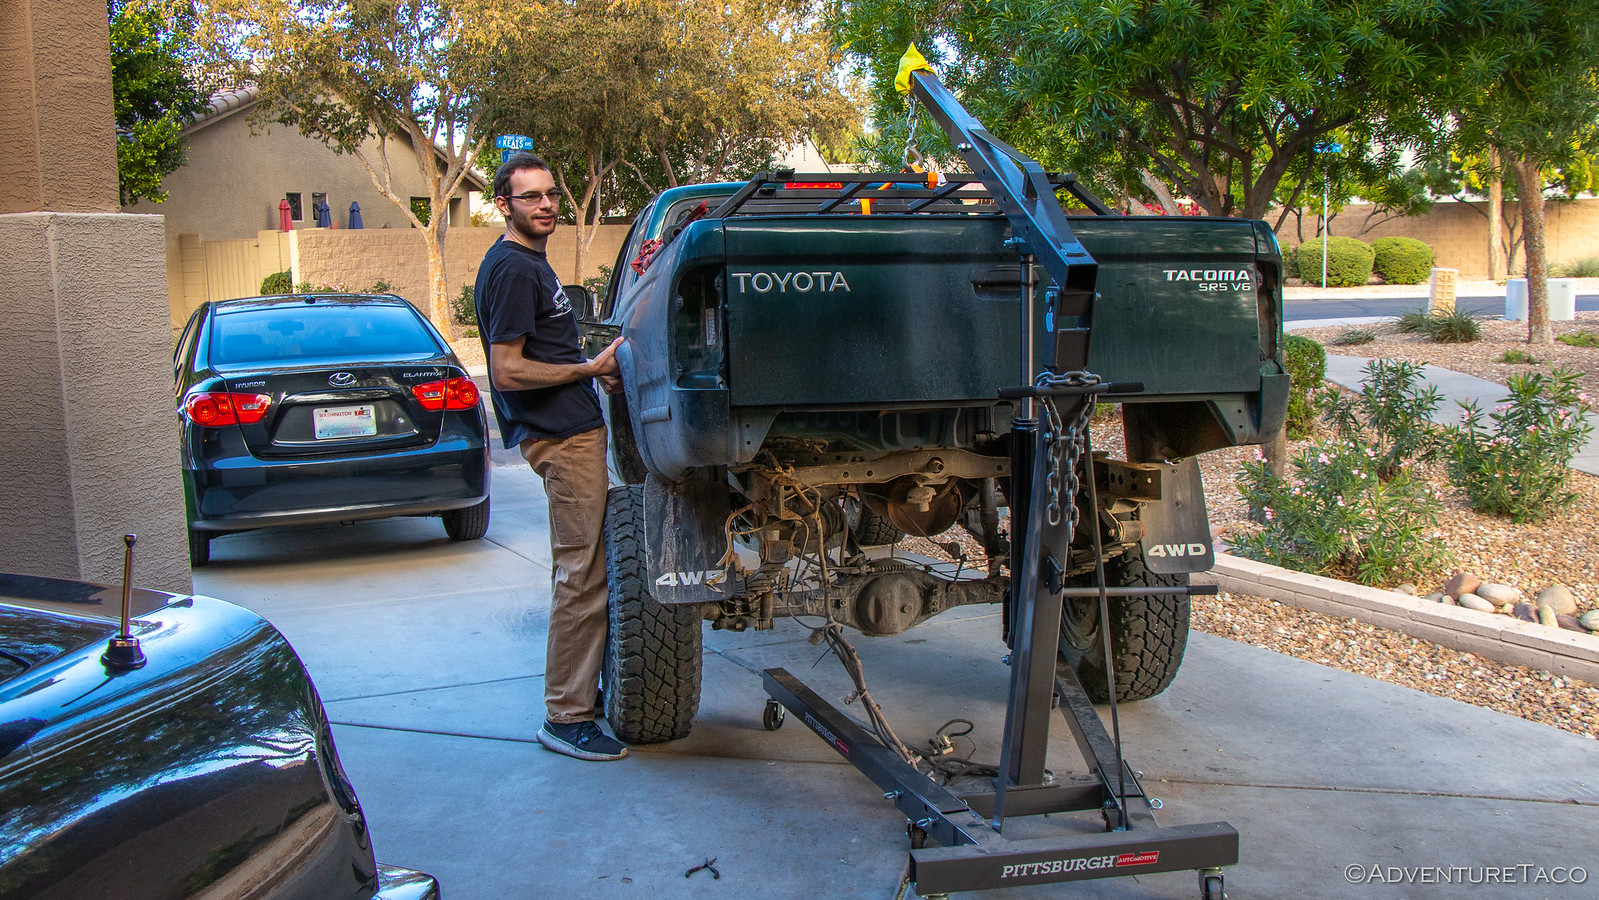
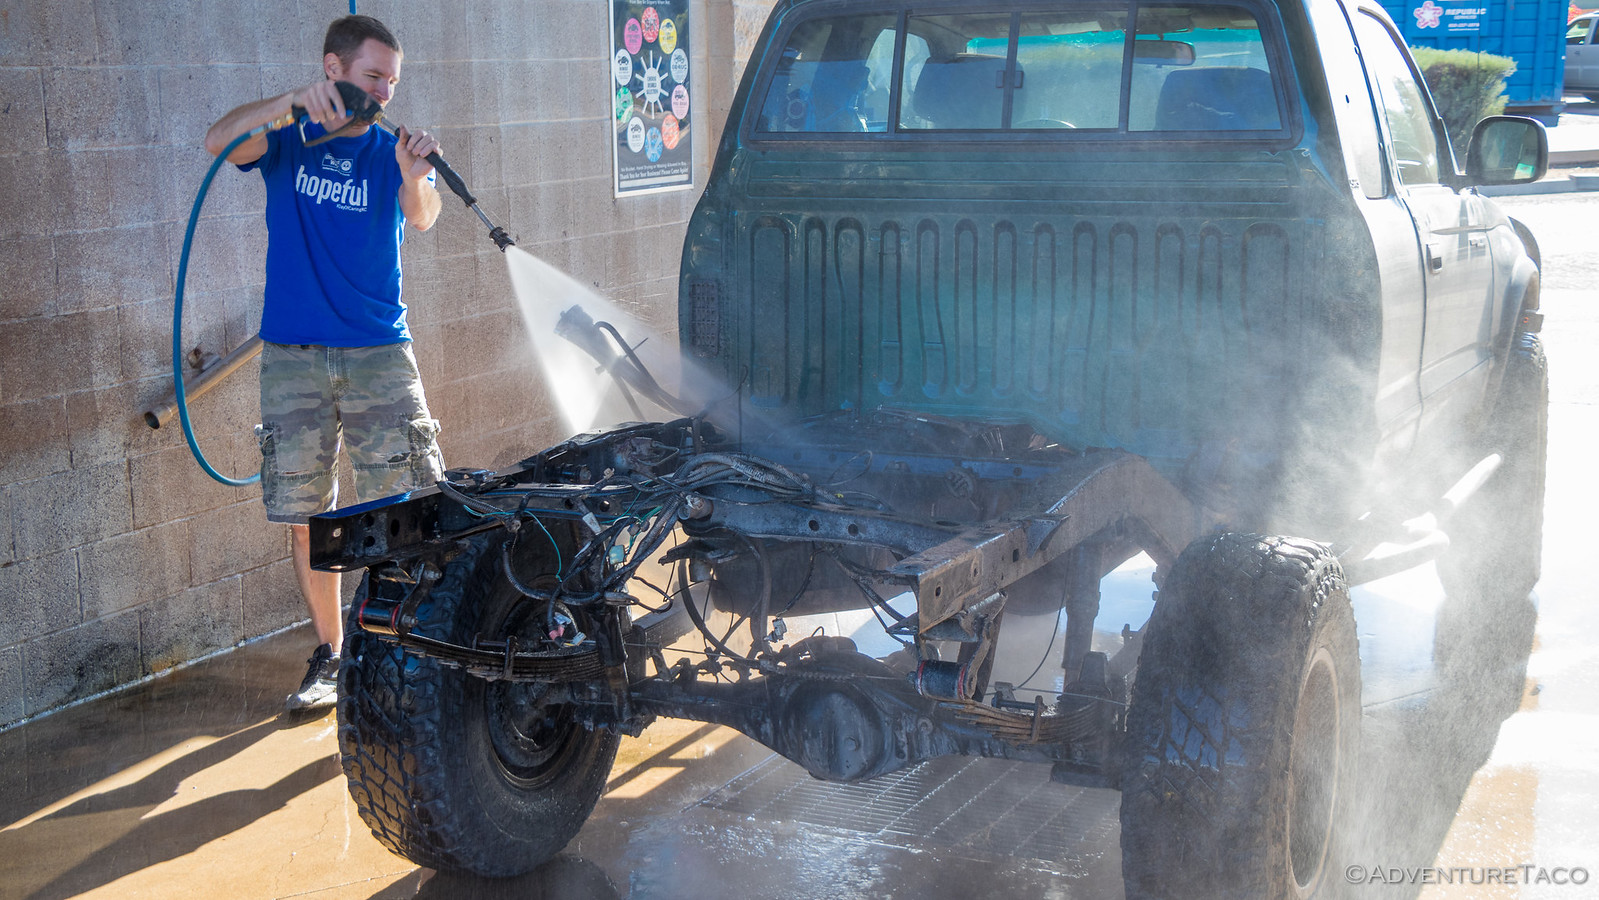
It was at this point that Zane looked at me and said, "Before we go on, you're taking your truck to the car wash." I'd of course washed it before heading down, but removing the bed exposes so much more mud, and it was clear that cleaning up the frame a bit with the pressure washer was going to make working on it a lot more enjoyable. So off we went - the car wash just around the corner.
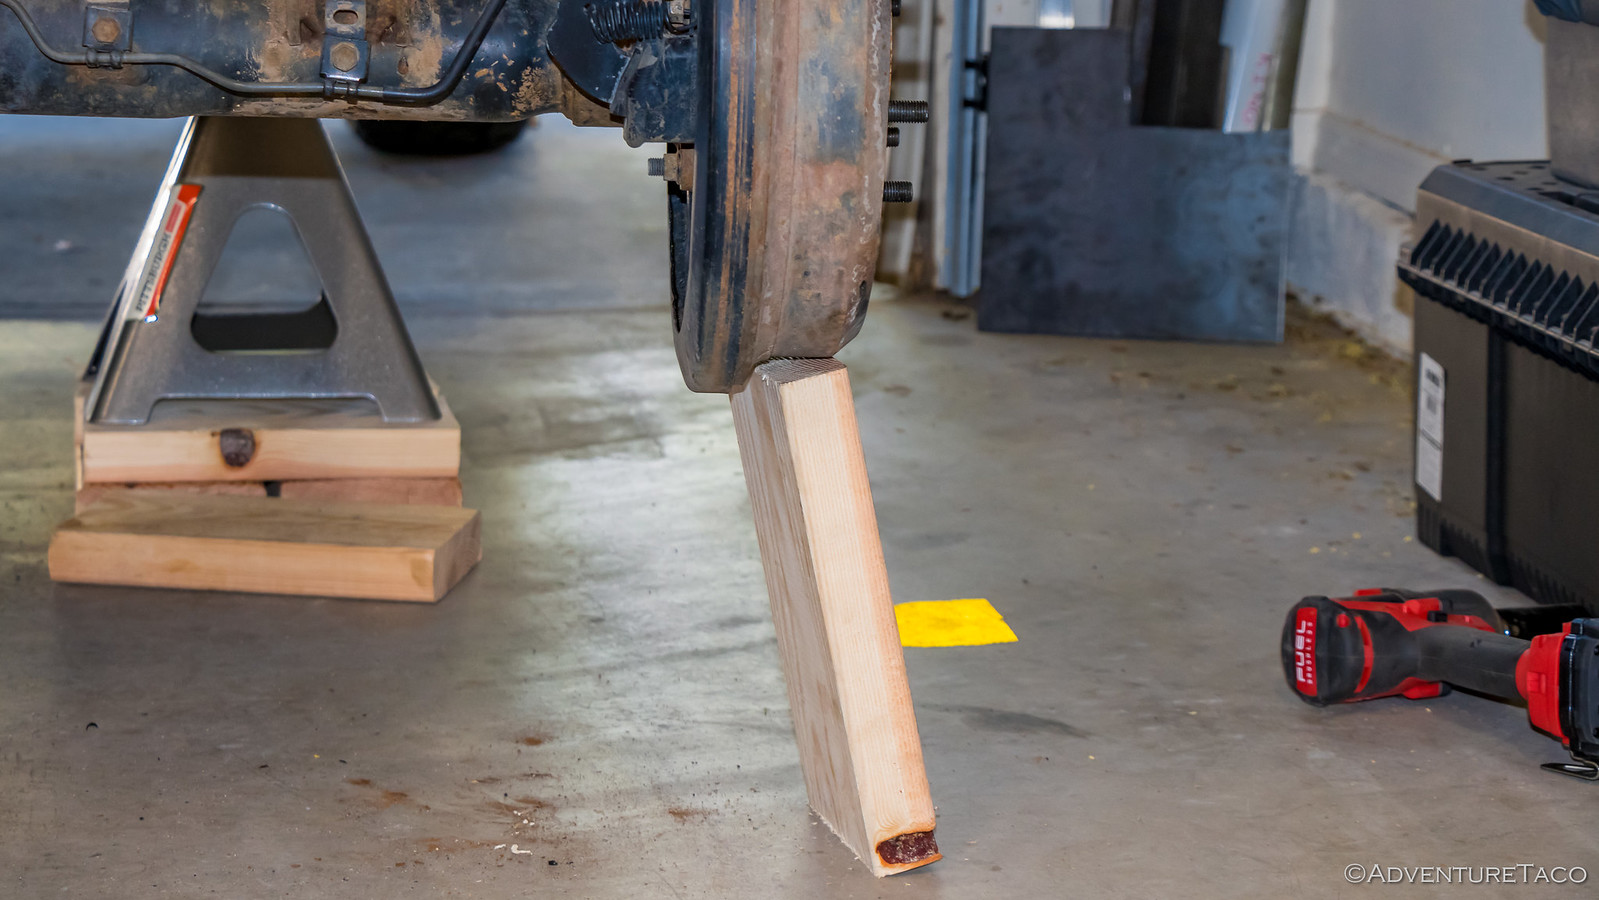
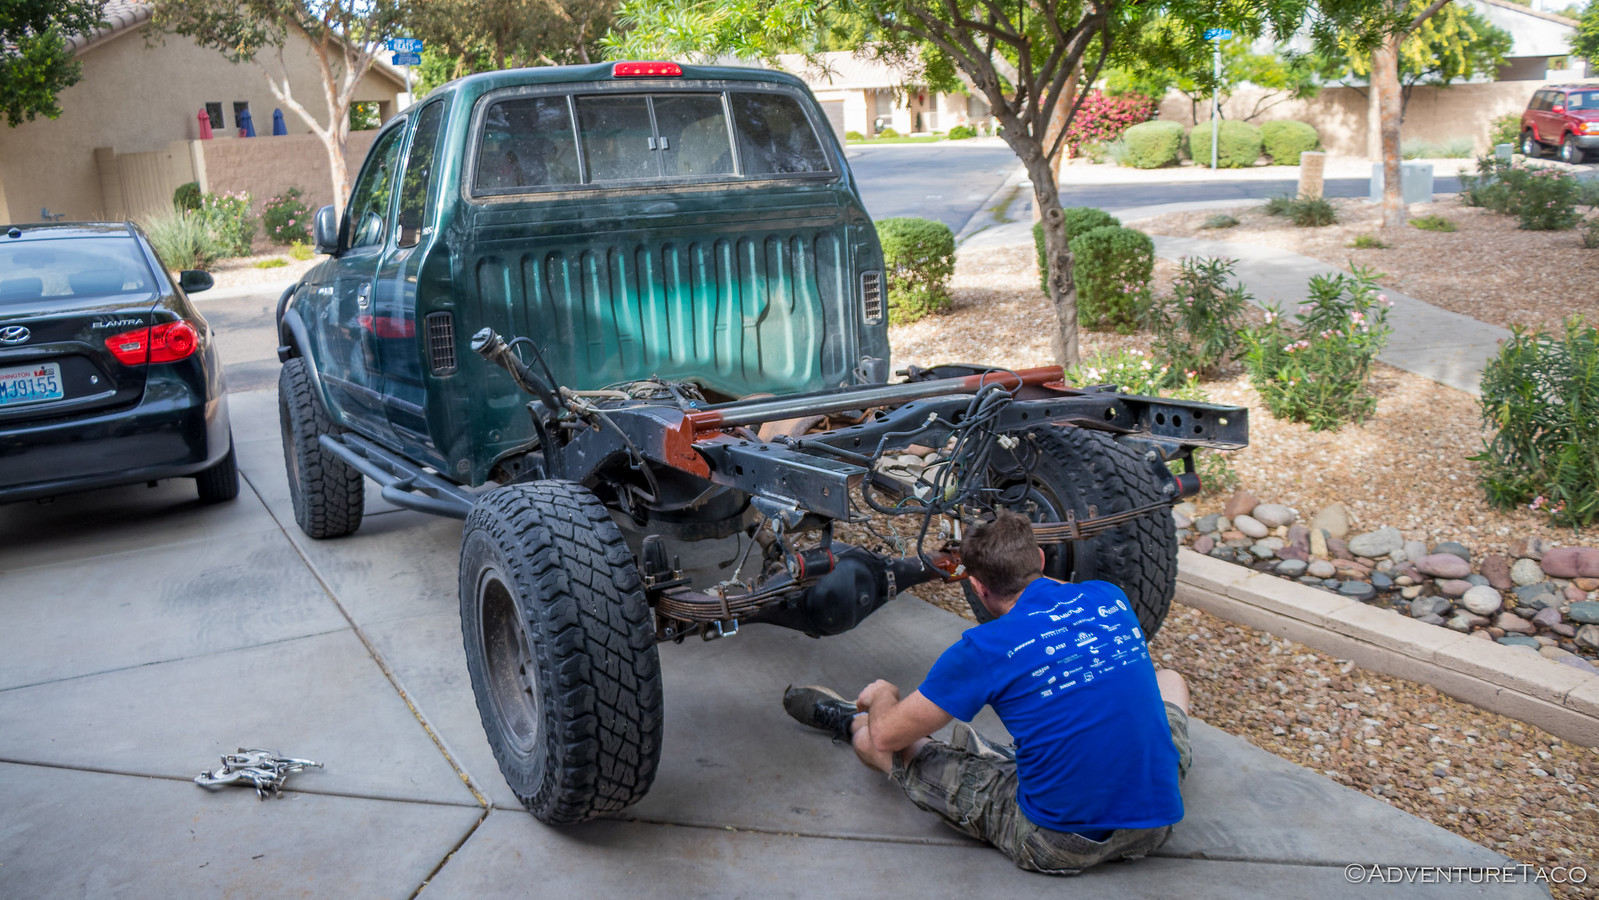
We were feeling good as we returned to the garage, and made quick work of lifting the truck up on jack stands and removing the rear wheels.
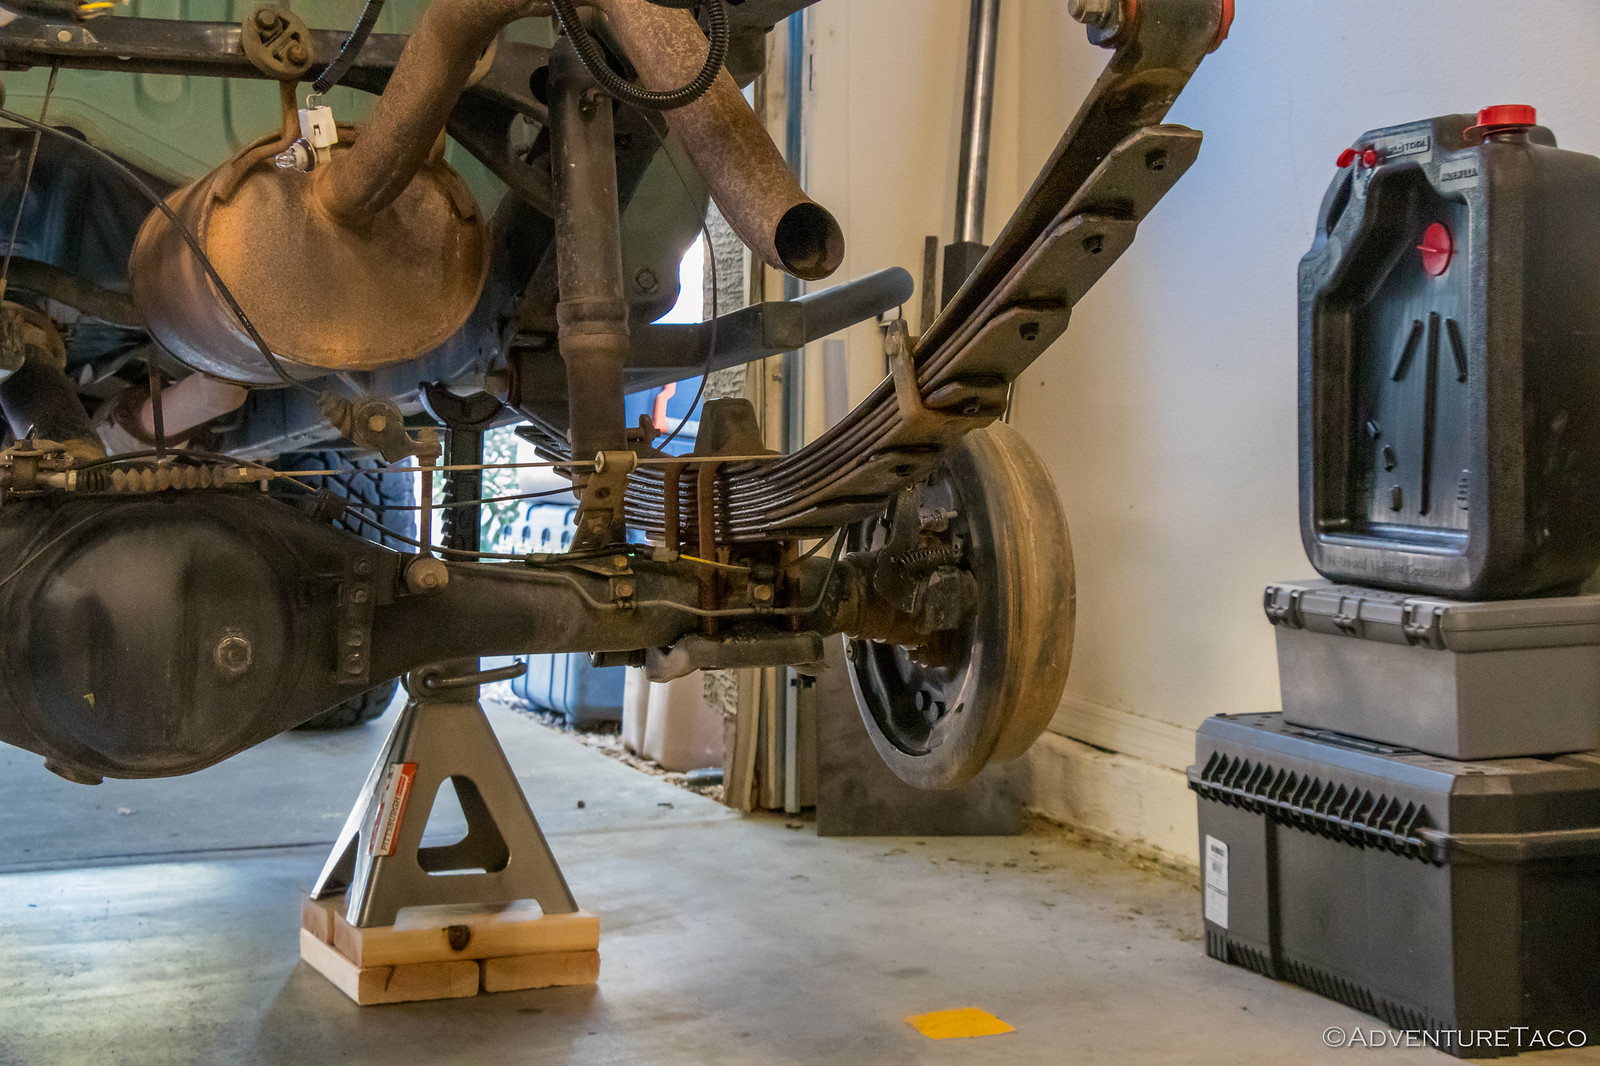
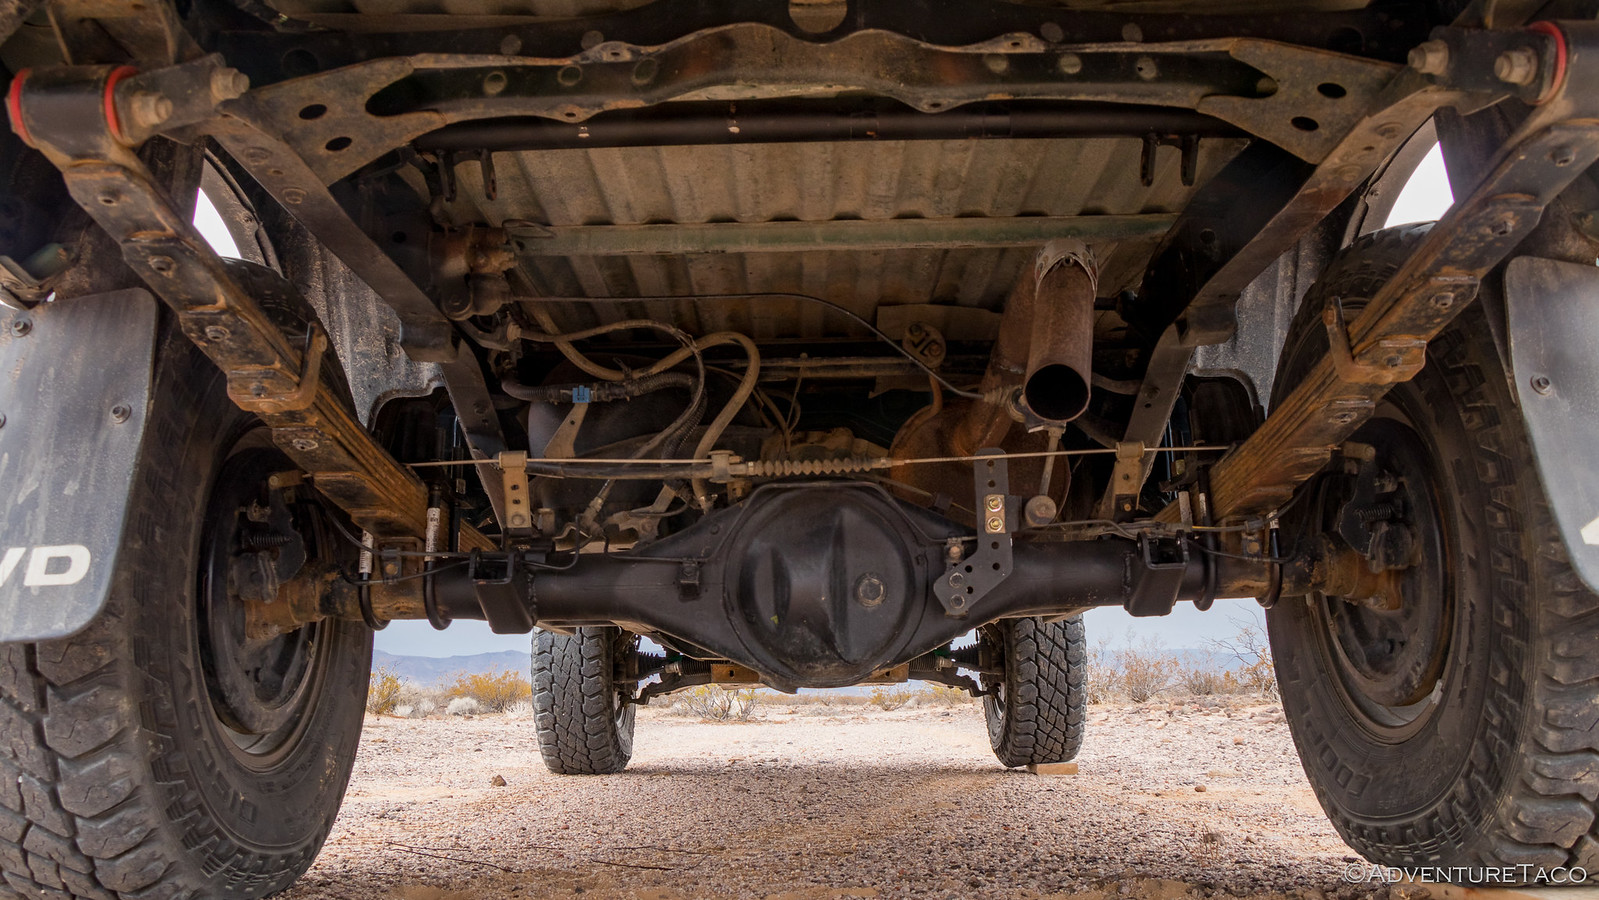
U-bolt removal and leaf pack disassembly were next, and were a place where we got a bit ... creative ... to support the rear axle. But hey - it's not as sketchy if it works, right?

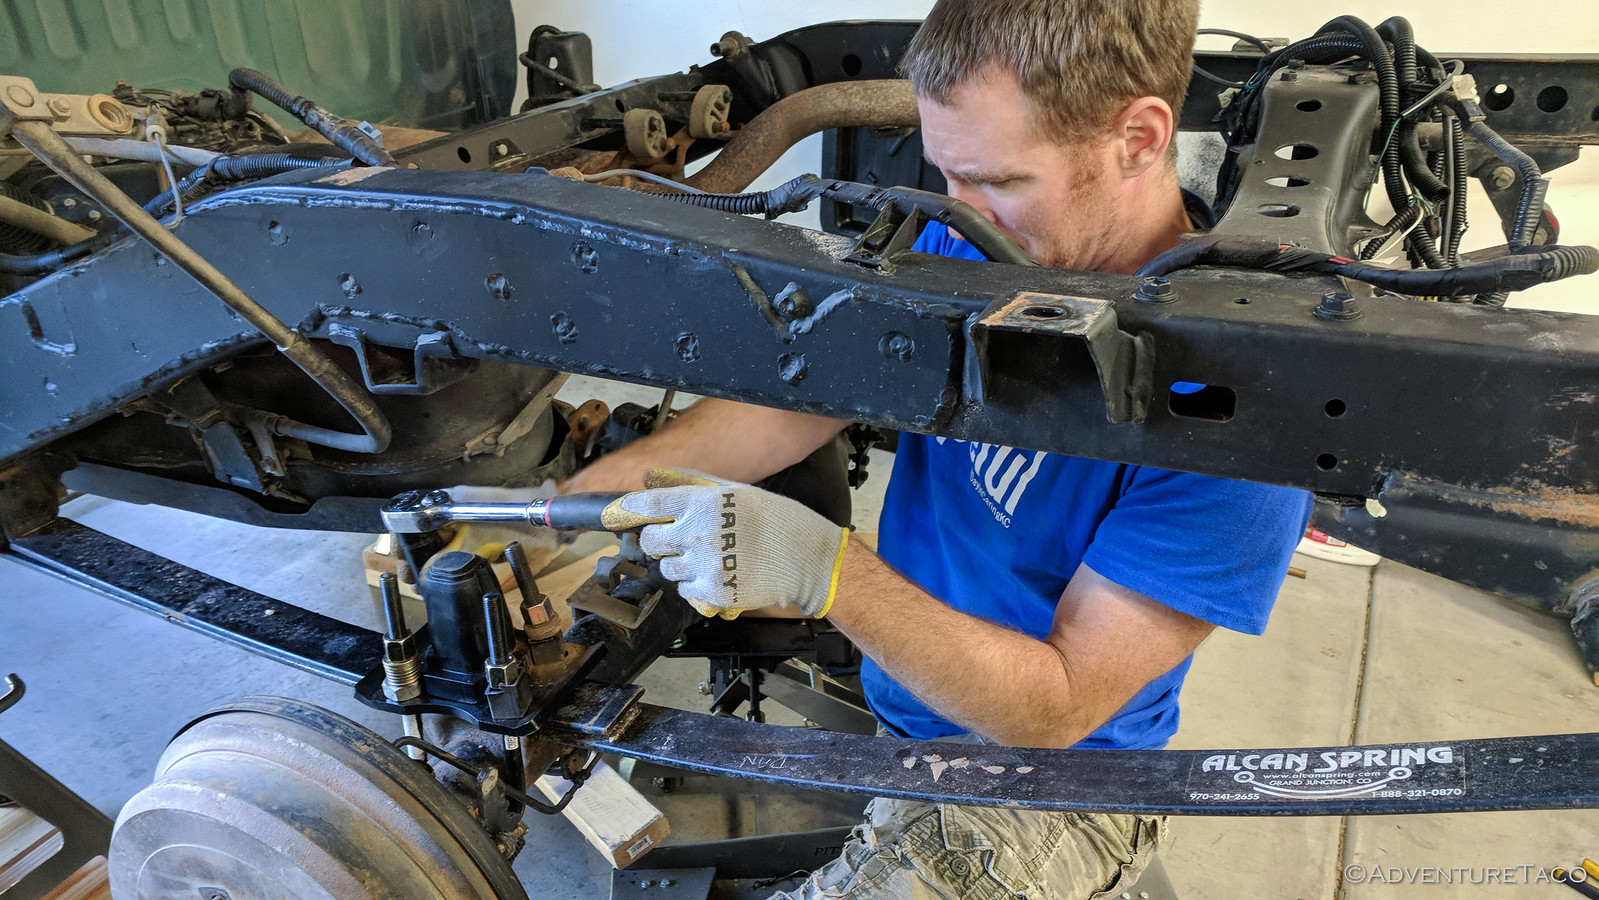
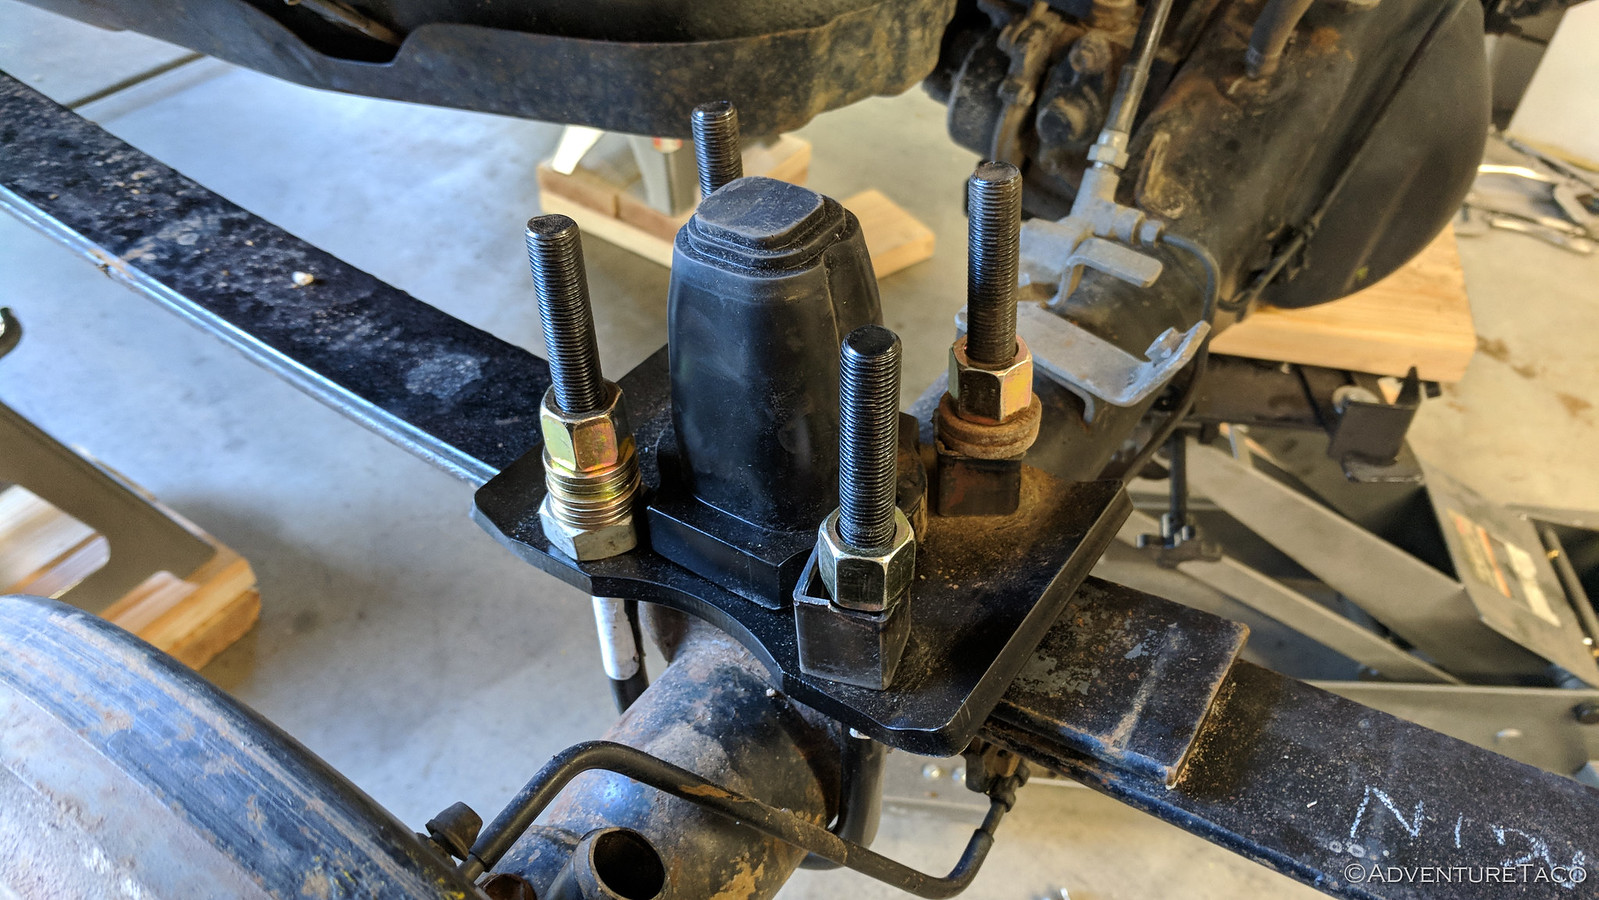
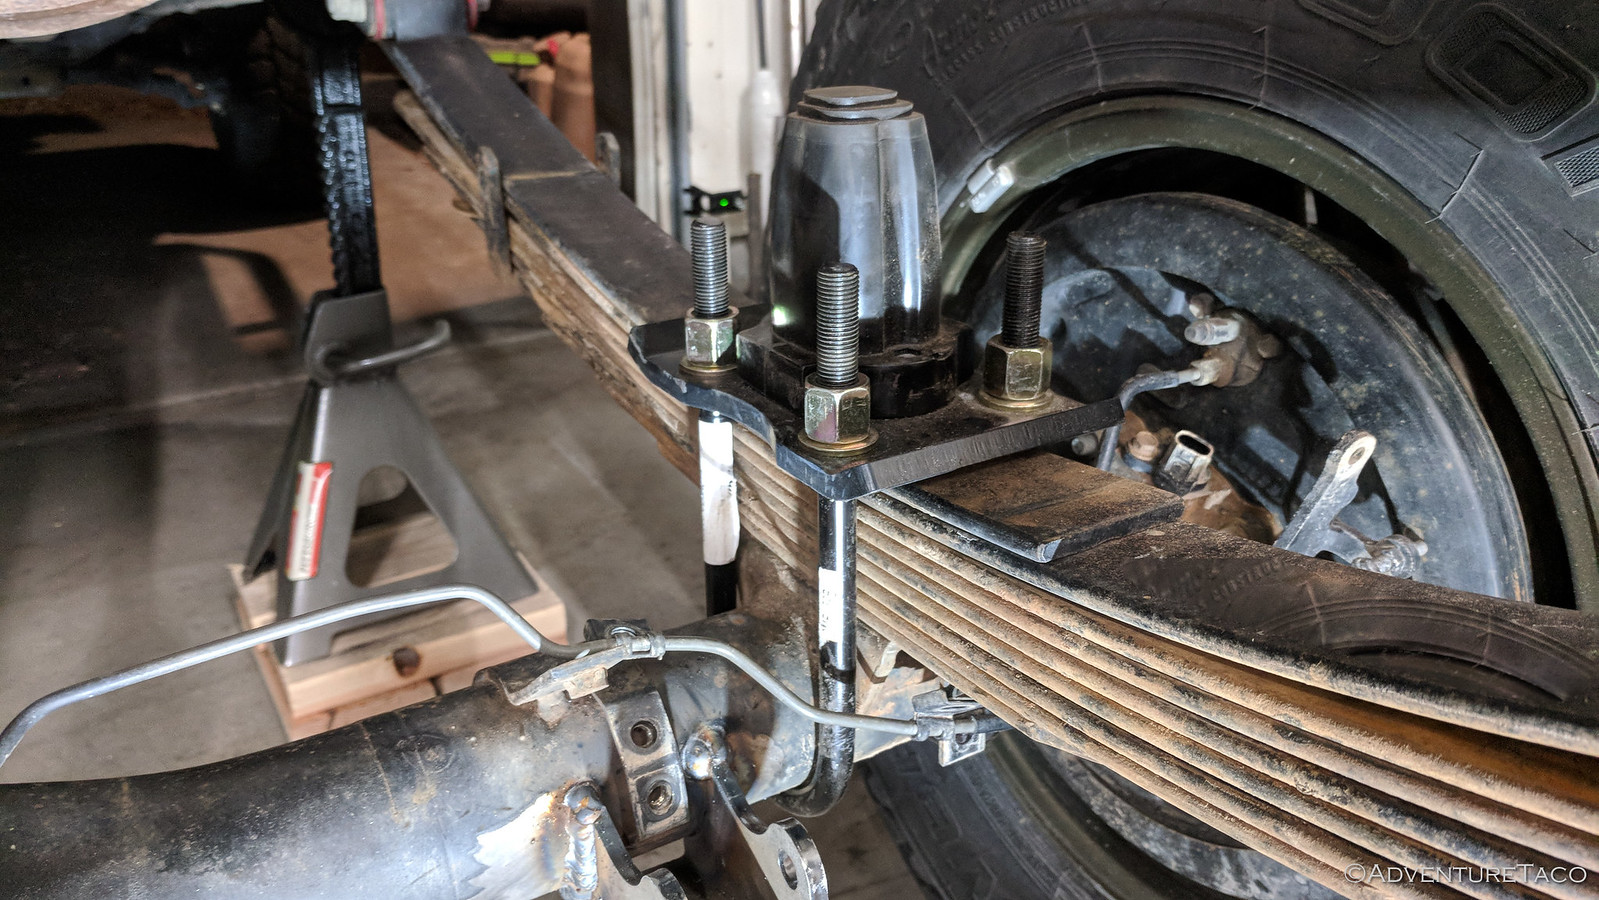
Leaf springs separated, we reattached the axle using my new @Plastics Guy u-bolt flip kit and a few "custom spacers" we found around the shop - so we had enough threads to tighten down the u-bolt nuts while we took our travel measurements.
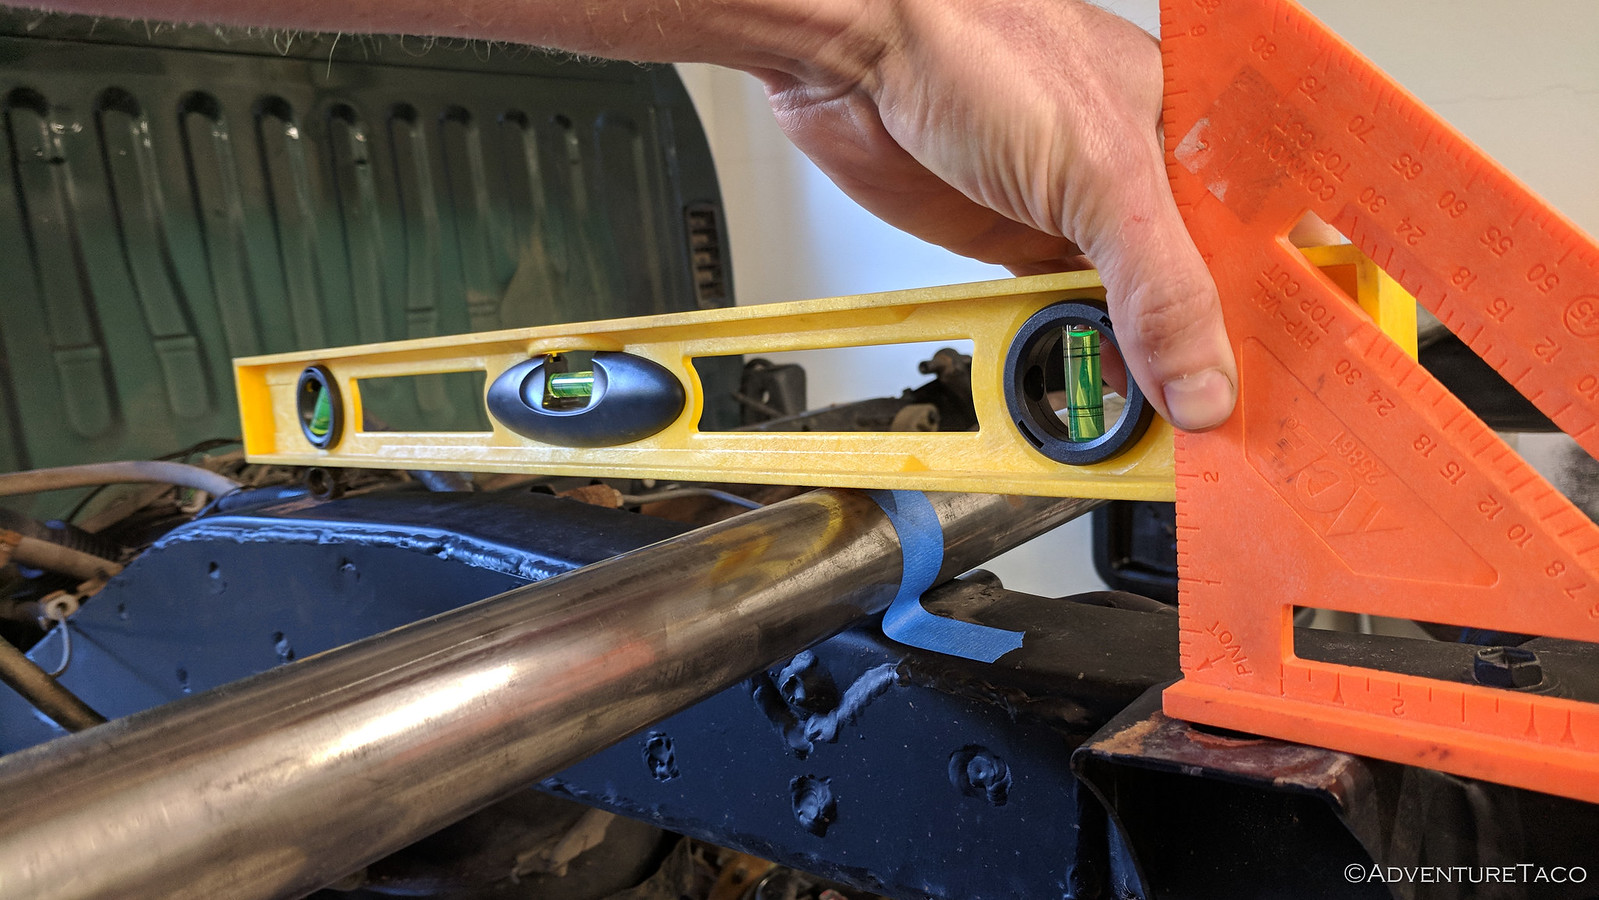
These travel measurements are obviously the key to a good install - so we knew we had to get the next part right. If we didn't, then my shocks might get destroyed by bottoming out or overextending before they could soak up the bumps. We were ready to measure twice, or even three times if necessary... and weld once.
Famous last words. 
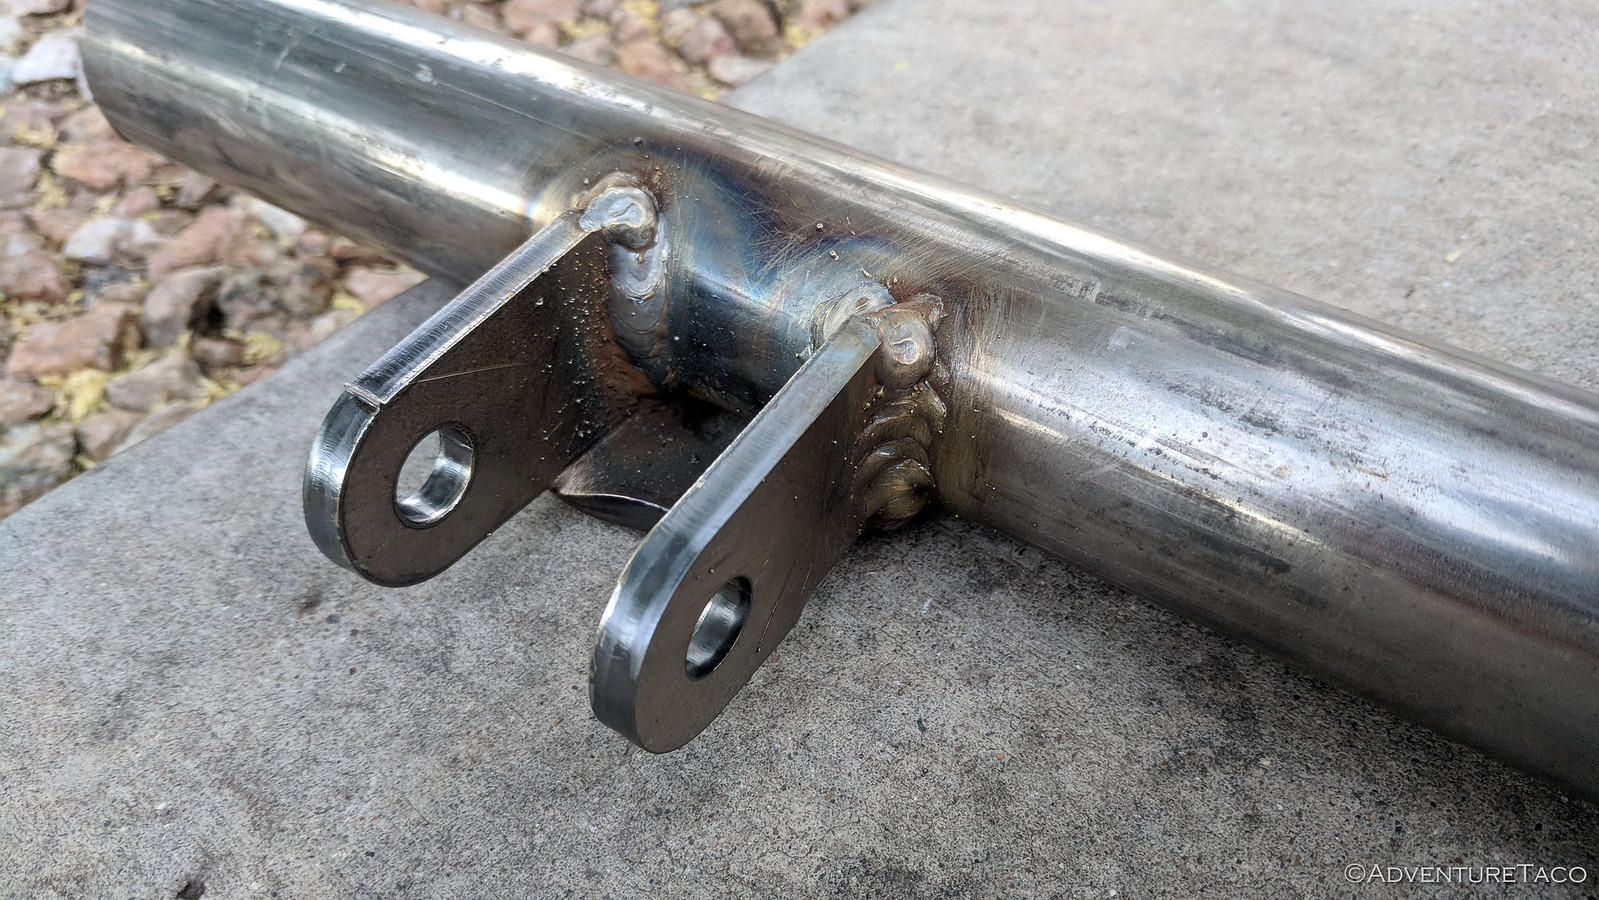
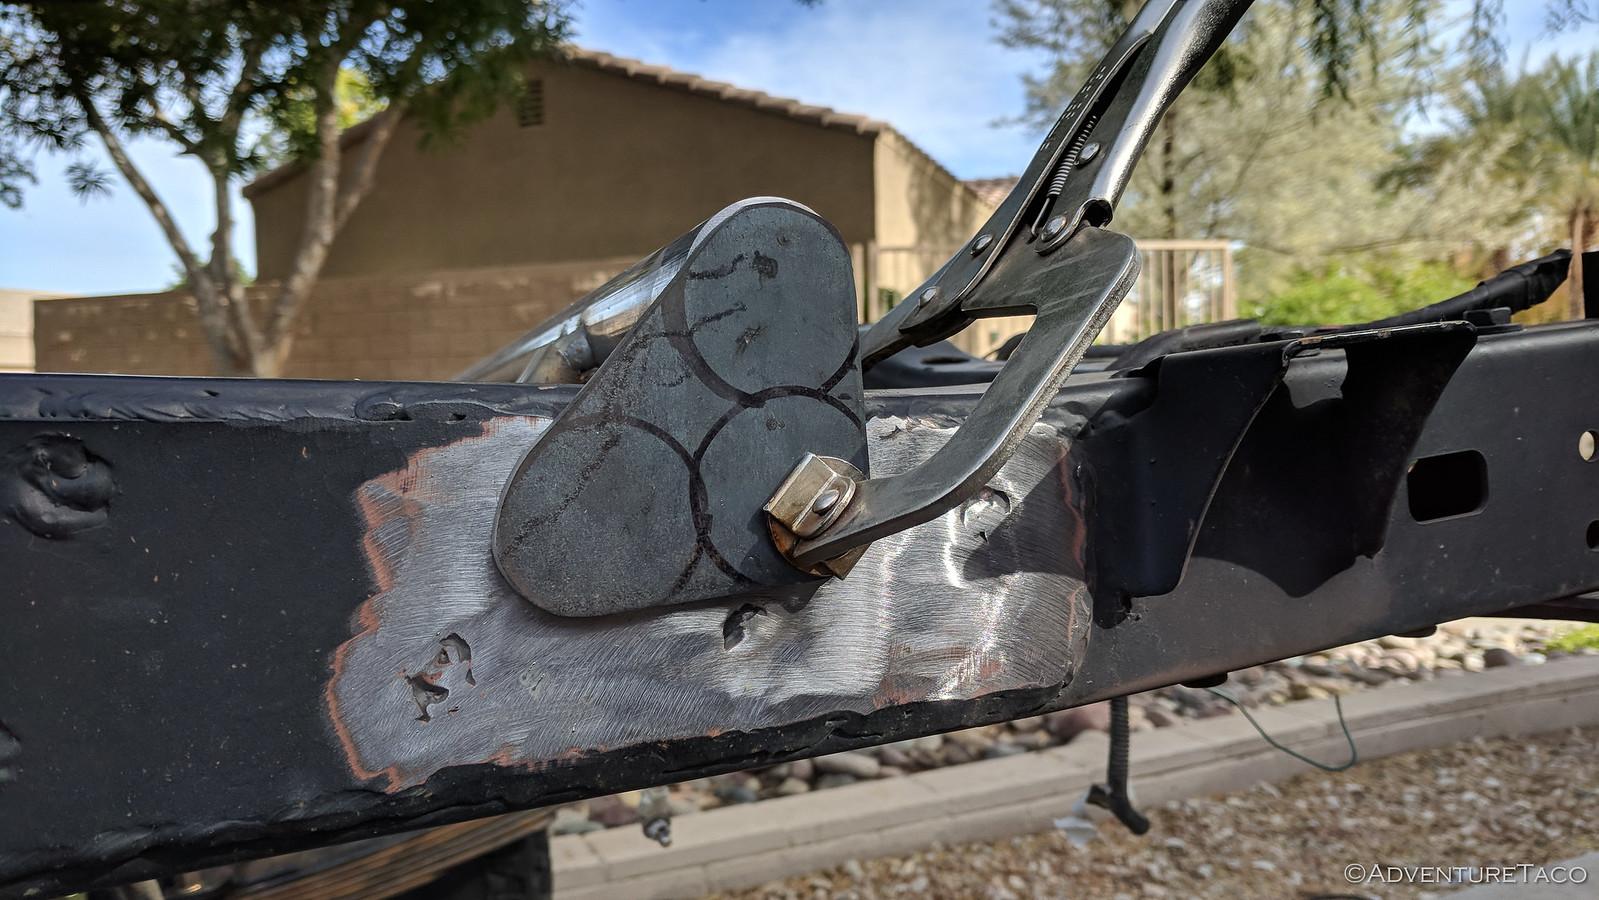
We started by placing the 1.75" round tube on the frame to determine how far forward (resulting in shocks that were as vertical as possible) it could sit and still not rub on the bottom of the bed. Once again using some high-tech spacers and measuring devices, we got it in just the right position and then zip-tied on the upper shock mounts.
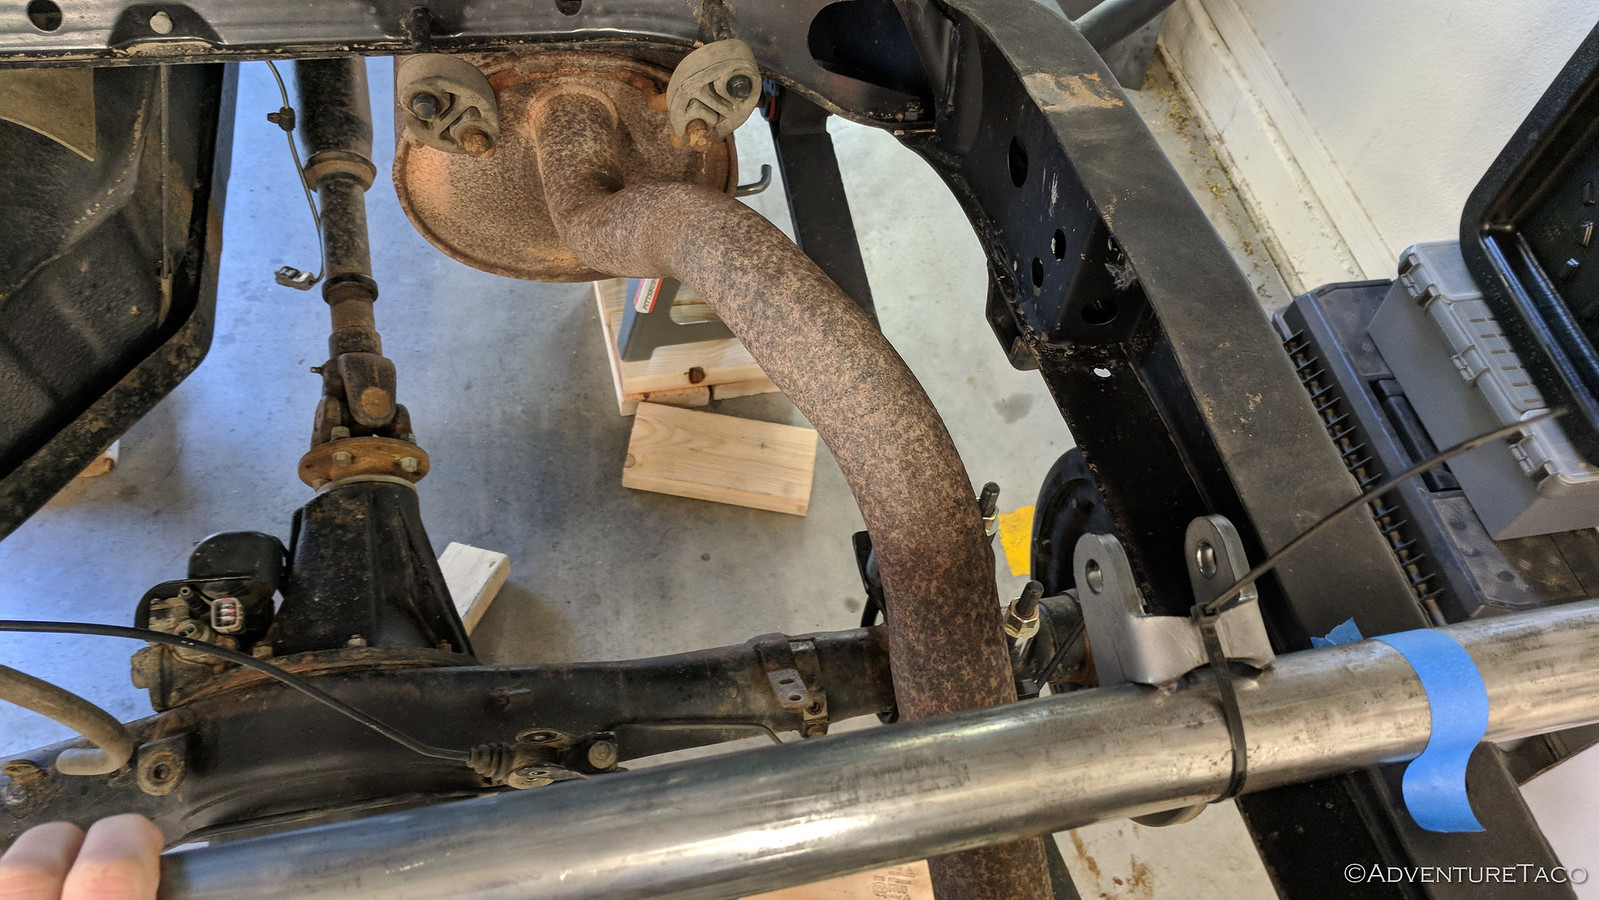
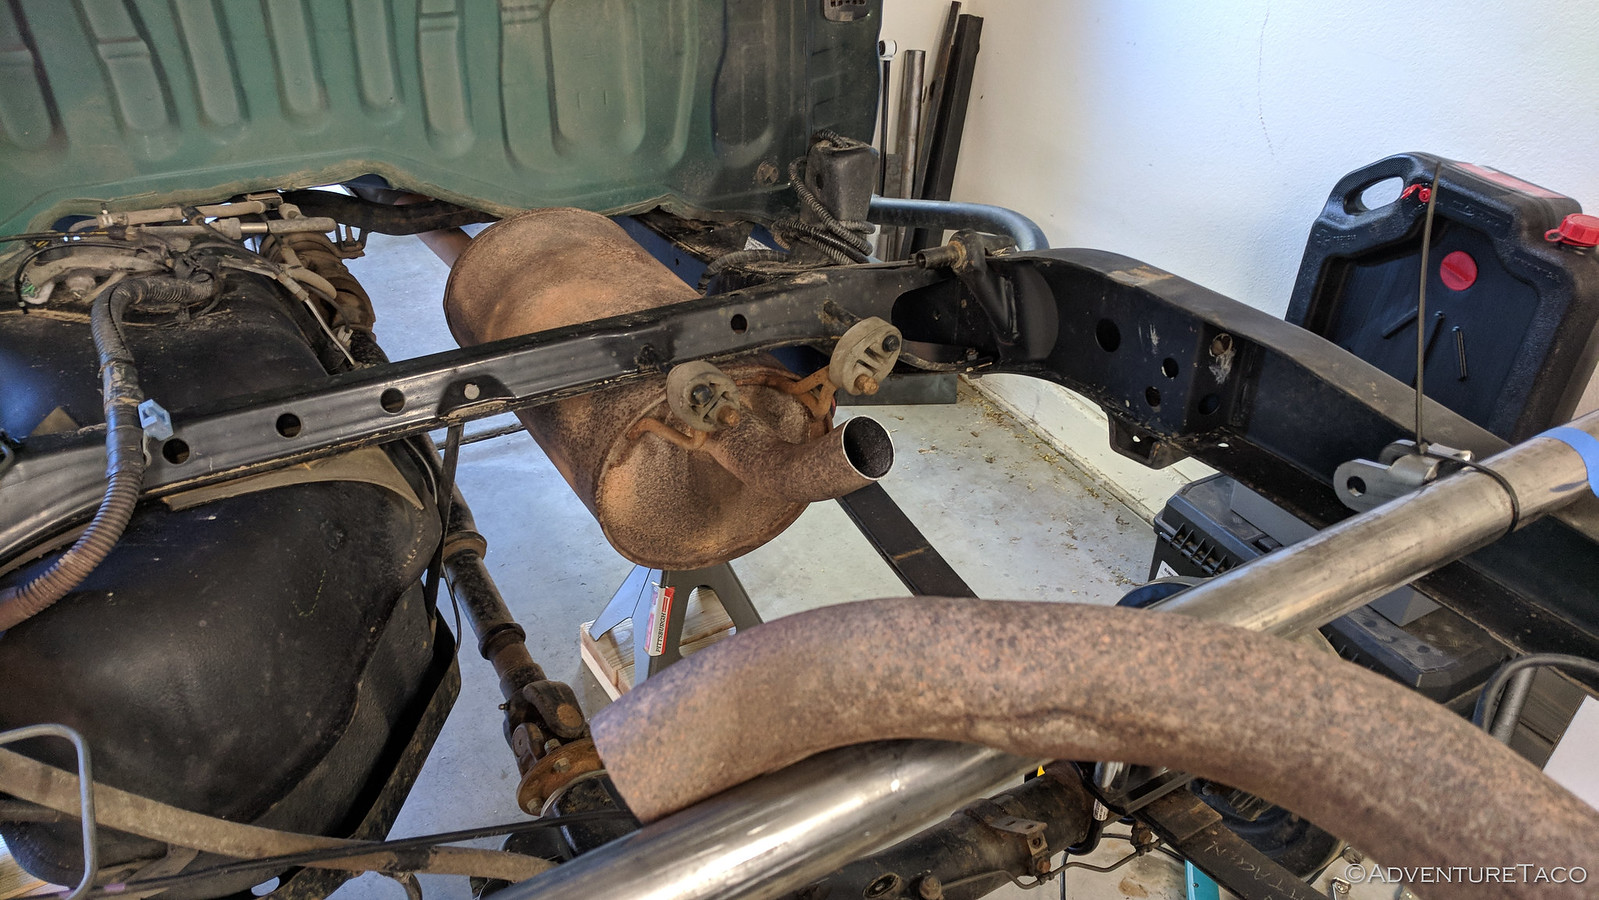
Well, as you can see above - as the exhaust makes it's way to the rear of the truck, it passes exactly where the passenger side shock will mount. This was different than Zane's experience, but wasn't too much of a problem for two guys with a sawzall. 
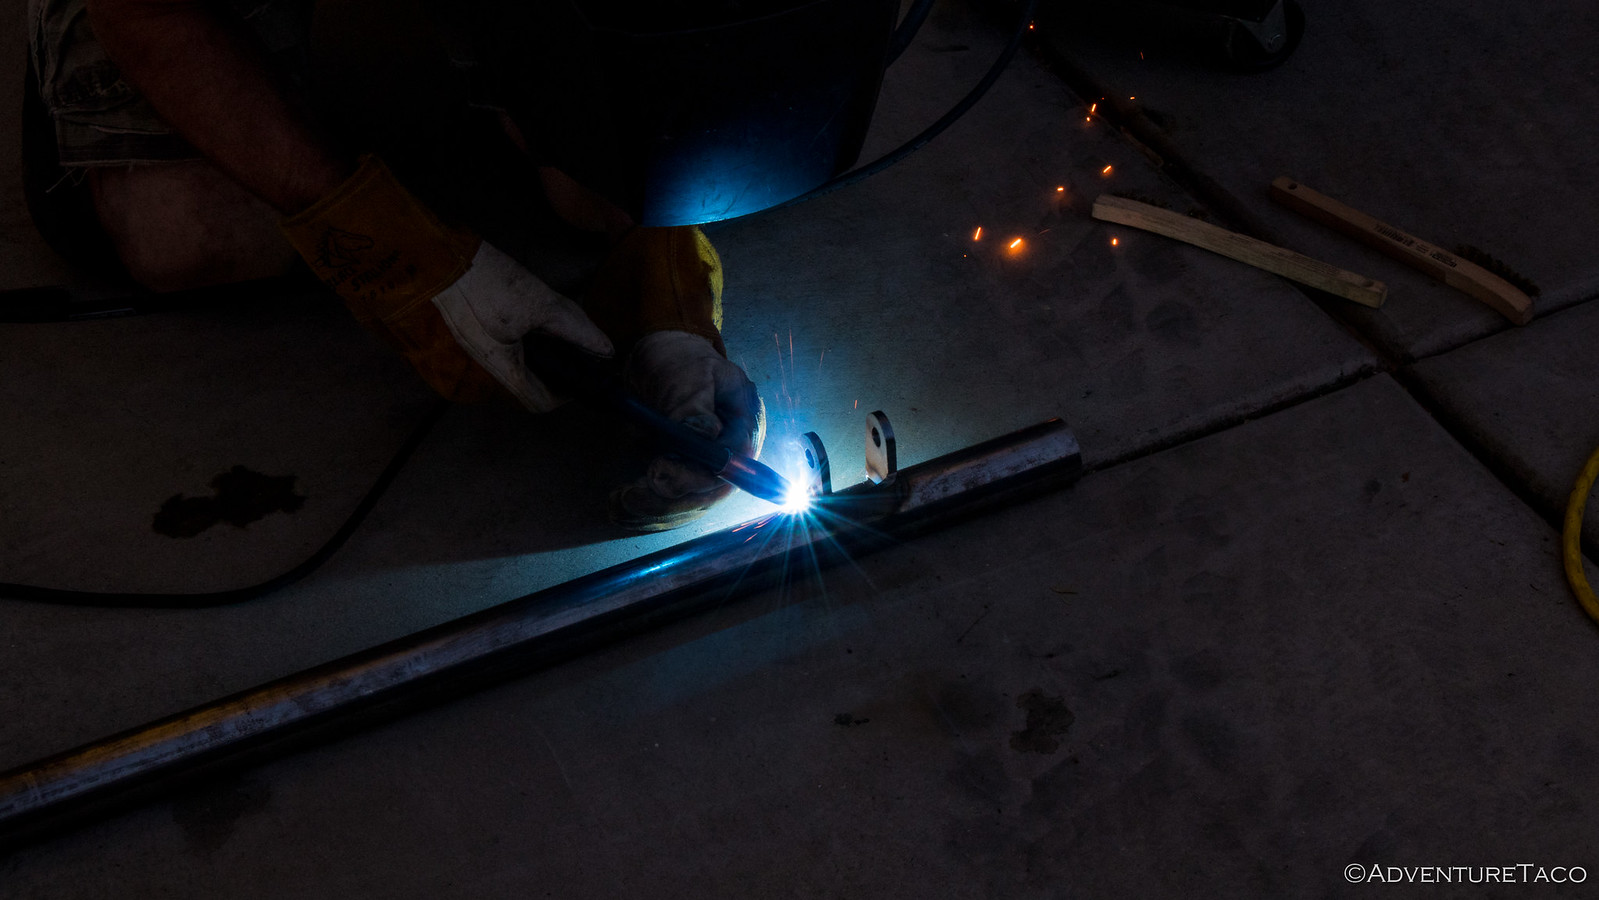
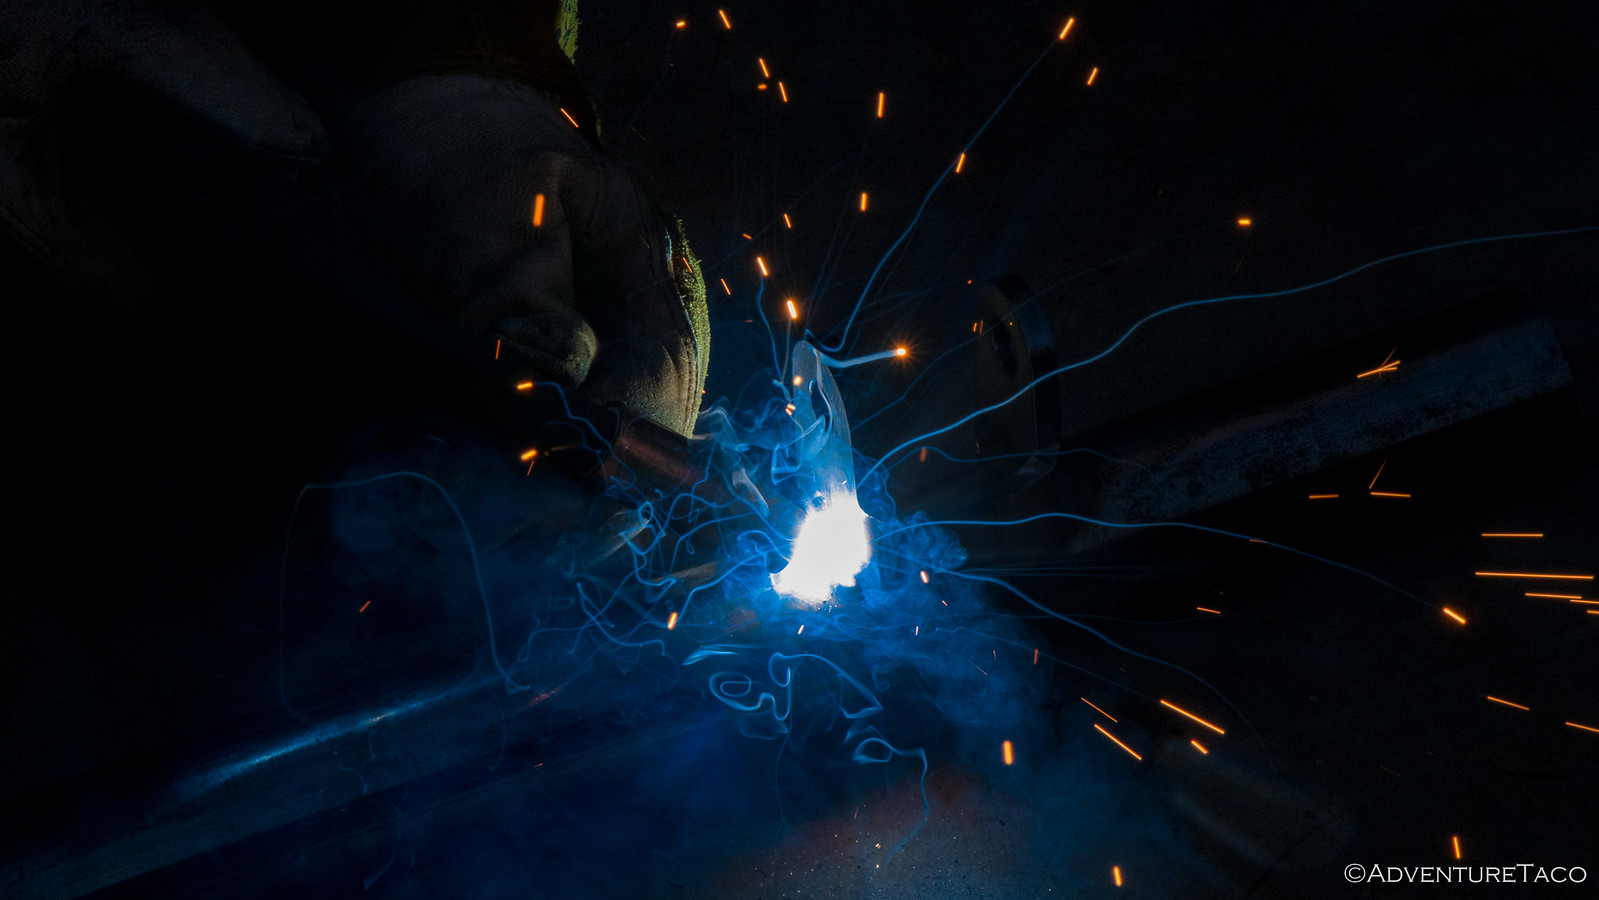
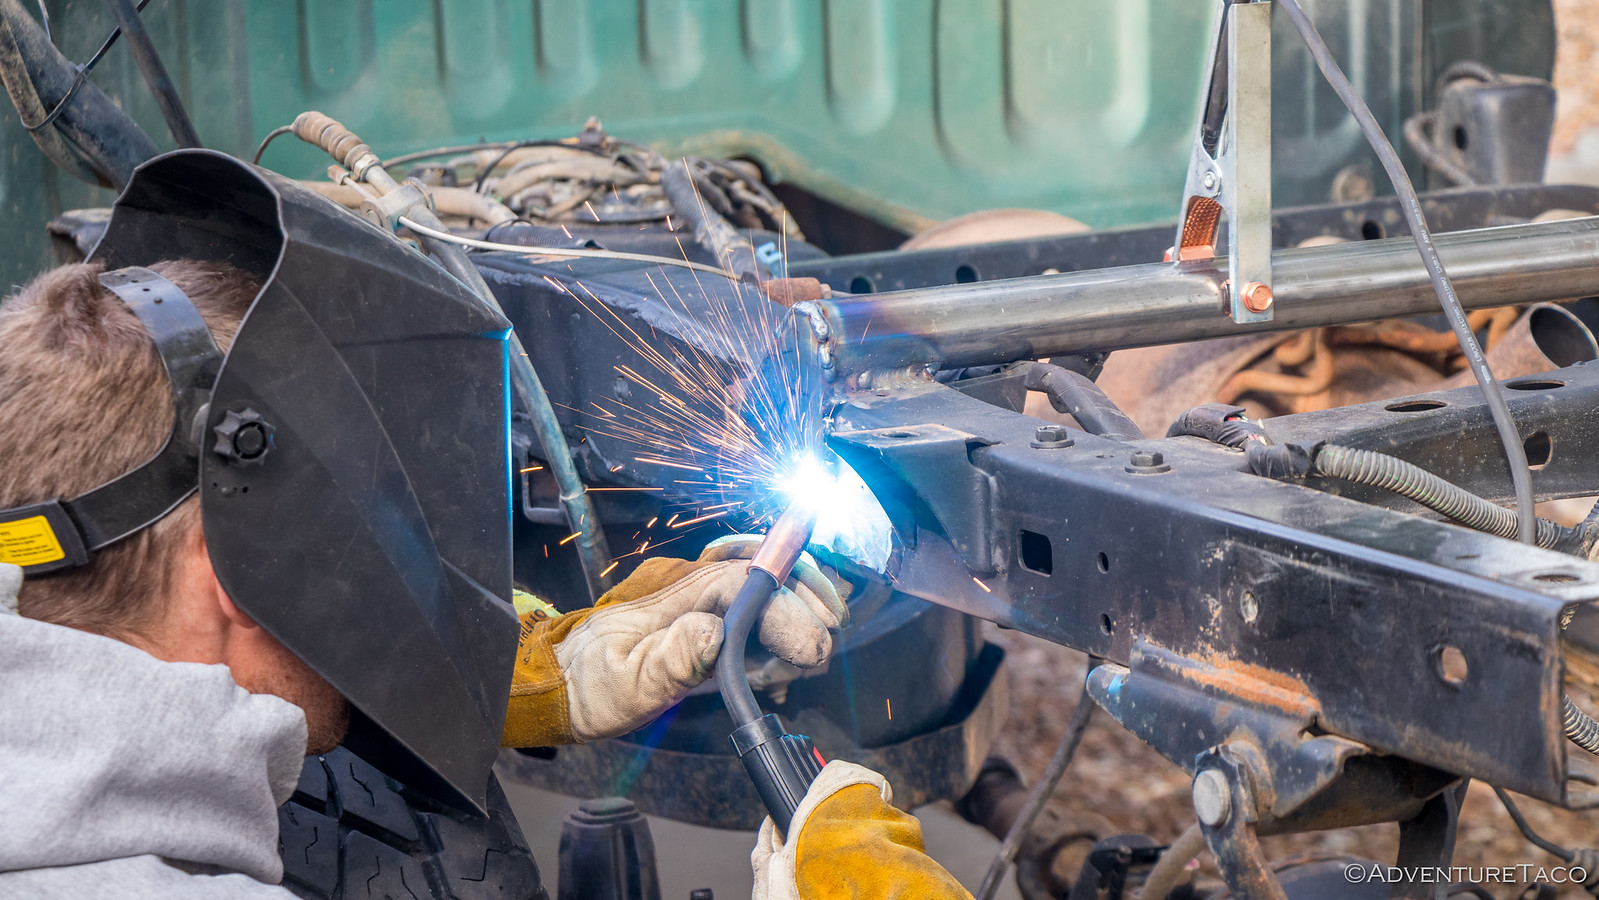
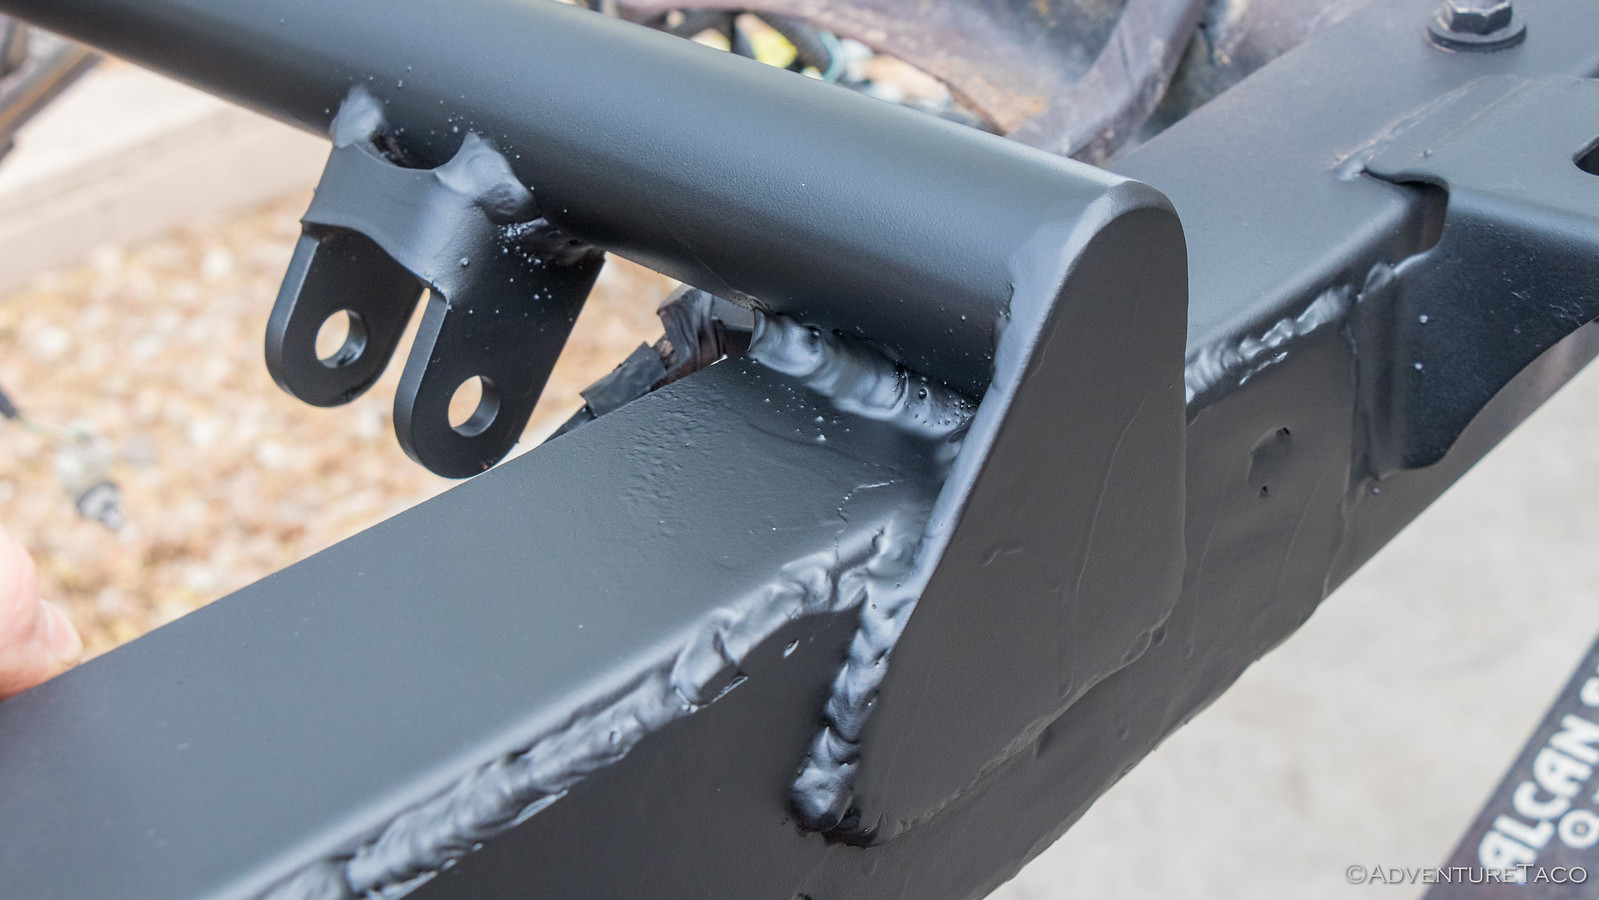
Top mounts positioned horizontally where we wanted them, we figured that now was as good a time as any to weld them on. By doing it now, we could lay everything on the ground, ensuring that the mounts were evenly aligned and then we could simply rotate the round tubing to angle the mounts up and down as appropriate to achieve the desired shock positioning.

Flush with welding success, we secured the upper mounts in place with some clamps and took our travel measurements. We must have been concentrating hard at this point because I didn't get any photos. Our methodology however was to use the floor jack to push up under one leaf spring until the entire truck started to lift off of the jack stands - that was our "full stuff / max compression" distance. Then, we pulled the floor jack out entirely and stood on the leaf spring to let it hang down as much as possible - that was out "full droop / max extension" distance.
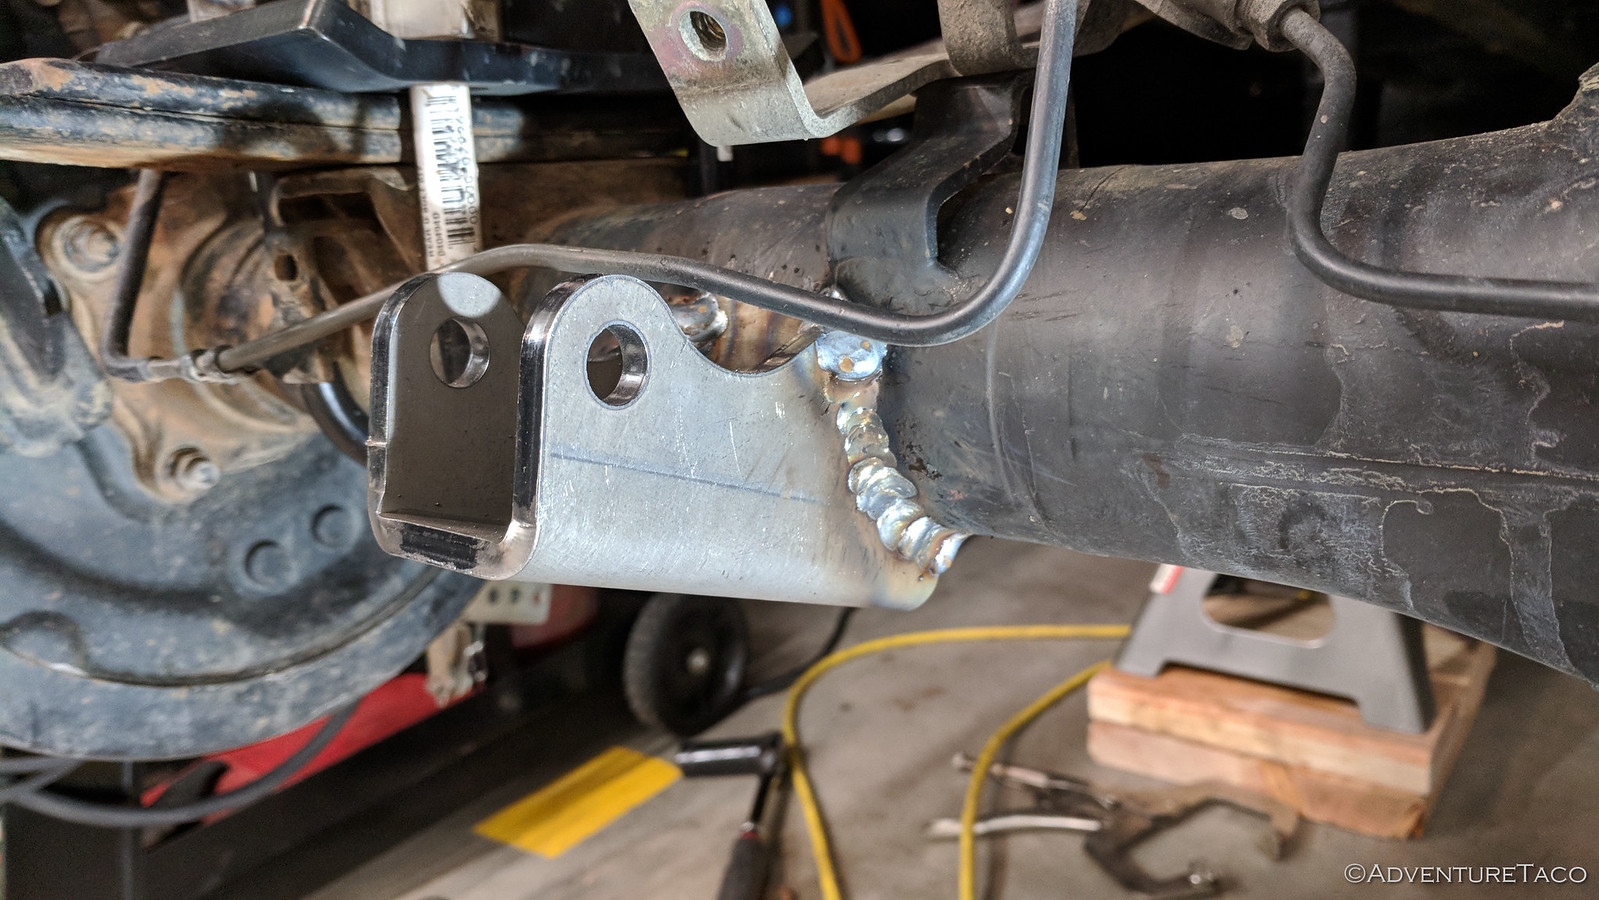
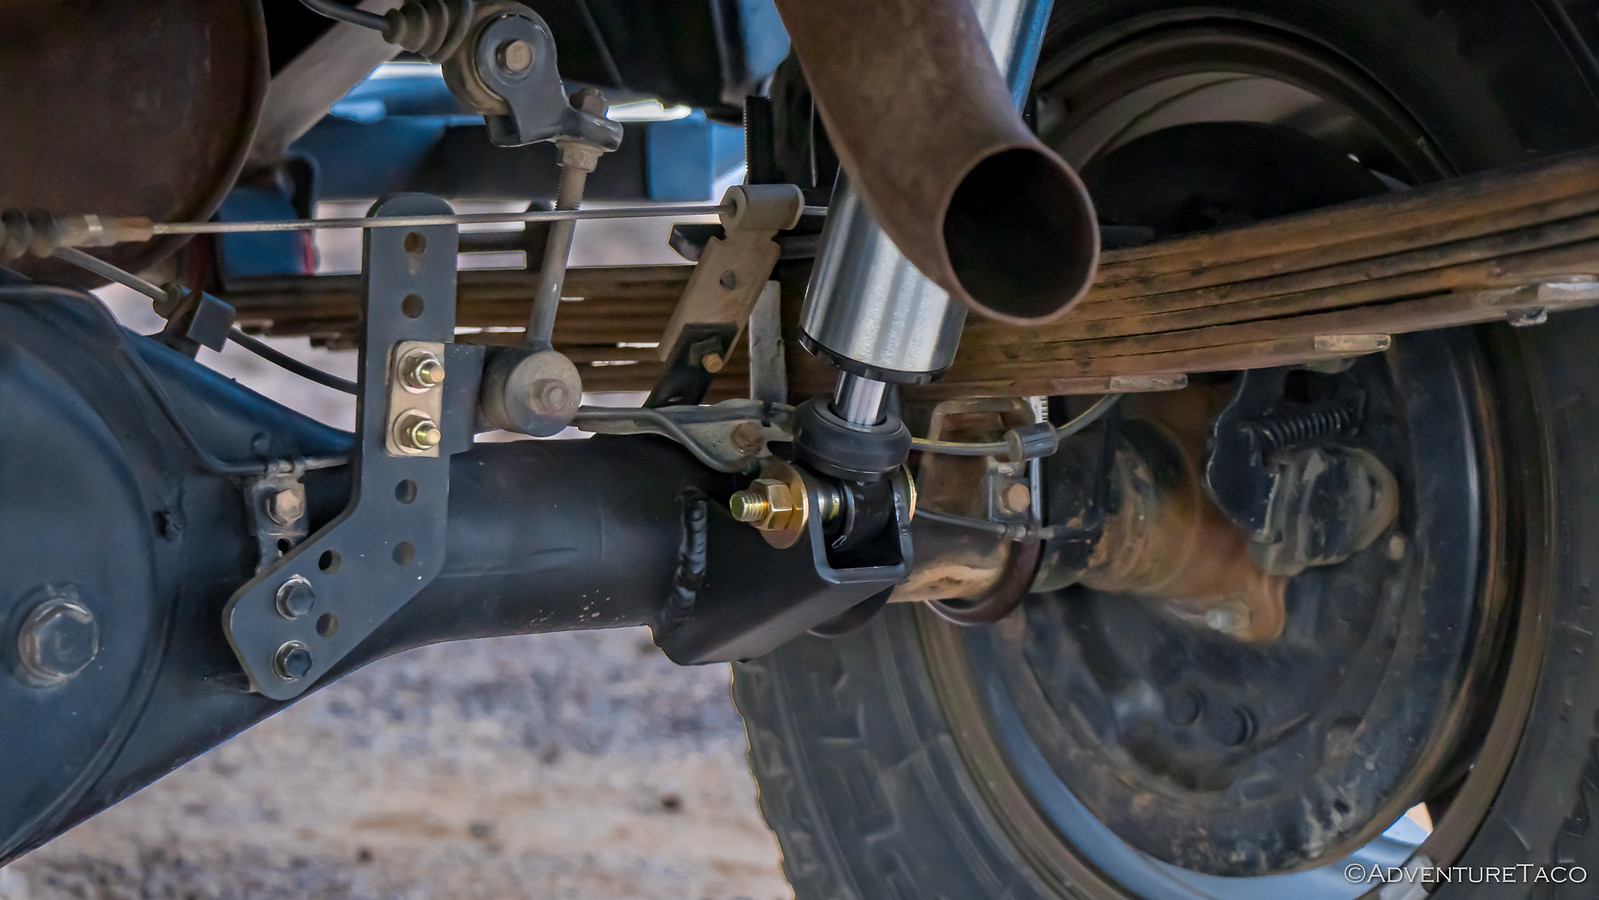
Those numbers in hand, we figured out the position of the lower shock mounts and I made Zane bend some of the hard brake lines since they'd be in the way of the mounts. See, I'd never messed with brake lines and bending them made me nervous  . I then marked (on the rear axle), the position of the lower shock mount such that it's 10 inch stroke would not limit movement of the leaf spring.
We measured twice. Actually, probably three times. We were sure we'd gotten it right. (Hint: we hadn't.) And so I welded on the lower mounts.

I was excited. My shock relocation - which I'd been thinking about for three months - was coming to fruition. With the mounts welded on, everything left was "easy":
- reinstall the leaf springs, u-bolt flip kit, and wheels to get the truck back on the ground;
- wrap up the final welding and gusseting of the round tube that supported the top mounts;
- prime and paint all the bare metal;
- install the shocks and all the bits we'd removed (bed, bumper).
We quickly got the leaf springs reassembled with the u-bolt flip kit and @Plastics Guy bump stops and wheels back on the truck so we could wheel it out into the driveway.
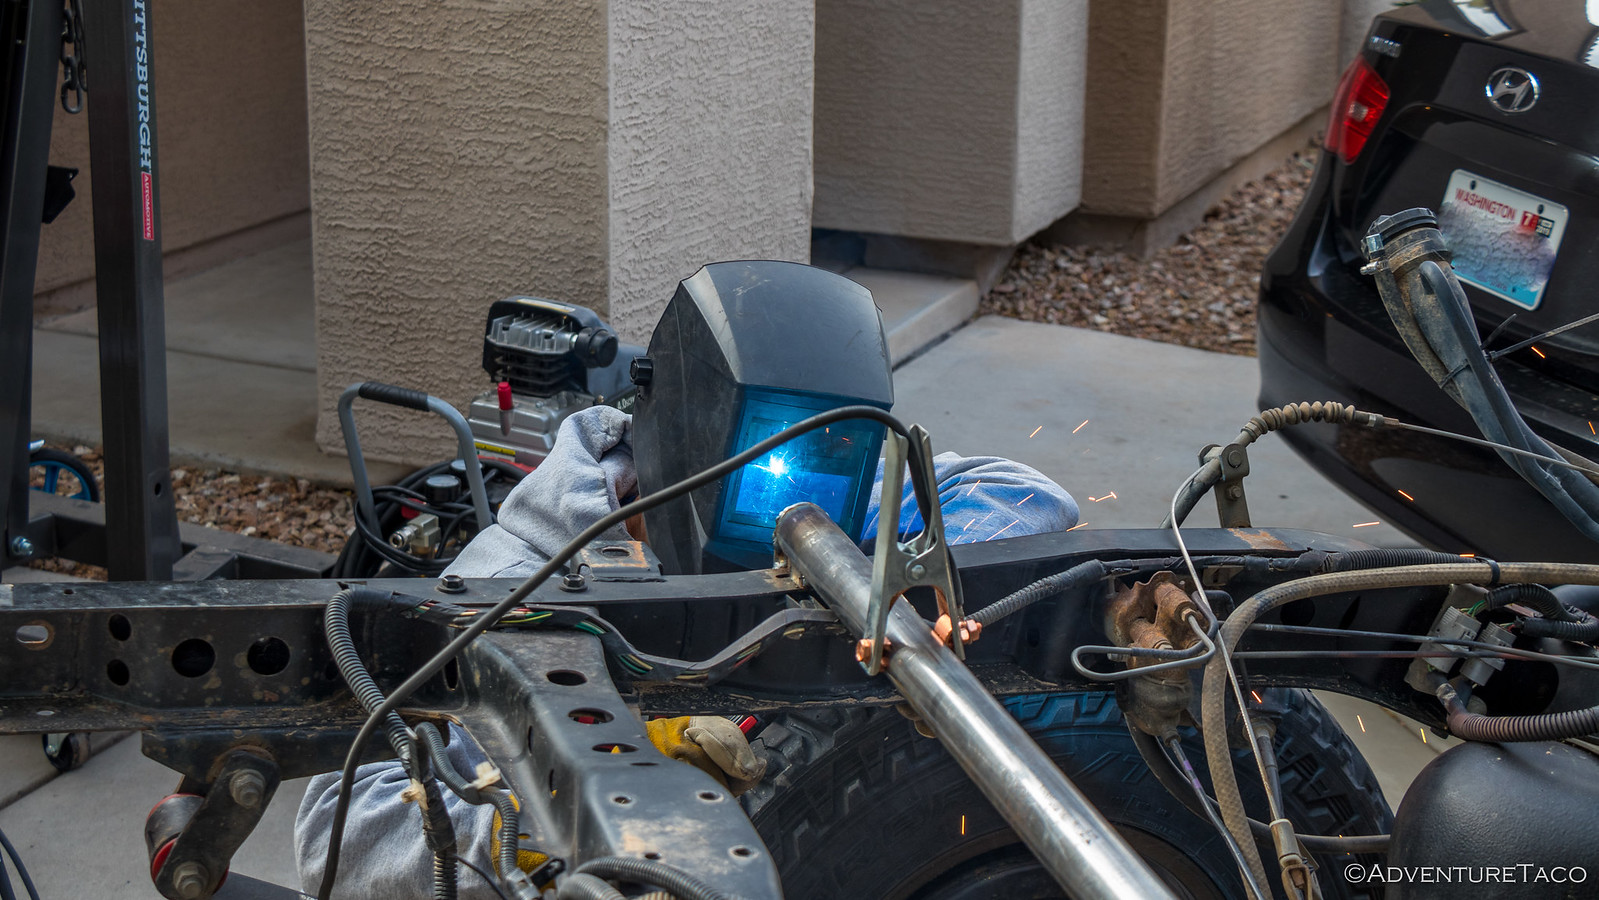
Likewise - the layout, cutting, and welding on of the gussets for the tubing was straight forward (and fun - more welding)!
And with that, the fabrication was complete. We'd done it, without any major hiccups, and - as far as I was concerned - relatively quickly. We were geniuses.
Well, OK, we weren't geniuses and the fabrication on this project was far from complete - but we didn't know that yet. So, I set about wire brushing all of the welded areas to remove any splatter and prep for paint; then I sprayed everything with a coat of primer followed by black paint.

As we both looked over the finished product, it all looked good. The upper mounts lined up with the lower mounts; the welds looked reasonable - almost as though I knew what I was doing.

So we installed the 2.5" smooth body w/remote reservoir ADS shocks. To compress them for install, we used a ratchet strap around the shock until the mounting holes lined up perfectly with the mounts, and slid in some ½-inch grade 8 bolts to hold them in place. Finally, we secured the reservoirs to the round tubing - a convenient side effect of this mounting strategy.

There were of course a couple more hours of work to get the bed, bumper, and tent back on the truck; plus we spent some time cleaning up and putting the garage back "in order" before we grabbed dinner and then pulled out our laptops to see what we'd missed in the world over the last two days.
Of course, I headed straight to TacomaWorld - I had to post a couple photos of the work and my gratitude in the 1st Gen Daily thread - since I was excited to let everyone know what all the secrecy the last couple days had been about.
And it wasn't 6 minutes before the first response rolled in - "Those mounts look pretty close together." Needless to say, Zane and I walked through how careful we'd been with the whole setup and how we were sure everything was right. A bit more back and forth and eventually the topic changed and an hour or so later I went to bed, still mostly confident in the work we'd done - knowing that I'd get a chance to try it out over the next couple days on a trip through the Mojave National Preserve.
- - - - -
Spoiler
OK, not really a spoiler since I've said it a few times already - though we'd measured three times and welded once, we hadn't measured correctly. Rather, we hadn't even set ourselves up to be able to measure correctly.
The next day, after picking up @mrs.turbodb in Las Vegas, and only about a mile into the Mojave Road, I knew that we wouldn't be able to run the entire road with my shocks installed the way they were. Even over small bumps the shocks were bottoming out - only having perhaps 2" of up-travel, not nearly enough with a fully loaded bed.
There were two options - abort the trip and head home on the highway, or remove the shocks and run the Mojave Road with leaf springs only. The answer - to me - was obvious: adventure was waiting.