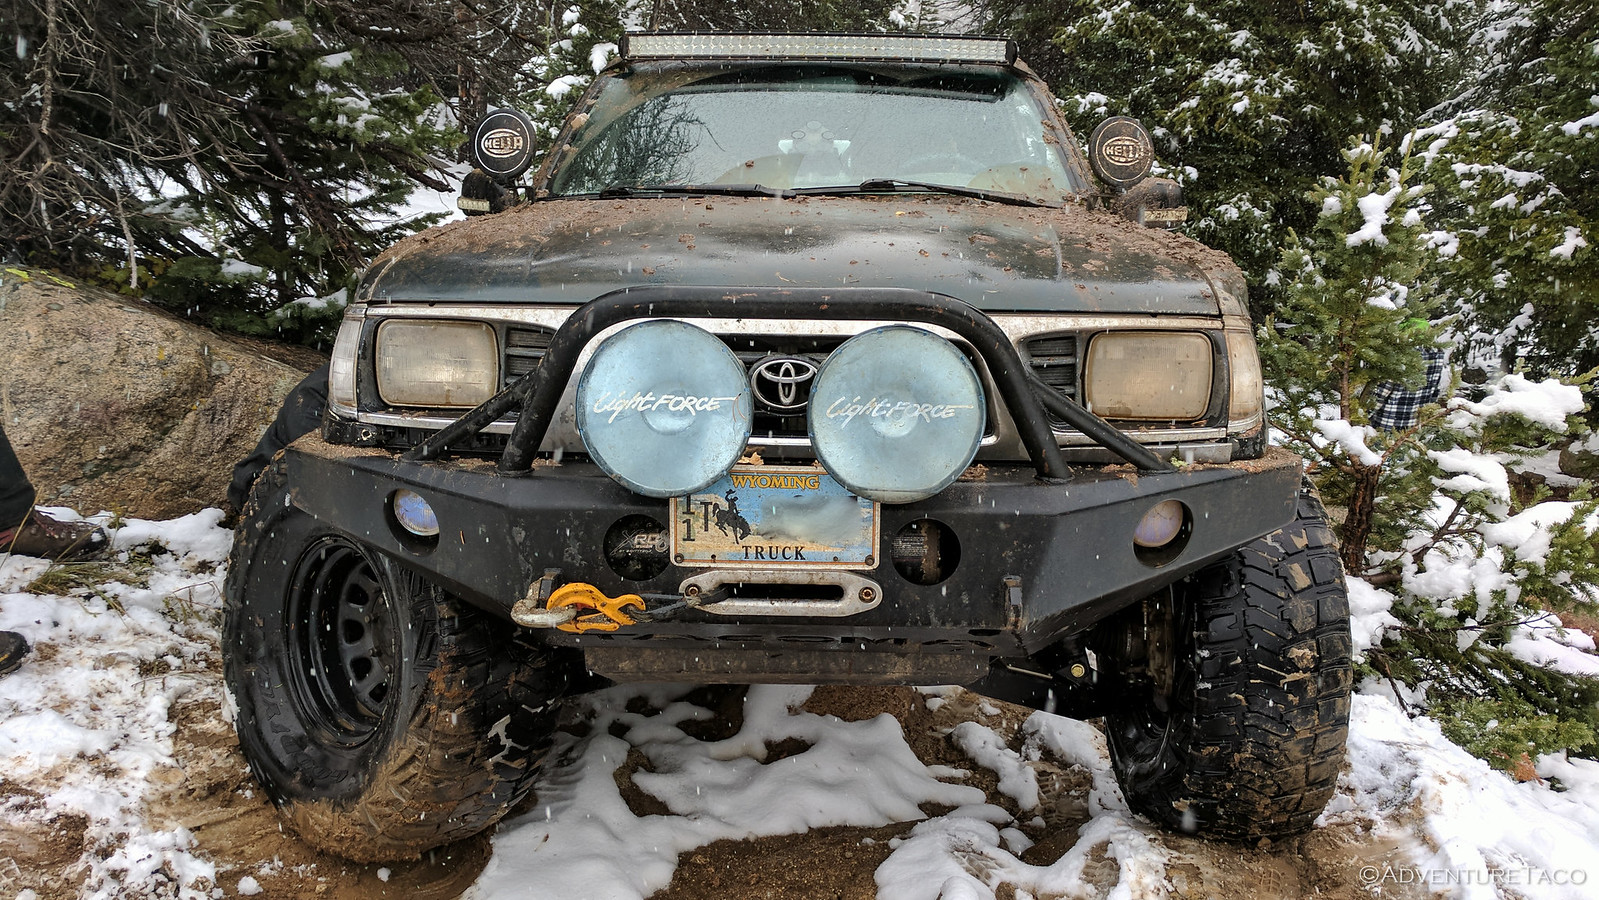
If there's one thing I've learned when it comes to first gen Toyota Tacoma's, it's that the weak point of the design (well, excluding rusty frames) is the lower ball joint (LBJ) on the front suspension. The design of the joint makes it susceptible to failure, and that failure is often catastrophic if you're traveling at any kind of speed.
And sometimes, even if you're not.
So, over the last year as I've been pushing the truck harder, I've been keeping an eye on my LBJ's - they're the originals after all, nearly 20 years old, and with 95,000 miles on them. I even went so far as to purchase some OEM replacements (P/N's - L: 43340-39585; R: 43330-39815 - and it's important to go OEM with these ball joints, the after market ones aren't up to snuff) about six months ago, which I've been toting around with me as trail spares in case mine gave out while on an adventure.
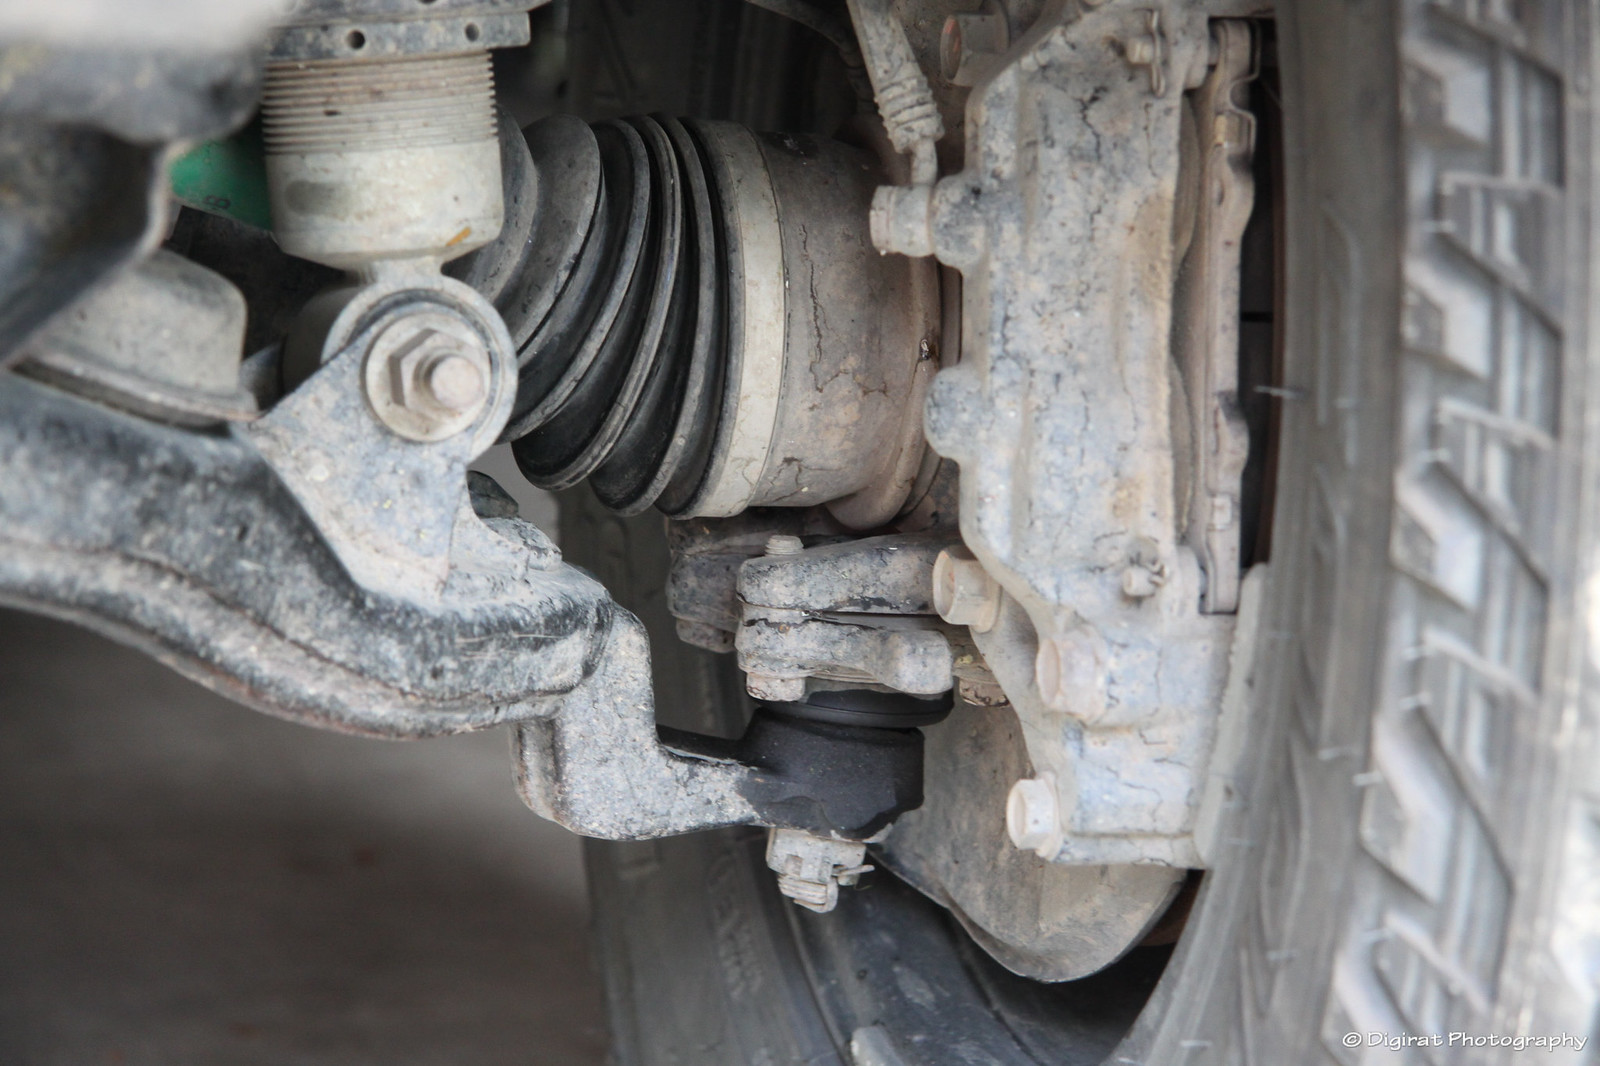
Then, a week or so ago, I noticed that the lower control arm (LCA) - just where the ball joint connects - had a wee bit of "wetness" to it, as though a bit of grease had leaked down out of the LBJ. Knowing that there are surely lots of big trips on the horizon, I figured it was safer to change them out now, even if there wasn't any play in them.
And, with a shop day coming up at Mike's @Digiratus, there was no better time to do it.
Step one of course was obtaining the parts and tools. The parts were easy, since I had them on hand already. From a tools perspective, I ended up using several sockets, and a ball joint separator:
- Misc sockets (set)
- 22mm socket to remove the castle nut on the outer tie rod
- 24mm socket to remove the castle nut on the LBJ
- 14mm socket to remove the four bolts holding the LBJ to the spindle
- OTC 6295 Front End Service Set
- pliers for the various cotter pins
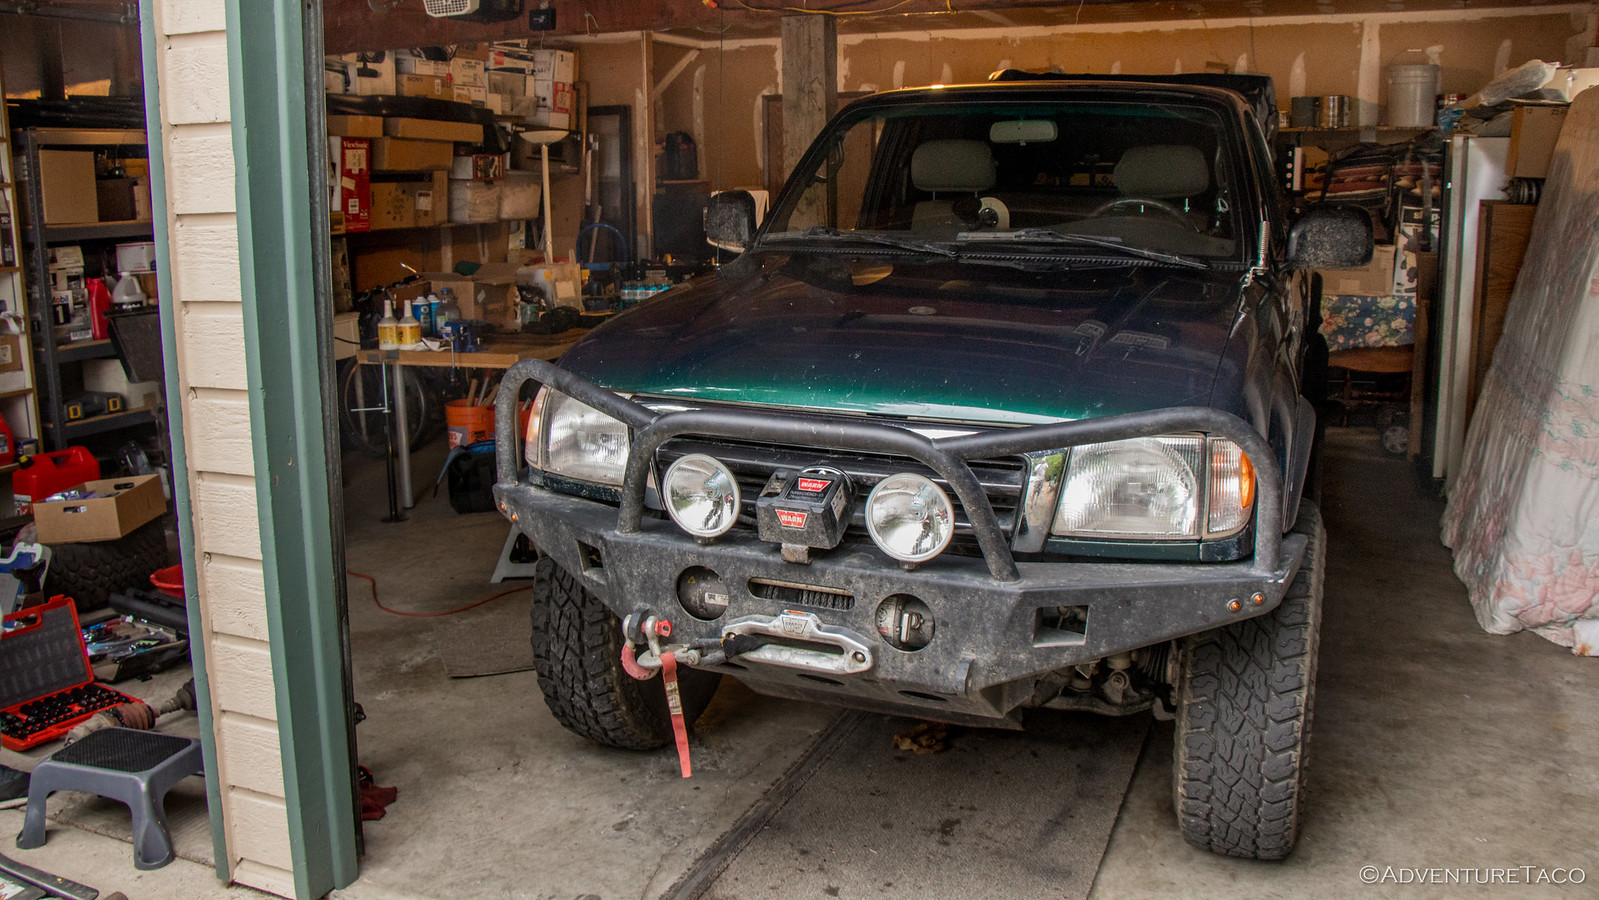
The next step of course was to pull into the shop (vs. outside) and jack up the truck; this being the first rainy day we've had here in the Pacific Northwest in quite a while!
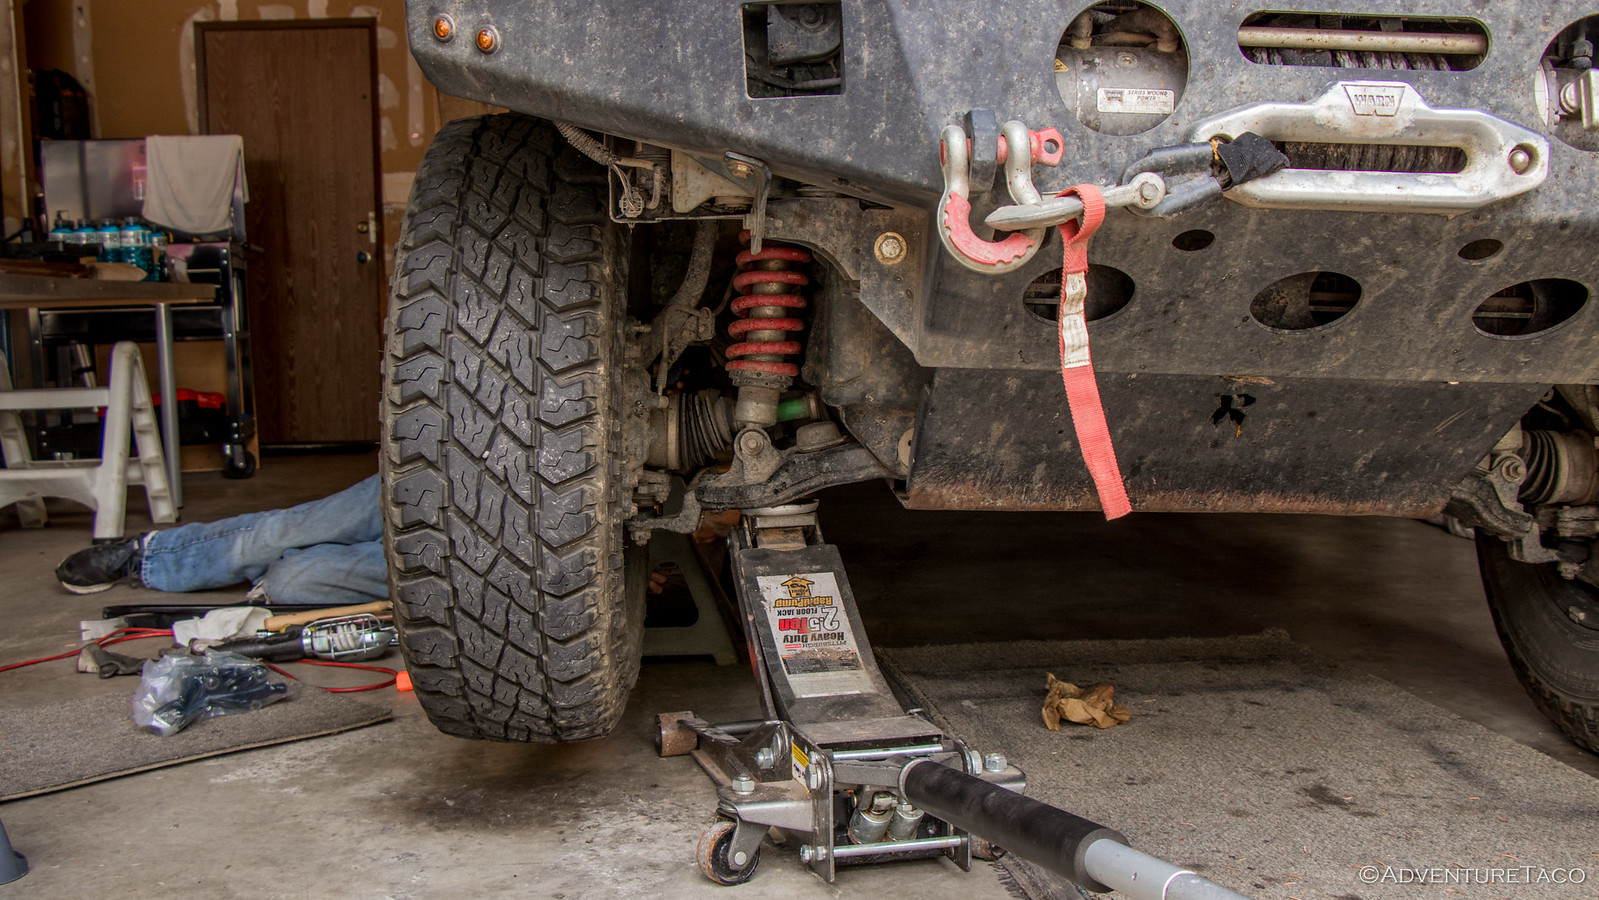
Then, with the wheels removed, I set about removing the outer tie rod ends. The 22mm castle nuts came off easily using the new Milwaukee mid-torque impact wrench (which by the way also worked great on Mike's axle nuts) and then I set about pulling apart the joint using a pitman arm puller. When it released, it let out quite the bang; I was glad to be wearing my ear plugs for sure!
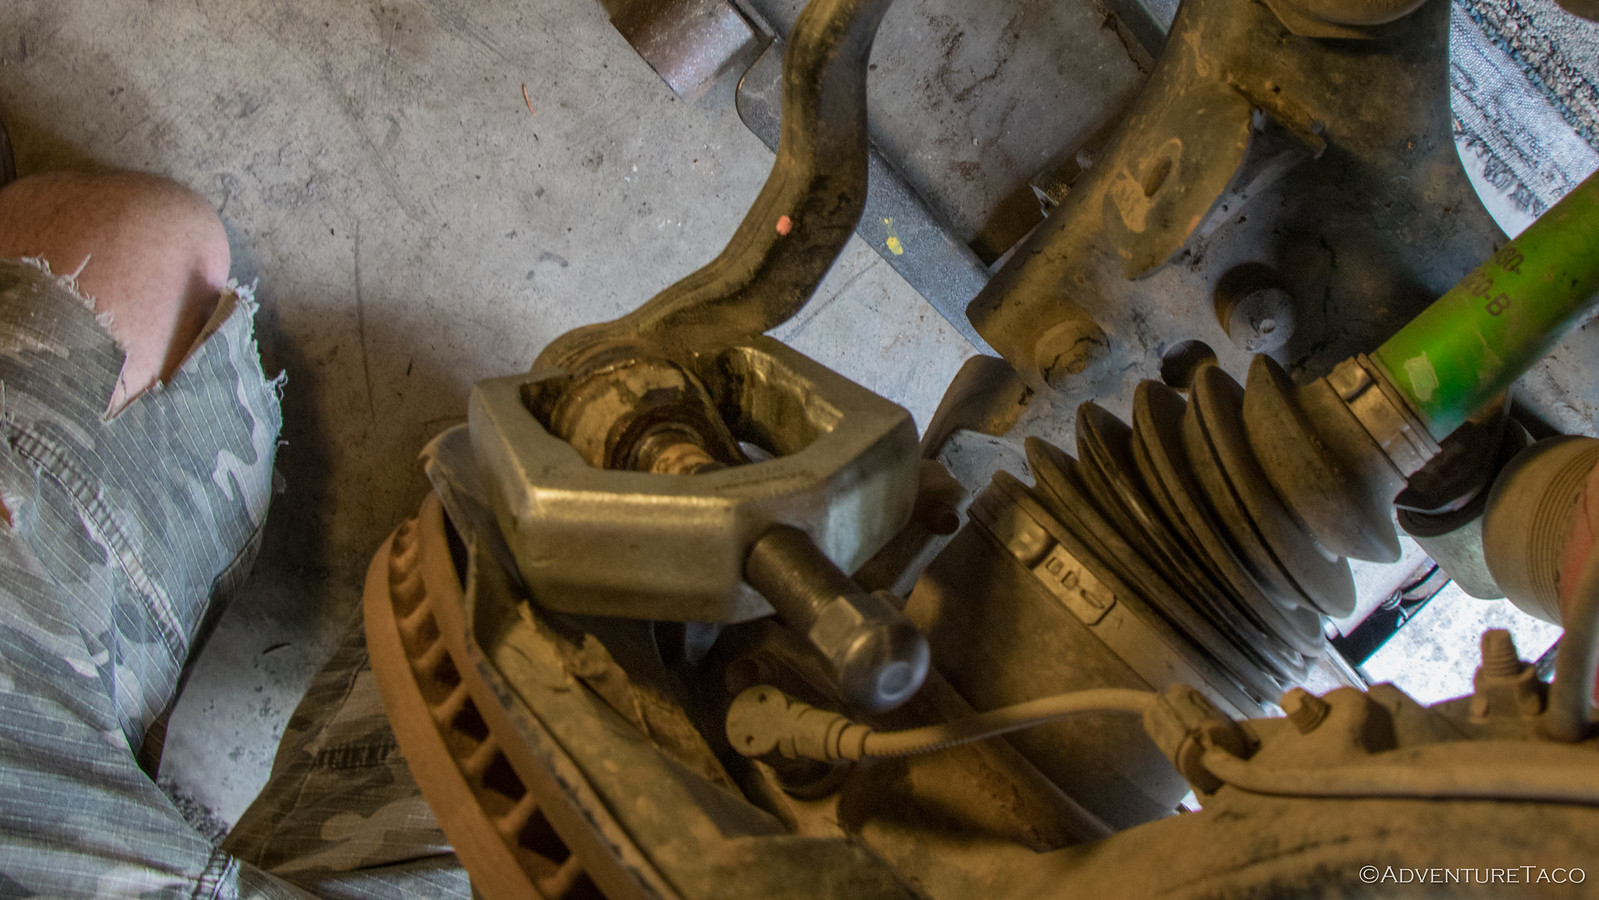
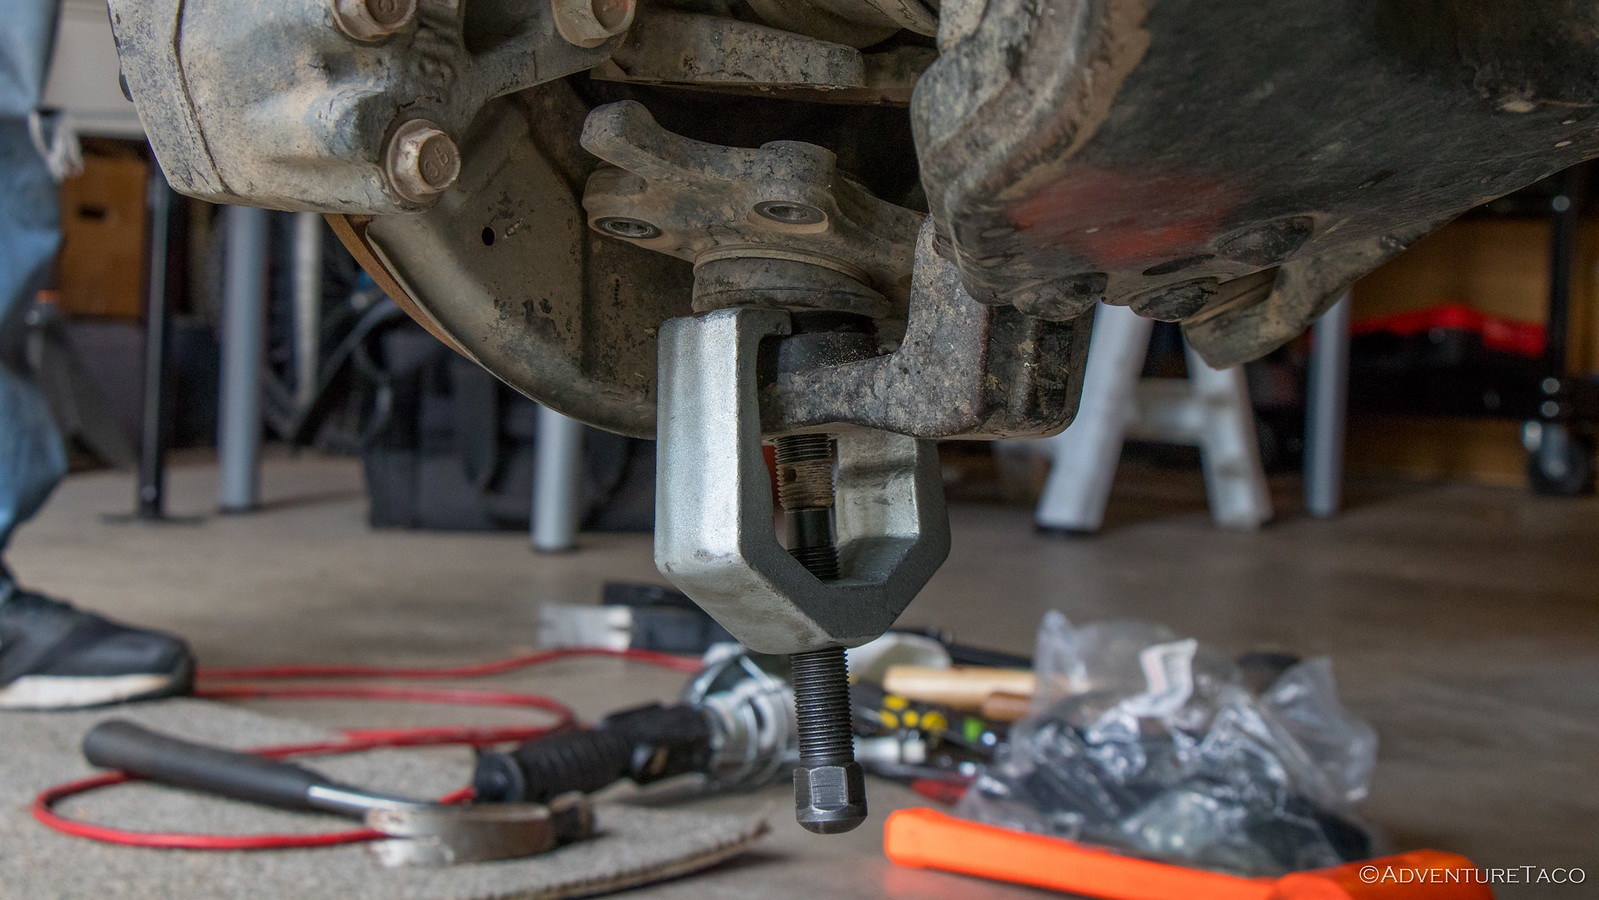
Then, it was onto the 24mm castle nut and pressing out of the LBJ from the LCA. Knowing more what to expect this time, I wasn't in need of a change of underwear when this one released.
Last but not least, I used the impact wrench once again to zip out the four, 14mm bolts holding the LBJ to the LCA. I'd used some blue Loctite (242) to hold these in, which I'm sure I could have broken free by hand...but that's definitely less fun.
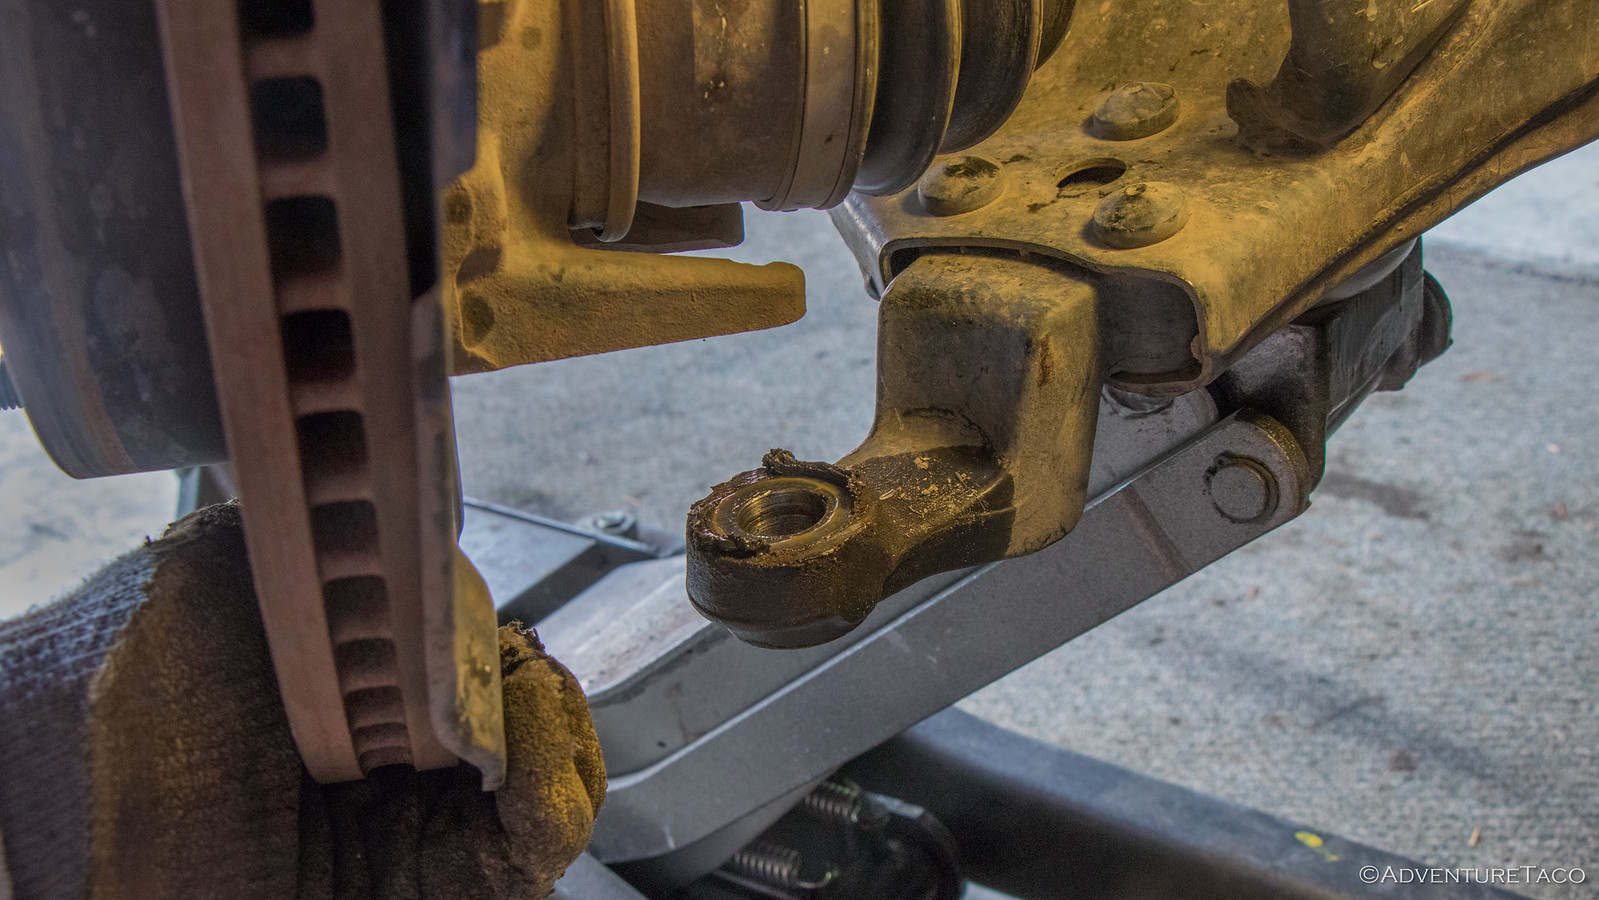
With the old LBJ removed, it was easy to see where the grease had been leaking out - probably "sort of normal," since there's no tight seal around the bottom of the joint so grease can seep out; but definitely better safe than sorry.
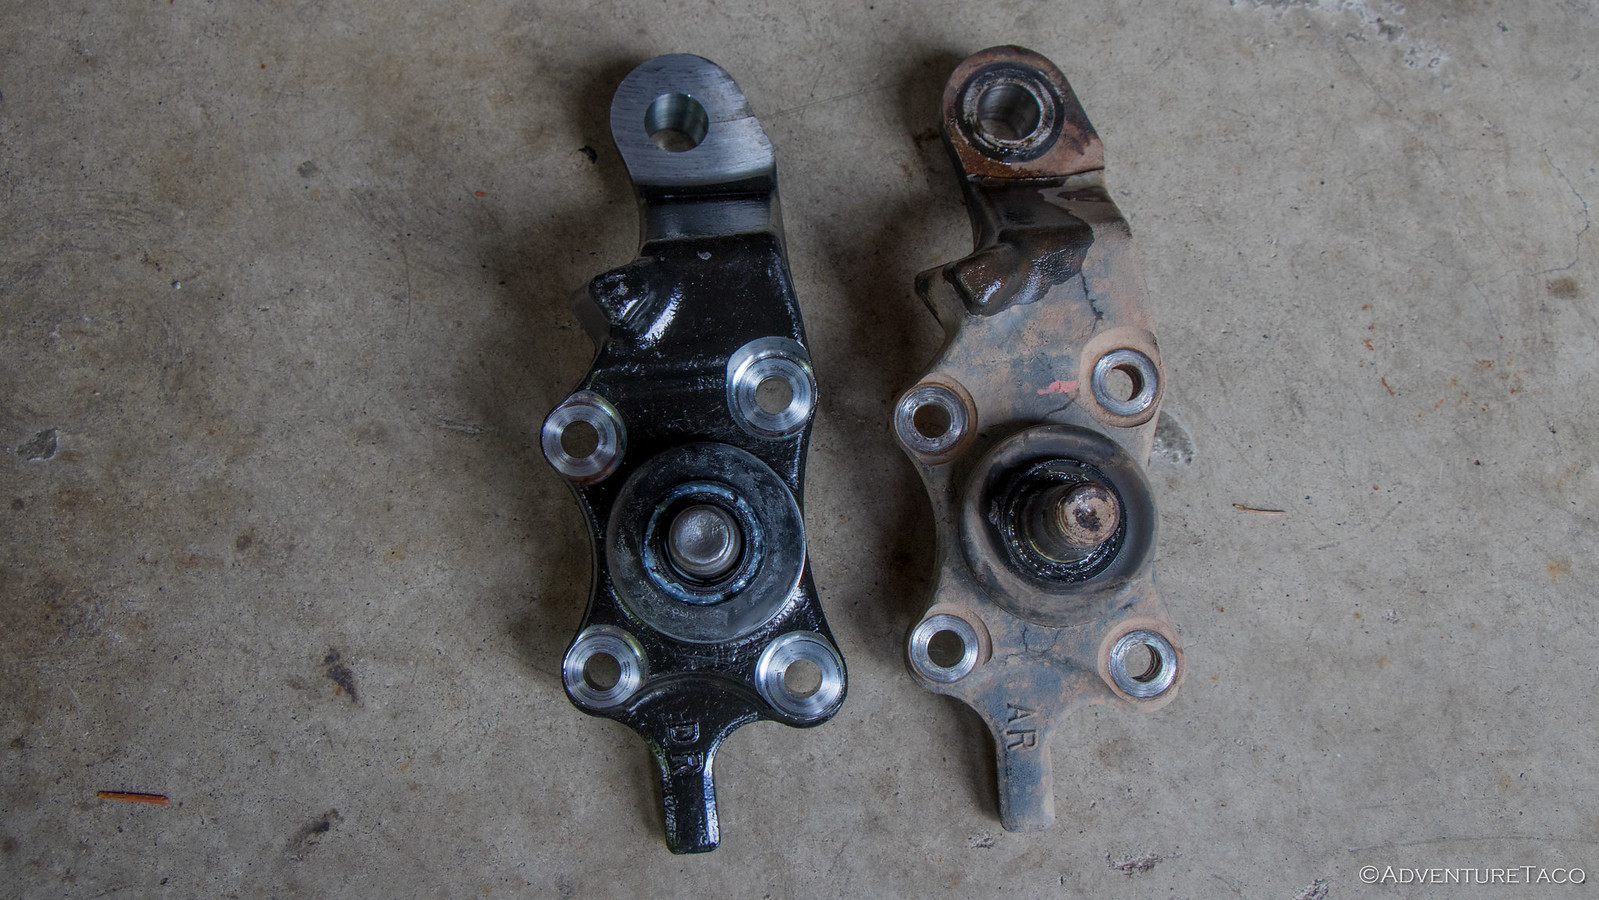
And then, I could compare the new and old!
Installation of the new LBJ was straight-forward and essentially the reverse of removal. In fact, it all went so quickly (to my delight, this being my first time with LBJ's and a bit intimidated) that I forgot to take any photos. However, the steps were:
- Position the new LBJ between the spindle and LCA, careful to use the side-appropriate part.
- Install the new 24mm castle nut that secures the LBJ to the LCA and hand tighten. Don't torque it yet.
- Install the old 22mm castle nut that secures the outer tie rod end to the LBJ and hand tighten.
- Install four new 14mm bolts through the LBJ and into the spindle. Tighten them reasonably tight to ensure everything is aligned correctly; then back out one at a time to apply some blue Loctite and torque to 59 ft-lbs.
- Torque the 24mm castle nut that secures the LBJ to the LCA to 103 ft-lbs (plus any additional necessary to allow installation of the cotter pin).
- Torque the 22mm castle nut that secures the tie rod end to the LBJ to 67 ft-lbs (plus any additional necessary to allow installation of the cotter pin).
And then it's done!
