July 23, 2017.
Ham radio is for old guys.
I must be getting old.
As the truck has gotten more capable, and as we’ve started doing longer and more remote trips, I’ve started carrying more tools, extra parts, etc. in order to make (minor) road repairs - hopefully enough to limp back to civilization. But in the back of my mind there is always a little voice that’s been saying, “What happens if you’re many miles out?”
I knew I needed some sort of ability to communicate. I considered getting an inReach device a SPOT tracker, or some other ePRB/PLB, but those solutions seemed too single-tasker to me. Not only would they require ongoing payments for the service, but ideally, I’d never use them.
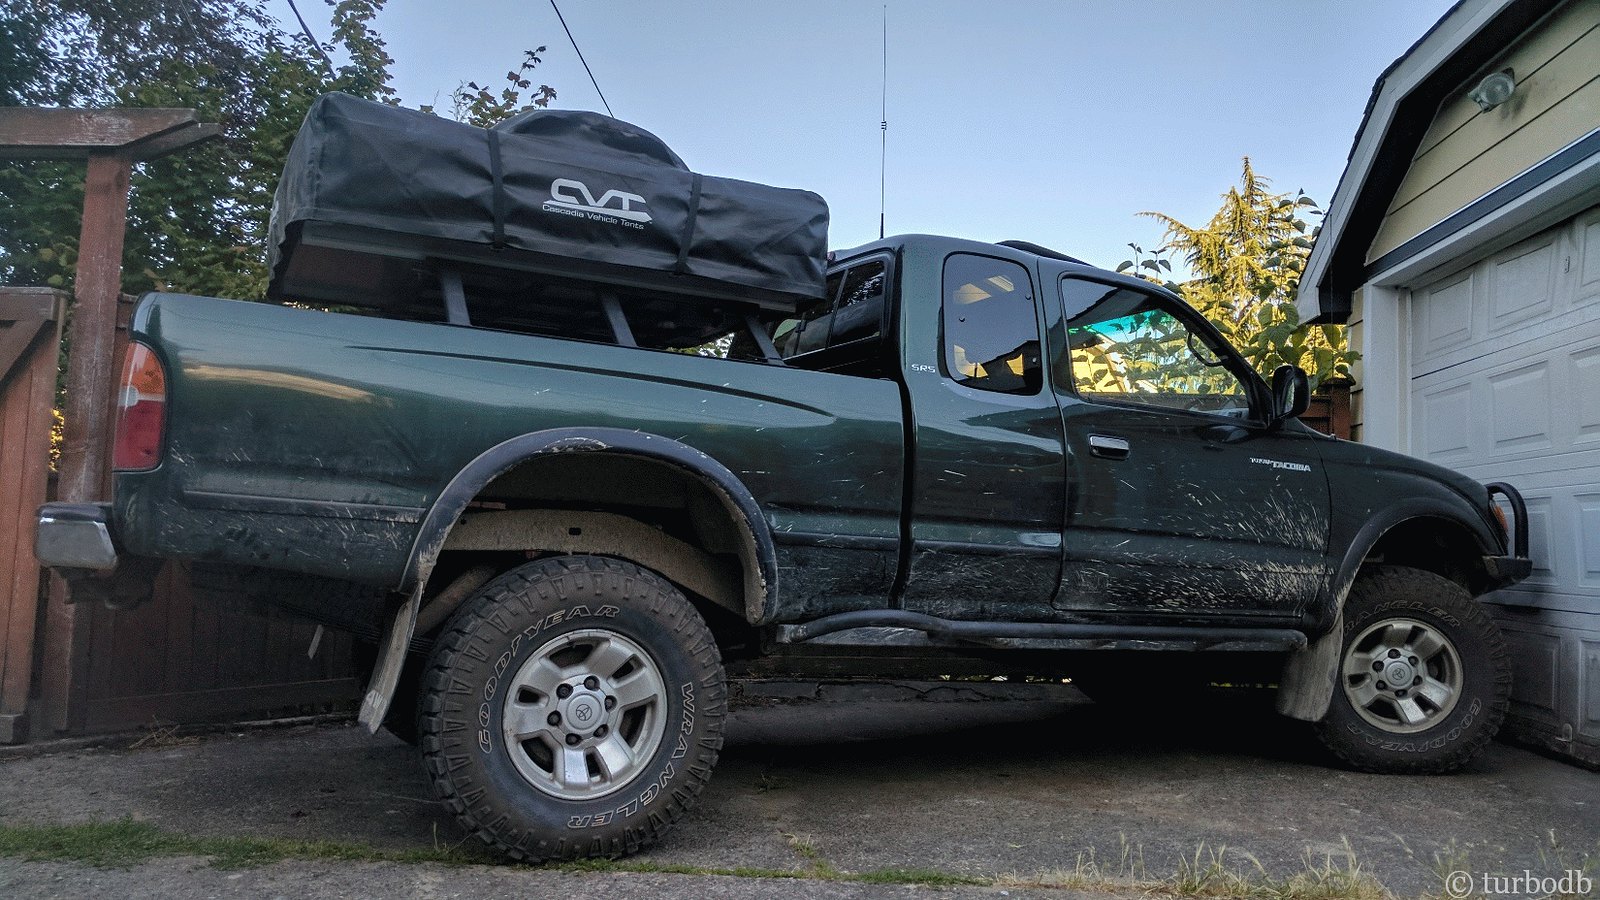
Instead, I decided it was time to get a radio in the truck, and since I might need longer distances, the choice between CB and HAM was obvious: HAM. With a bit of research and a great deal on eBay, I decided to go with the ICOM 5100A (with Bluetooth) and a Diamond antenna (NR770HBNMO - thanks @Blackdawg) and NMO mount (C213SNMO).

That was in May - early May; just before we headed down to Oregon to meet up with Pops and my Uncle. My hope was that I could surprise the old fogies with how old I was getting (which would imply an even older age for their generation)! Unfortunately, it arrived the day after we left, so even with my newly minted Technician’s license, I didn’t have the hardware to back it up.
And then we got busy. With the kiddo out of school, summer projects around the house and with the truck, and lots of exploring and camping, there just wasn’t time to get everything hooked up.
But I did get my updated vanity callsign, which was pretty cool.
Fast forward to late July and our impending trip back to the OBDR, where once again we’ll find ourselves exploring the great beyond, sometimes very remote. It was time to get the radio installed.
But wait. There was another reason I’d been in no rush to install this puppy. It meant drilling a hole in the roof. And, if that wasn’t scary enough, it also meant taking out the headliner (at least partially) and I’d heard that was perhaps the most painful thing you can do when working on your vehicle.
So yeah, that’s actually two other reasons.
But it had to be done, so I bit the bullet and got started on Sunday morning. I figured it would take all day because I was going to go slow and make sure I didn’t mess any of this up. The game plan was:
- Remove the headliner.
- Drill a hole in the roof.
- Install the NMO antenna mount.
- Run the antenna wire under the passenger seat.
- Run power from the Bussmann to the passenger seat.
- Plug in and test the radio.
- Button everything back up.
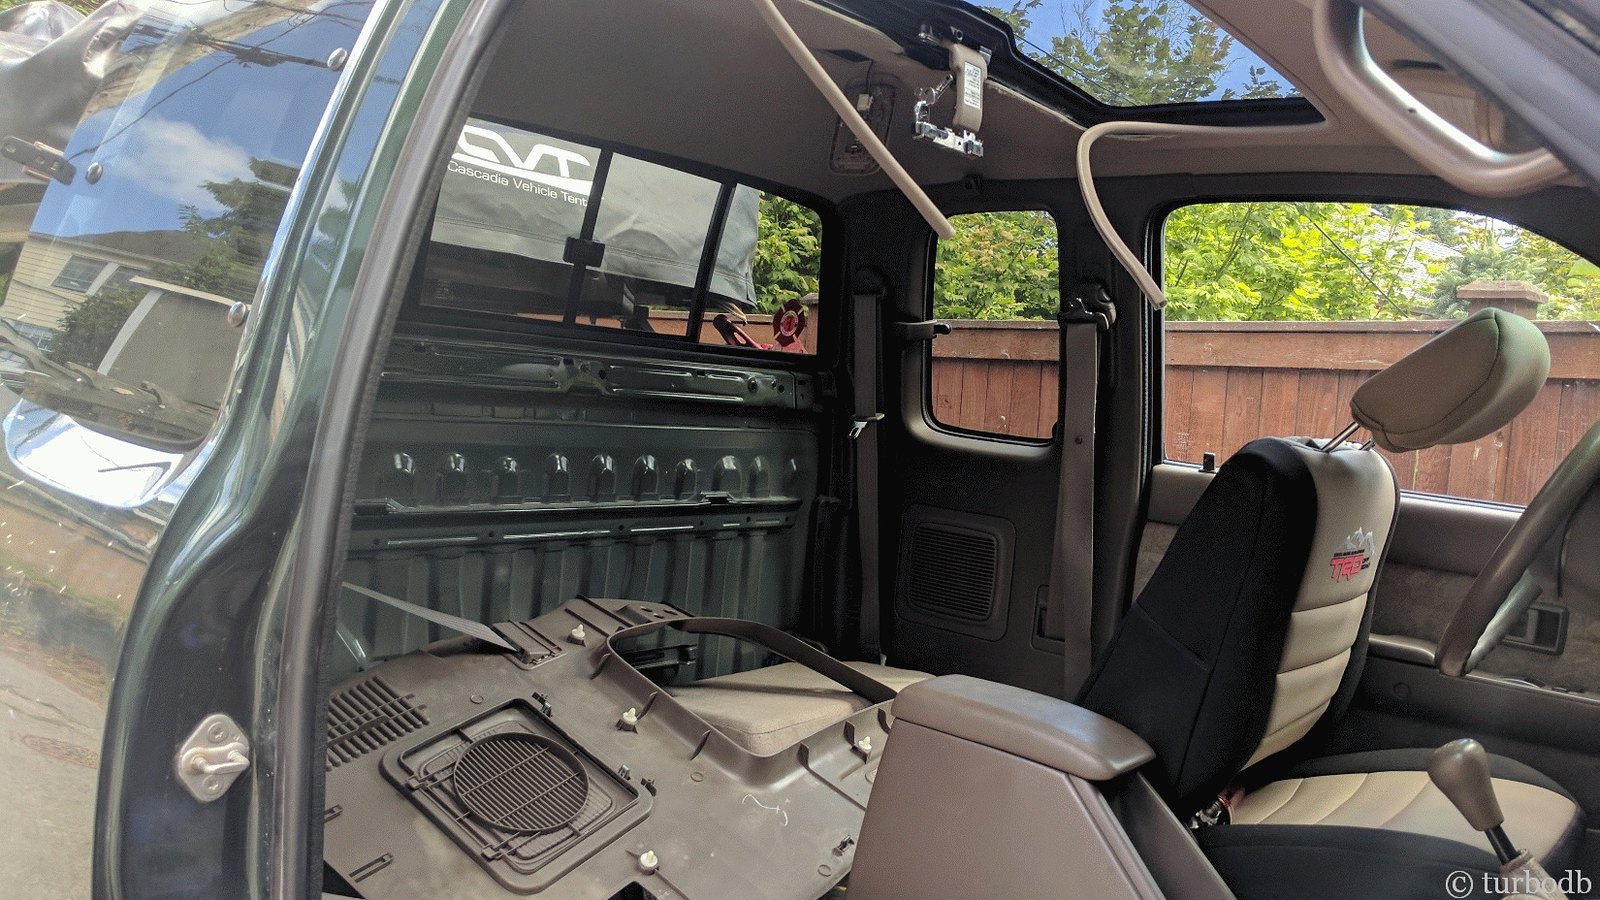
Removing the headliner... I searched and searched for visual instructions on this and didn’t find any, though I did have the FSM info which turned out to be pretty reasonable. At any rate, when I was all done removing everything (How to Remove a First Gen Tacoma Headliner), the truck looked like a disaster but I hadn’t broken a single clip.
It was a huge success.
Next, it was time to drill the hole in the roof. I’d purchased a ¾” hole saw for this since everything I looked up on the interwebs said that’s what you use for NMO mounts, However, just in the nick of time, I watched one last YouTube video where the guy drilled a 3/8” hole.
What?!
Yeah.
Turns out, the Diamond NMO mount I’d bought (C213SNMO) is different than most and requires a smaller hole. So, I whipped out a step bit, taped up the roof to catch all of the metal shavings, put some cardboard in the cab above the headliner (to catch the rest of the shavings) and started drilling.

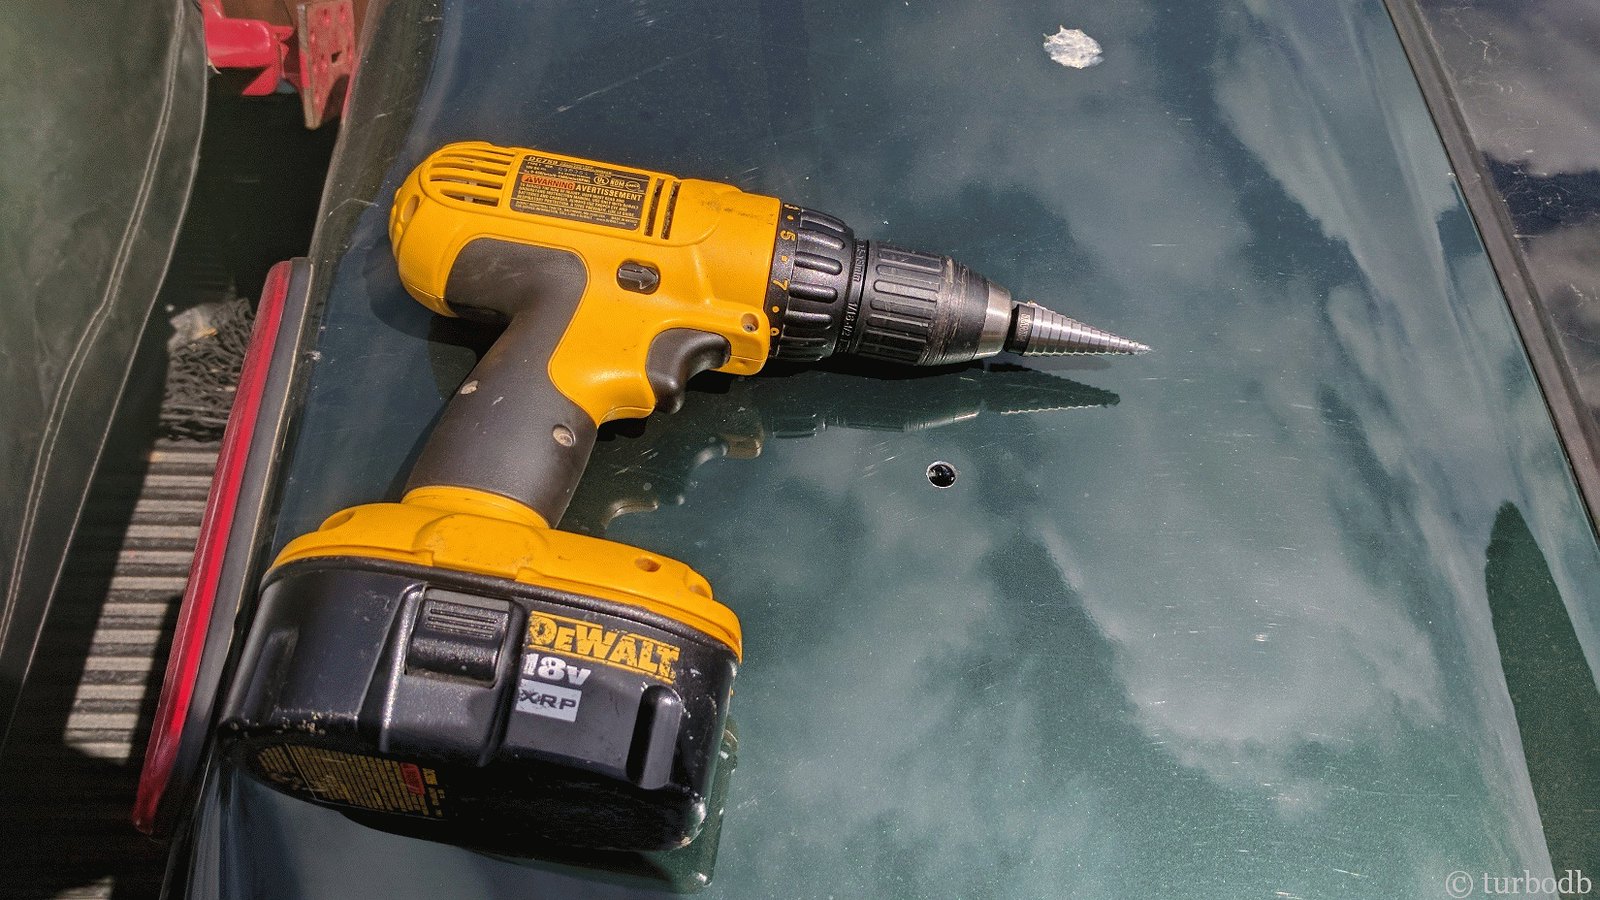
The whole thing went flawlessly, but I never want to do that again - I think I lost several years of my life in those few minutes.
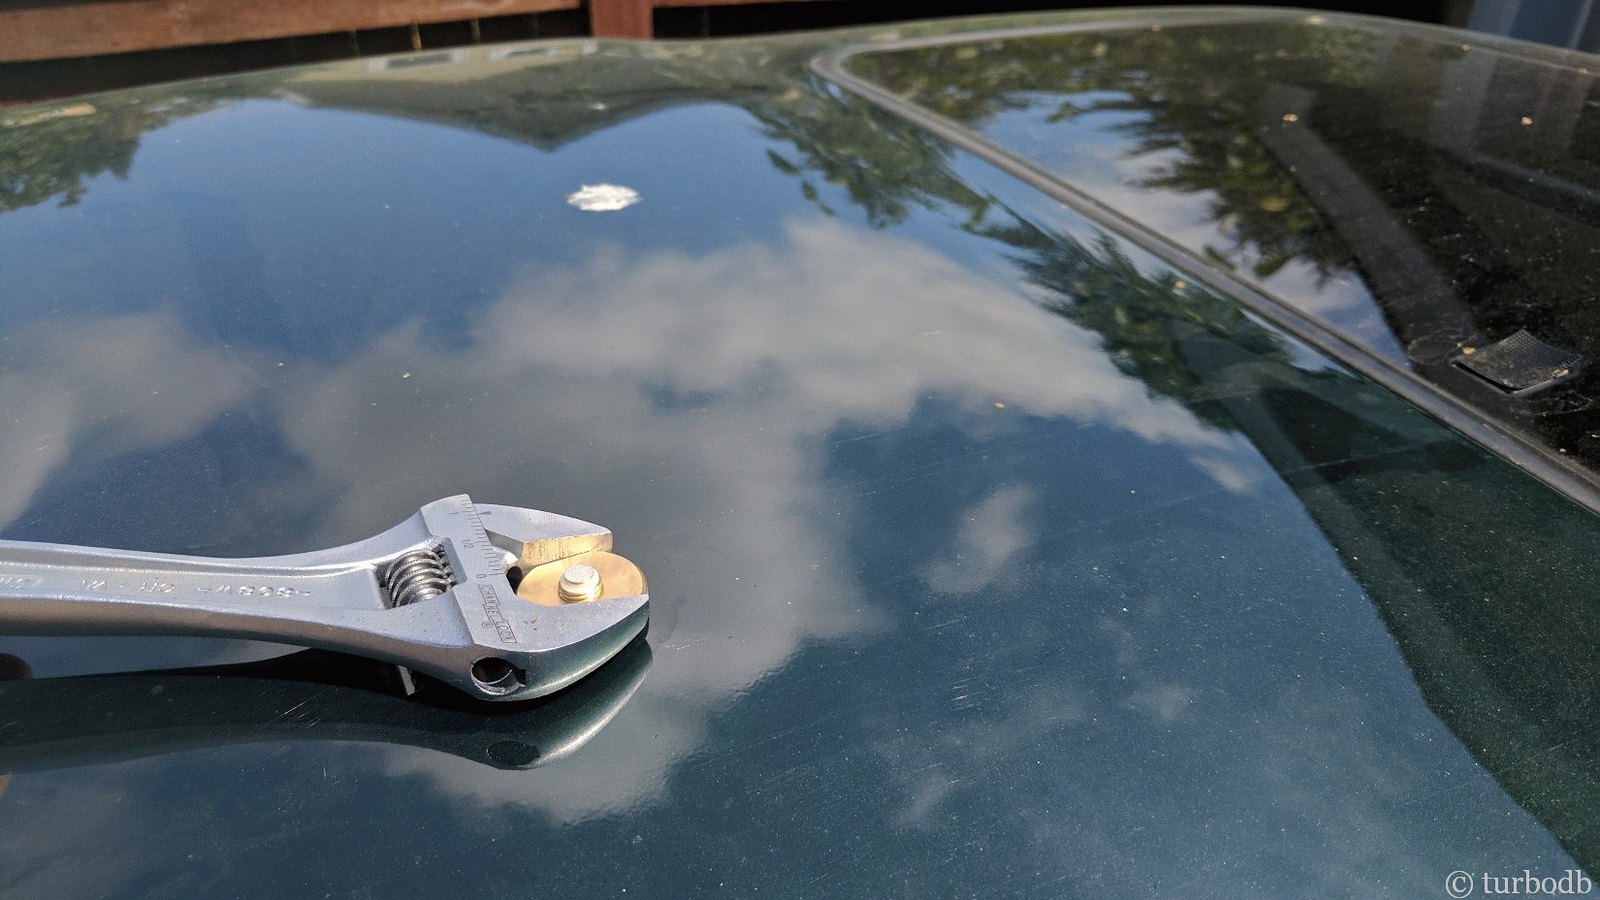
Finally, after some touch-up paint on the bare metal of the hole, I screwed on the NMO mount and buttoned most of the interior.
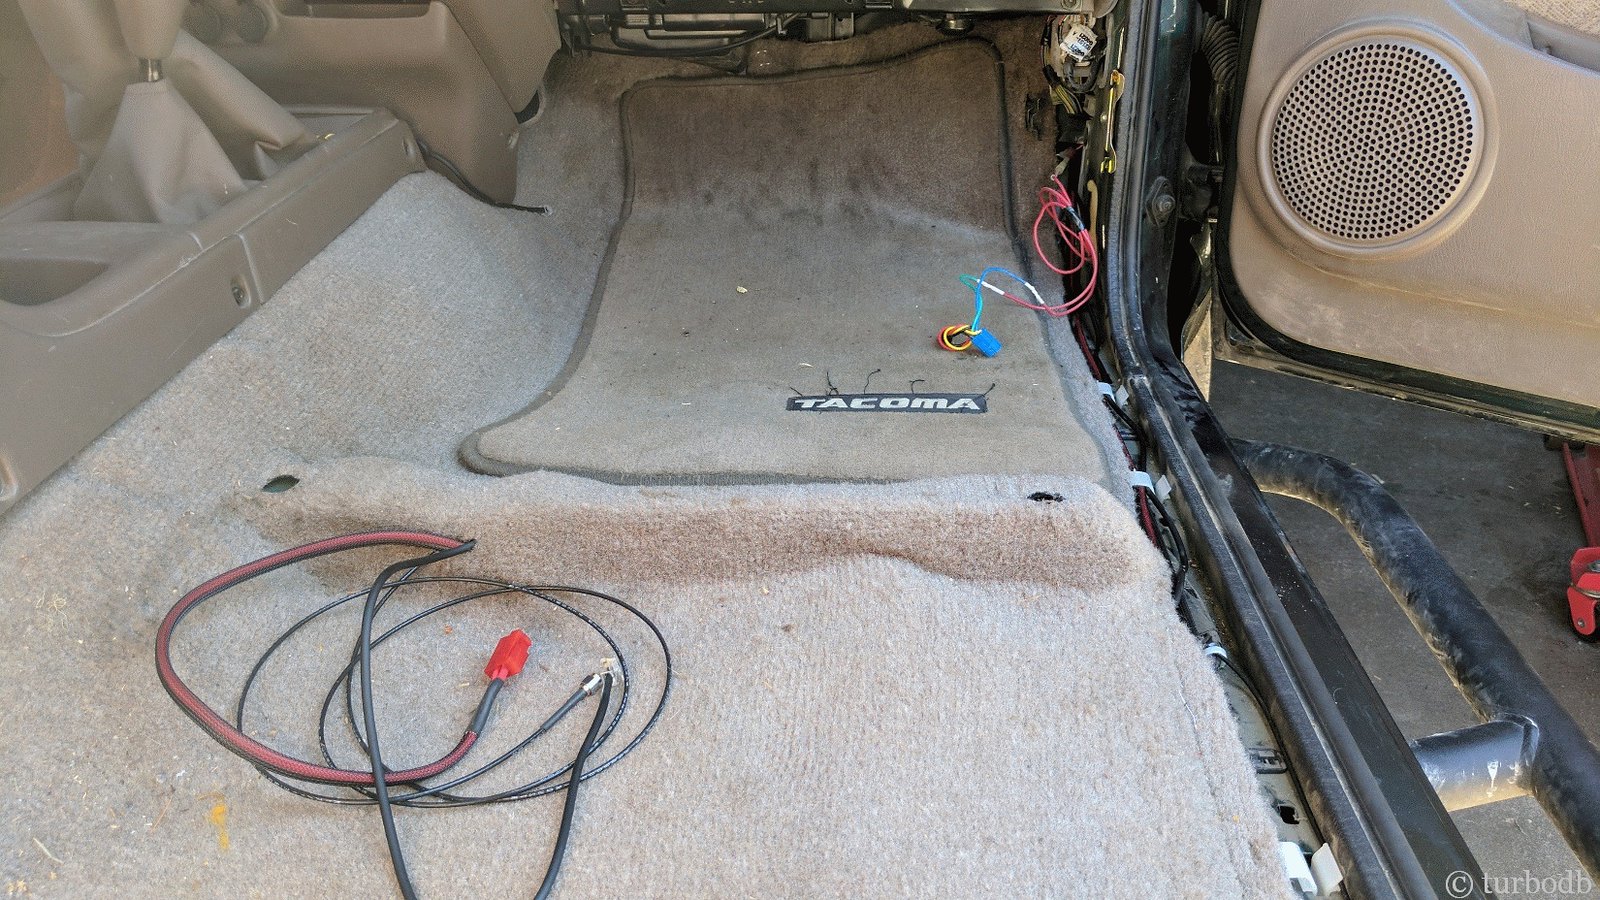
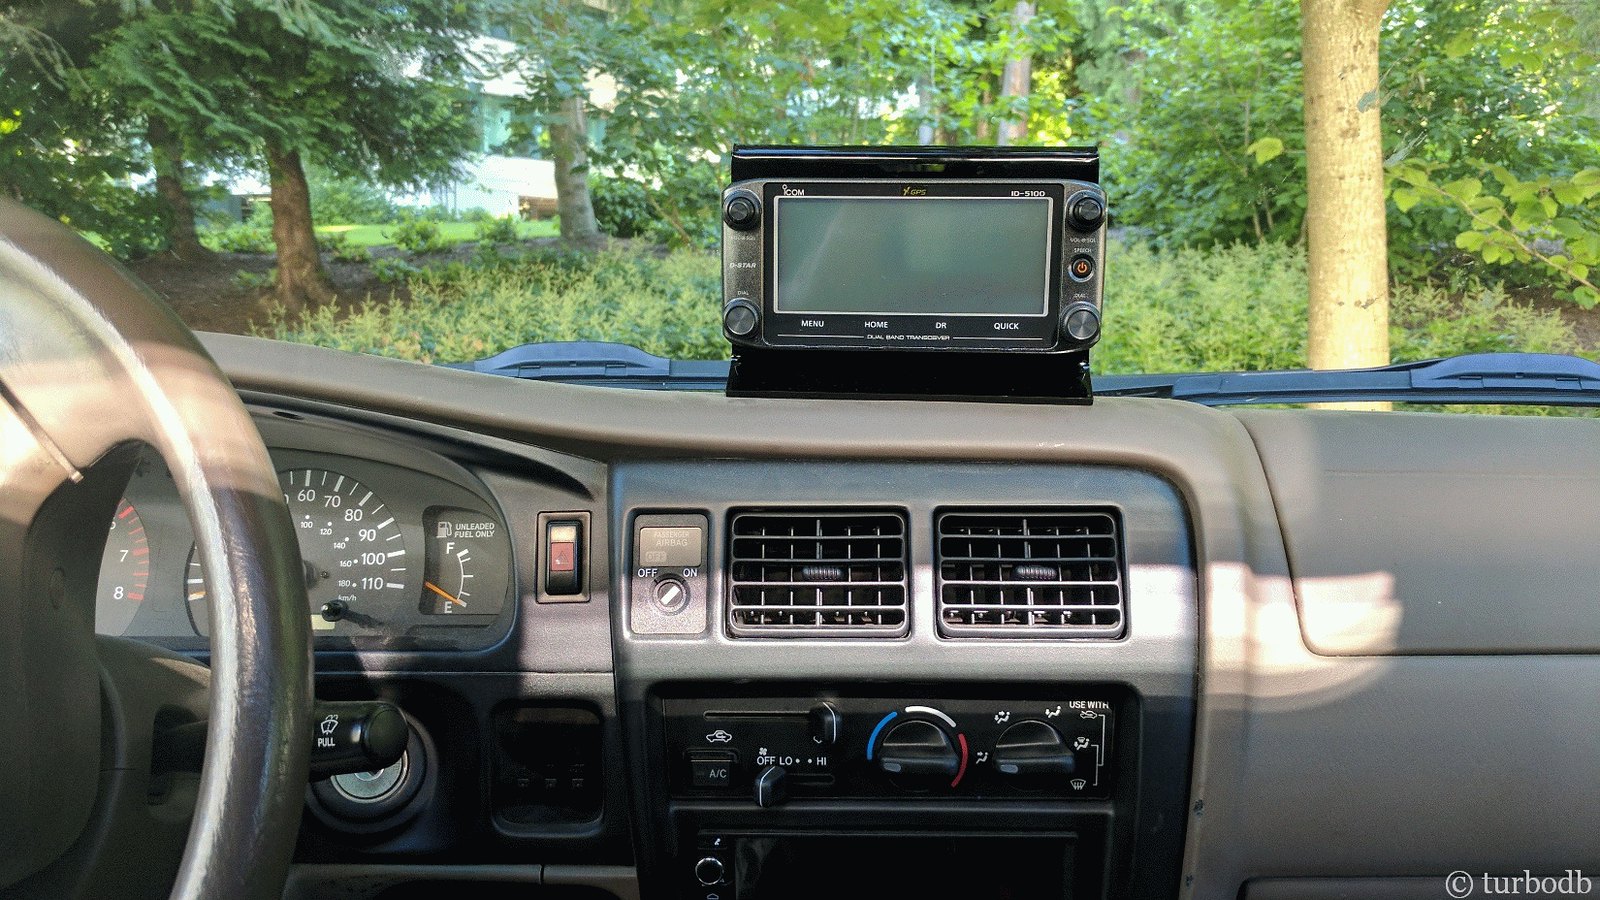
Then, I ran the cable from the antenna, power from the Bussmann, and the cable for the head unit along the passenger threshold and under the rug; coming out under the passenger seat where the ICOM 5100A will be located.
Then, I plugged everything in and tested the radio. Amazingly, it worked. So the rest of the trim and passenger seat went back in, and it looks like nothing happened. Well, except that there’s an antenna on the roof and a head unit on the dash. That’s what I call success.
[EDIT Oct 2017:]
I've since replaced the Icom 5100 with a Kenwood D710G in order to get APRS functionality.
Read more in Adding APRS with a new Ham Radio (Kenwood TM-D710GA, Mobilinkd TNC2.2)]
.
Nice, I'm putting IC706IIG in my Colorado
Wow, that'll be a nice setup! I'm on the hunt now for an antenna with a NMO mount and no coil. My Diamond works really well, but the coil gets caught in tree branches.