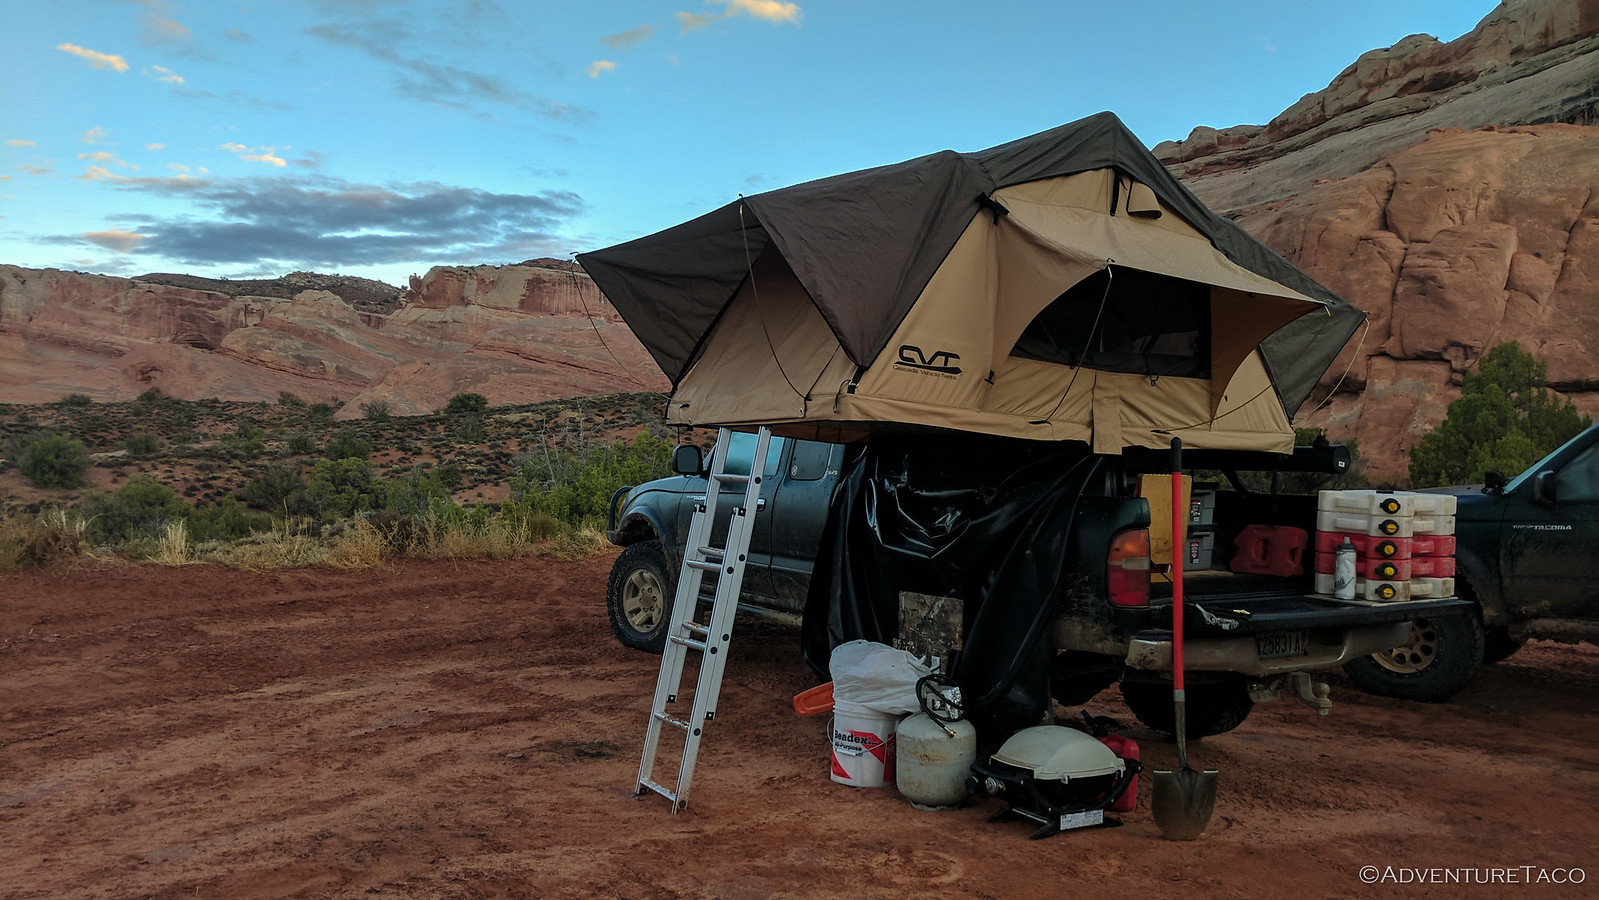
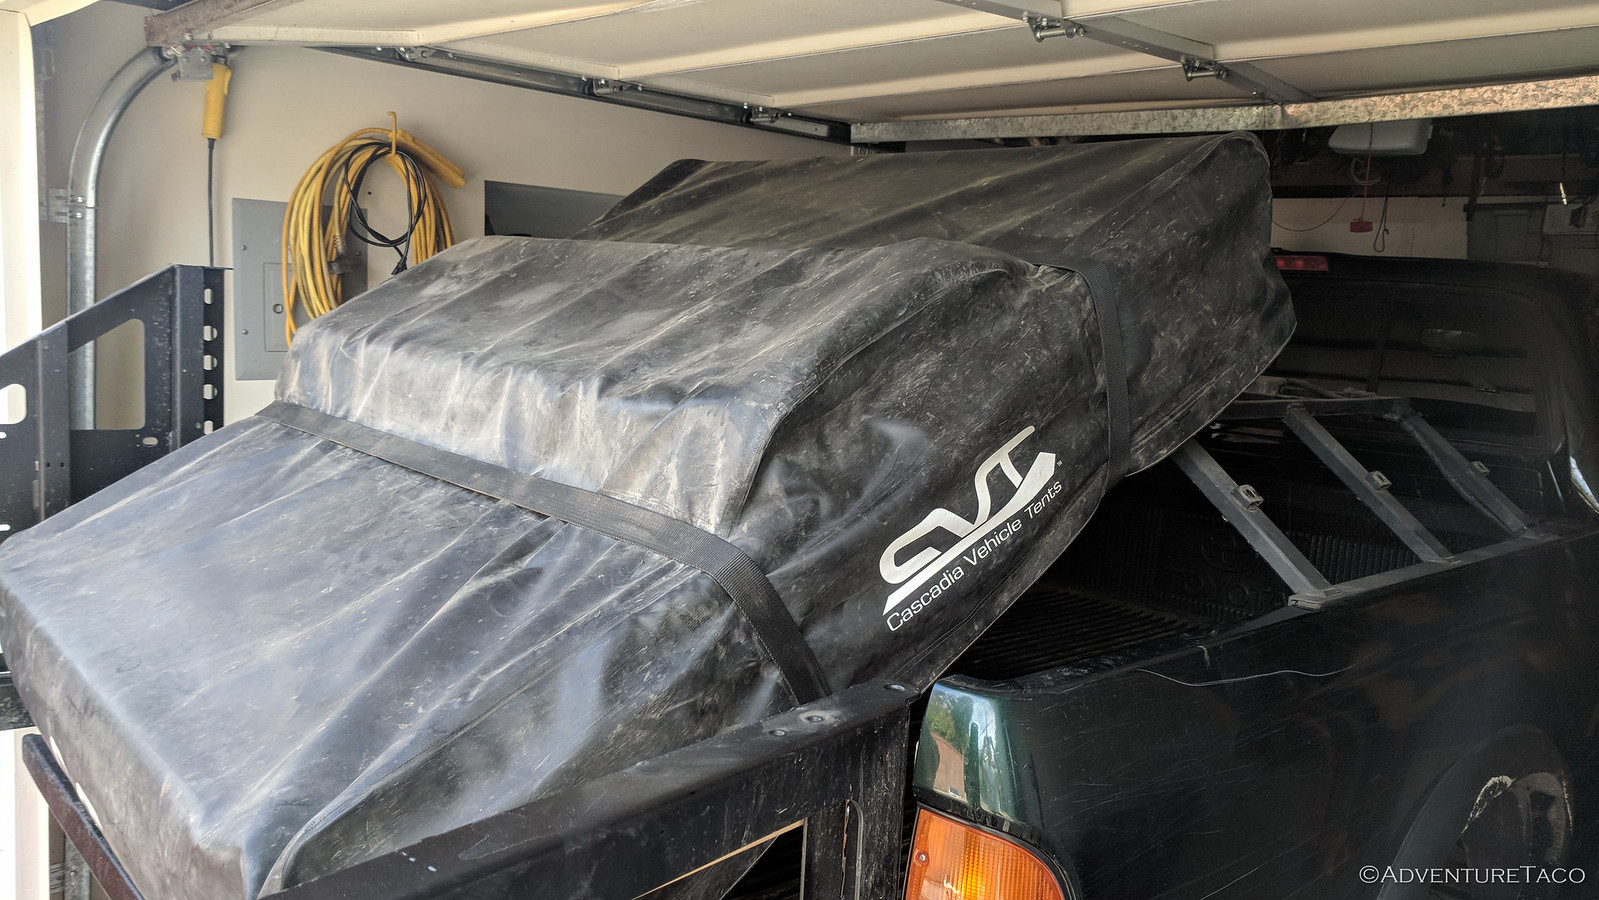
Ever since building the bed rack, I've been happy with it. It's done everything I've asked of it and more. The CVT tent @cascadia tents has always been secure, and it's been a great way to carry the Hi-Lift, supply power to the fridge, and keep everything in the bed secure.
It's also been a great height, leaving the tent even with the roof line, and allowing a good amount of space underneath for storage, not the least of which is the custom bed slide I made to hold the ARB fridge.
Until now that is.
You see, I've recently been on a push to better organize the bed of the truck. Things have fit on previous trips - it's not that I've been low on room or anything - but they haven't fit well. By well, I mean three things:
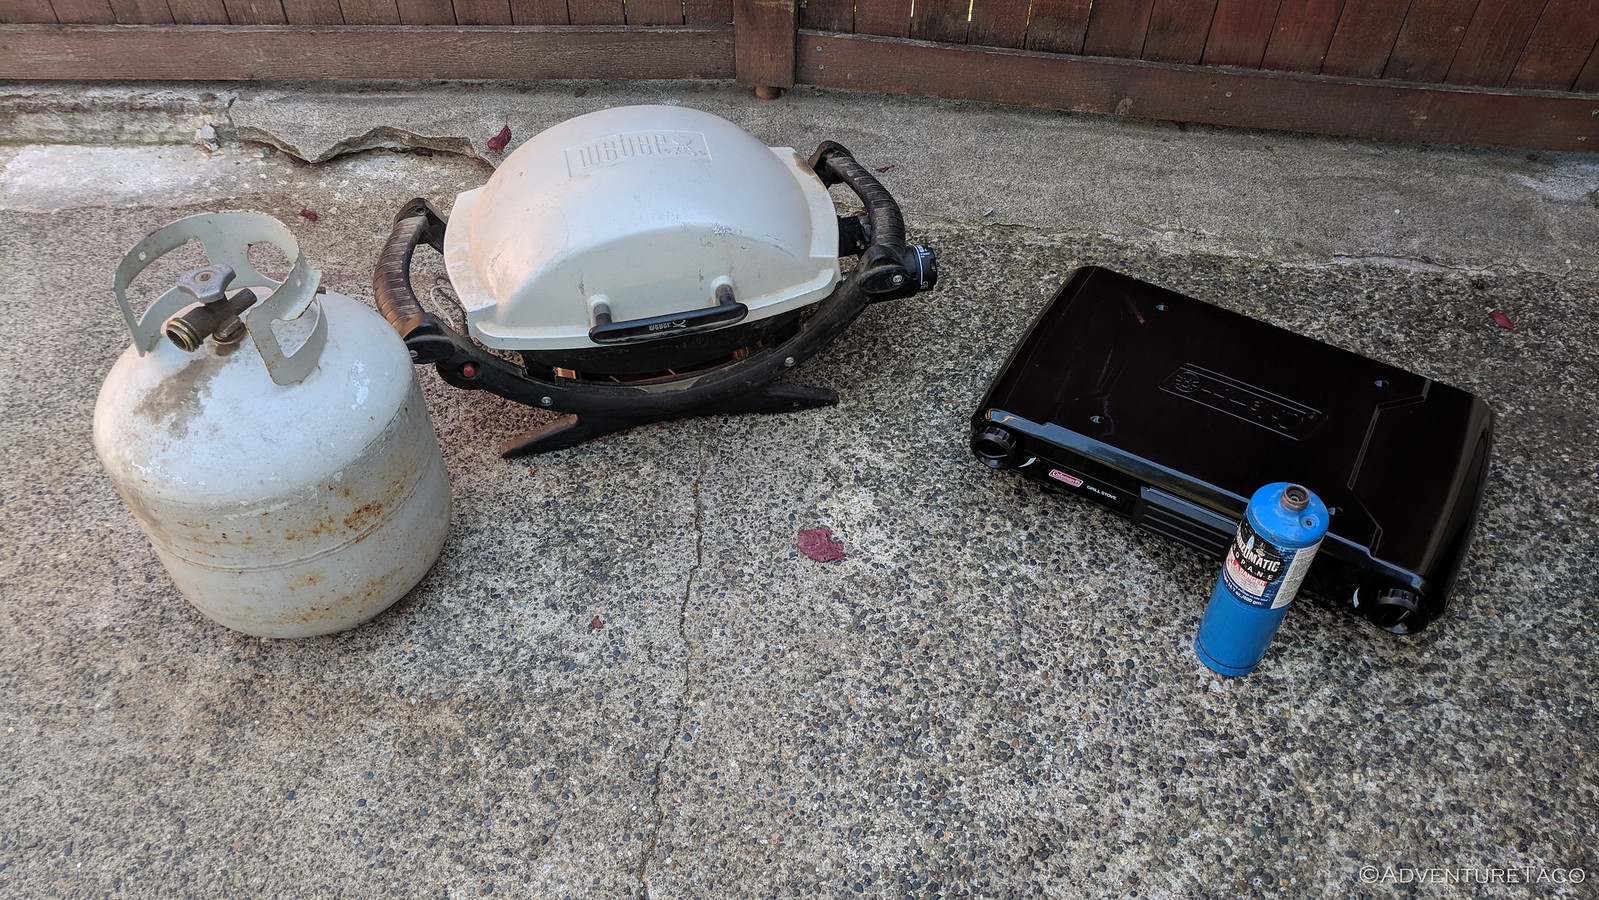
- I've been taking some stuff that's "nice to have," but a bit excessive - and I want to transition to things that are a bit more functional. My best example here is that we've been using a Weber Q grill and 20lb propane tank for all of our cooking. It's absolutely amazing for grilling, and works well enough for heating pans, but it's big and bulky and doesn't pack well anymore.
- Things tend to move around a bit in the bed when I'm on rougher trails or take whoops a little too fast. For instance, a bucket of wood kindling might fall over, or the water jerry could end up on it's side.
- Perhaps most annoying of all is that getting to anything in the bed often requires taking out everything. My fridge has been stored "close to the cab" - easy enough to get out with the bed slide, but it means taking out everything I've packed in after the fridge (shovel, grill, chainsaw, water, bundles of wood, etc.)...just to make a sandwich.
Taken together, these three things mean that it often appears that I'm having a yard sale at the back of my truck at lunch and in camp. And with trips getting more frequent and longer, I wanted to solve all of this.
The first order of business was changing out things that were just the wrong shape to be taking over bumpy roads in the bed of a Tacoma - namely, the grill and 20lb propane tank. I'd decided to replace them with a more easily pack-able Coleman Propane Stove/Grill, and a couple 1lb bottles of propane.
Not only would these things be more easily packable, but they'd fit nicely with my next optimization: fewer, bigger containers. By moving from smaller containers to larger ones, I'd help with the remaining two problems - namely, the larger containers could be made to sandwich themselves more solidly in the bed, and - because they were larger, I would be able to reach them without the help of the bed slide - meaning that everything could be arranged so that more commonly used items (e.g. the fridge) could be further back in the bed, making them immediately accessible when stopping for lunch.
I looked long and hard for what these containers would be. I wanted something cheap, durable, and waterproof. It seemed that no matter where I looked, I could pick any two.
It was the story of life.
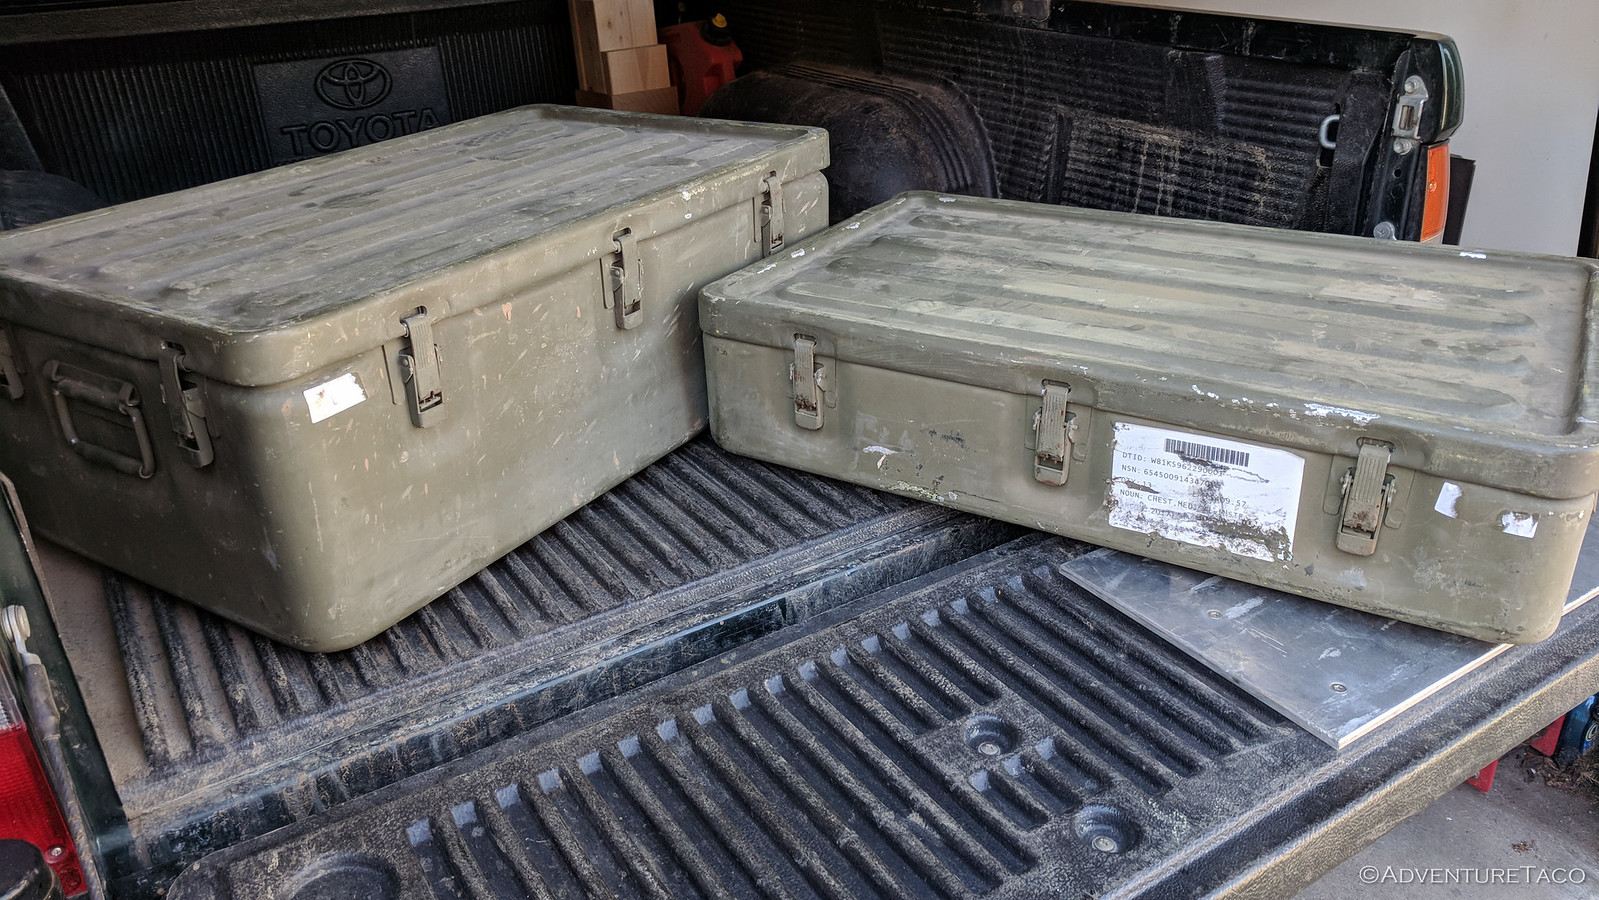
In the end, I decided that durable and waterproof clearly won out over cheap - since, if I did this right, these would be my last storage purchase. I knew from other guys on the trail that Military Medical Boxes would fit great, came in multiple sizes, and were durable enough for the back of a HMMWV so I ordered three.
(OK, I actually initially ordered two, but eventually went with three. And by "ordered," I mean that Monte @Blackdawg was kind enough to pick them up for me.)
My plan was to use them for
- My OSK (Oh Shit Kit) where I'd store the spare parts, tools, etc. that I may need on the trail if something were to go really wrong.
- Kitchen supplies - like the camp stove, propane tank, plates, silverware, etc.
- Dry food that would survive bouncing around in the back of the truck and exposure to the temperature swings back there. things like bread, chips, cereal, etc.
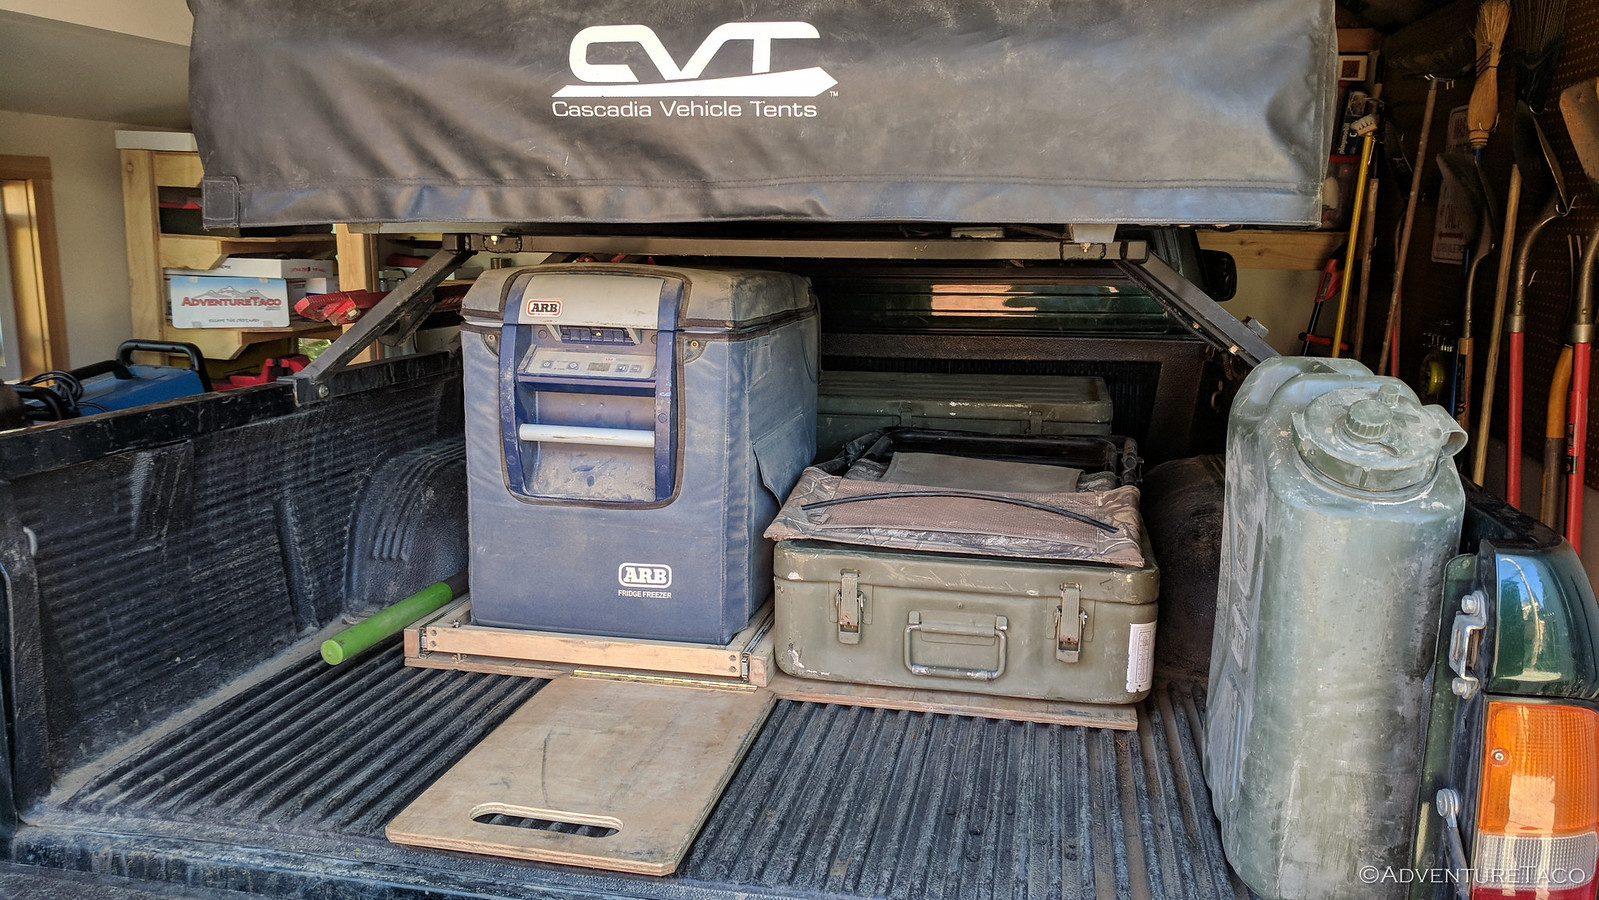
Contents determined, I set about arranging the bed with the new gear. The OSK could slide all the way in - the idea being that I'd rarely use it. The other two boxes would go next to the fridge, which would now be further forward and more easily accessible.
Win. Win. Win.
It did mean that the fridge would need to move to the left as far as possible on the bed slide, and that was an easy change - I simply unscrewed it's drawer slide and moved it over.

There was only one problem. The fridge could no longer slide under the bed rack, since the bolts holding the CVT tent to the rack protruded down past the bottom of the rack a little too far for the fridge to slide under.
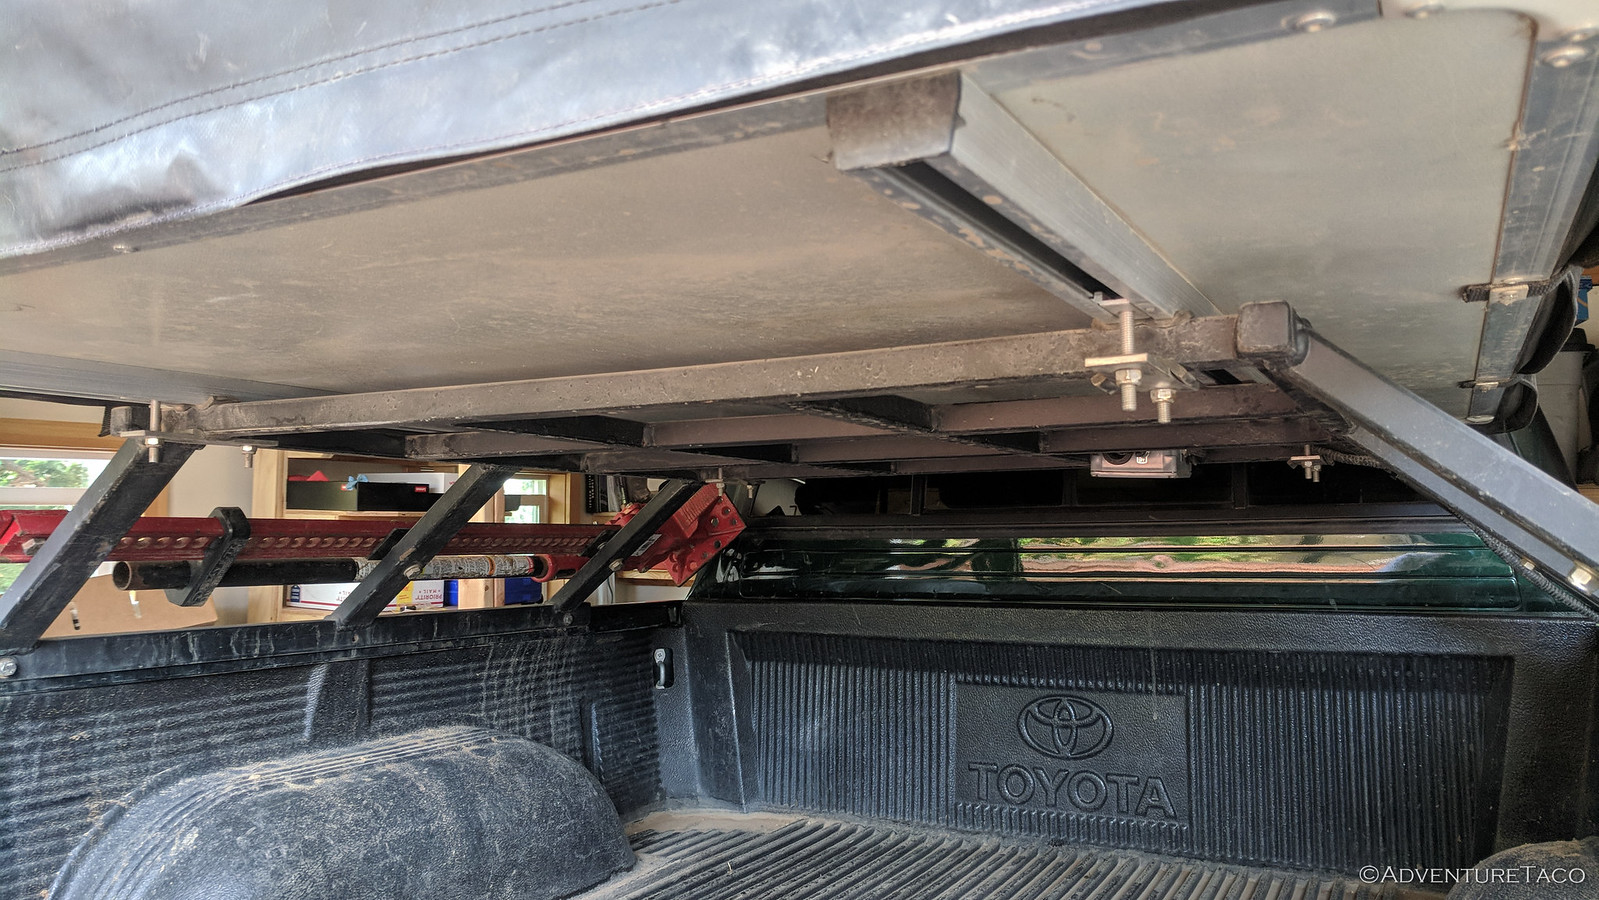
And that meant it was time for some tent-to-bed-rack attachment modification. I wanted a solution that would be as strong or stronger than the current clamps (which have worked well for me), but that also resulted in the bottom of the bolts holding the tent to the rack being about an inch higher than they currently were.
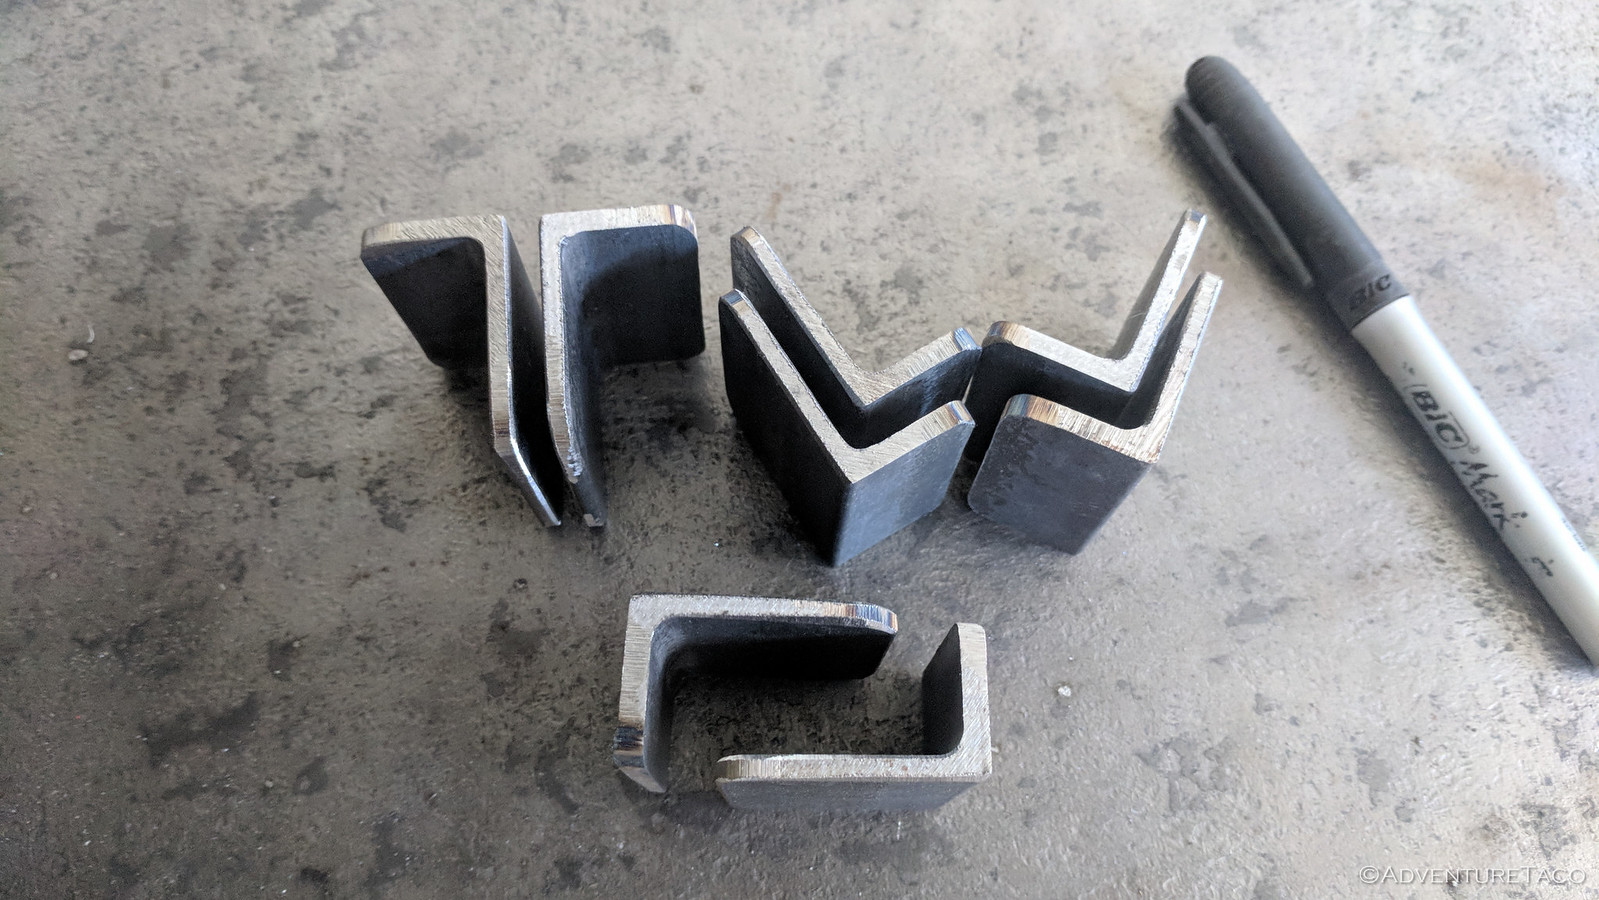
The solution I came up with was to add mounting tabs to the bed rack itself. I'd make these out of 1"x1.5" angle, and utilize the same mounting rails on the tent to thread a much shorter bolt down through the angle, and into a lock nut - all tucked up into the depth of the bed rack itself; nothing protruding below the 1-inch square tubing.
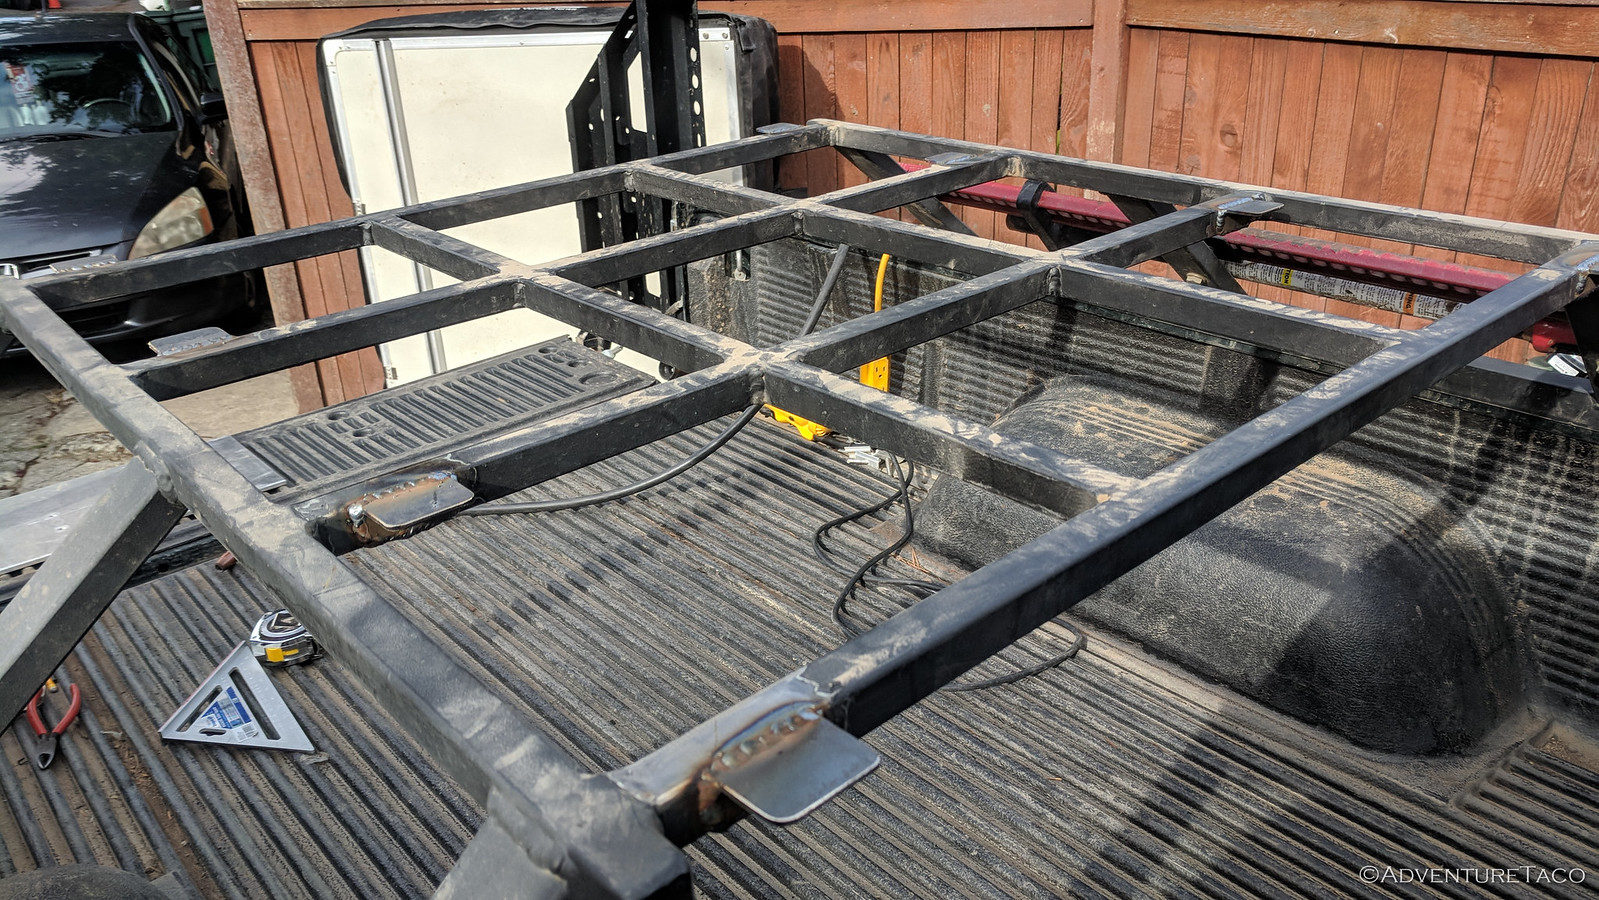
I got started by removing the tent from the bed rack and locating where the tabs would be installed. Using an angle grinder, I cleared the paint off of these areas to ready them for welding.
Now, the stock attachment for a CVT (or any other brand) tent was to use eight inserts in the aluminum channel to create four attachment points - two inserts for each point, to account for different size rails. I decided that rather than rely on just four attachment points, I'd spread the forces out over eight points, spread evenly down the rails - essentially one at each cross-rail of my rack.
That meant I needed eight tabs, so I fabbed those up next. Simple enough - just cutting them to length and then using the bench grinder to round over the various edges.
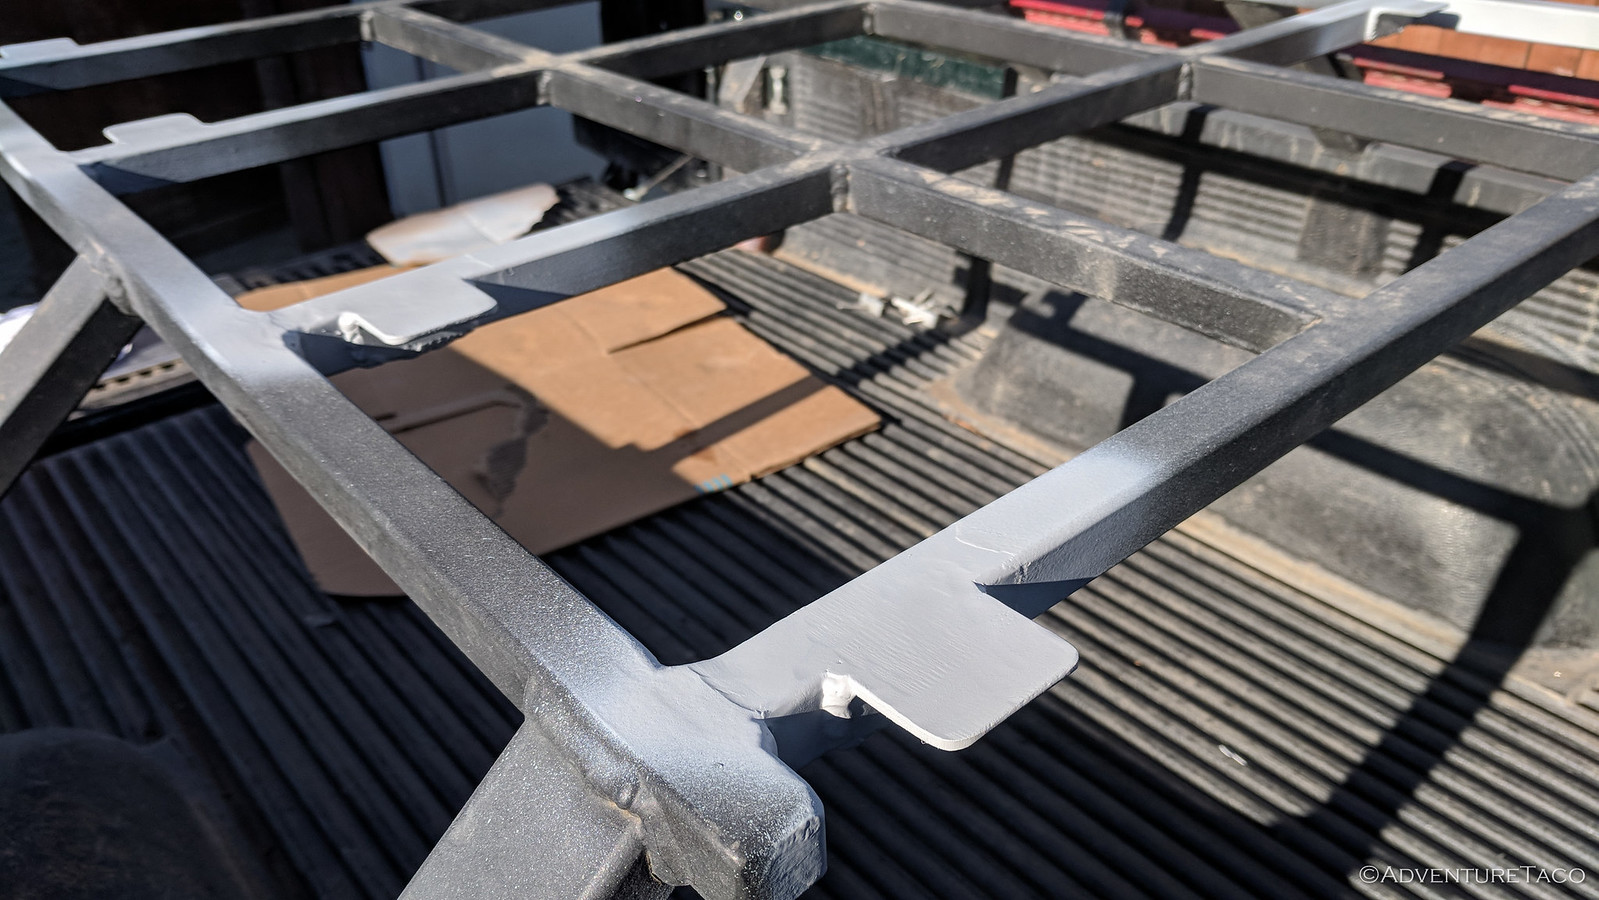
Tabs in hand, I welded them to the rack, ground down the welds on the top (so the tent rails would sit flat), and primed and painted everything. Once that all dried, I came back with the appropriate size drill bit (7mm for CVT-sized mounting bolts) and drilled a hole in each tab to receive the respective bolt.
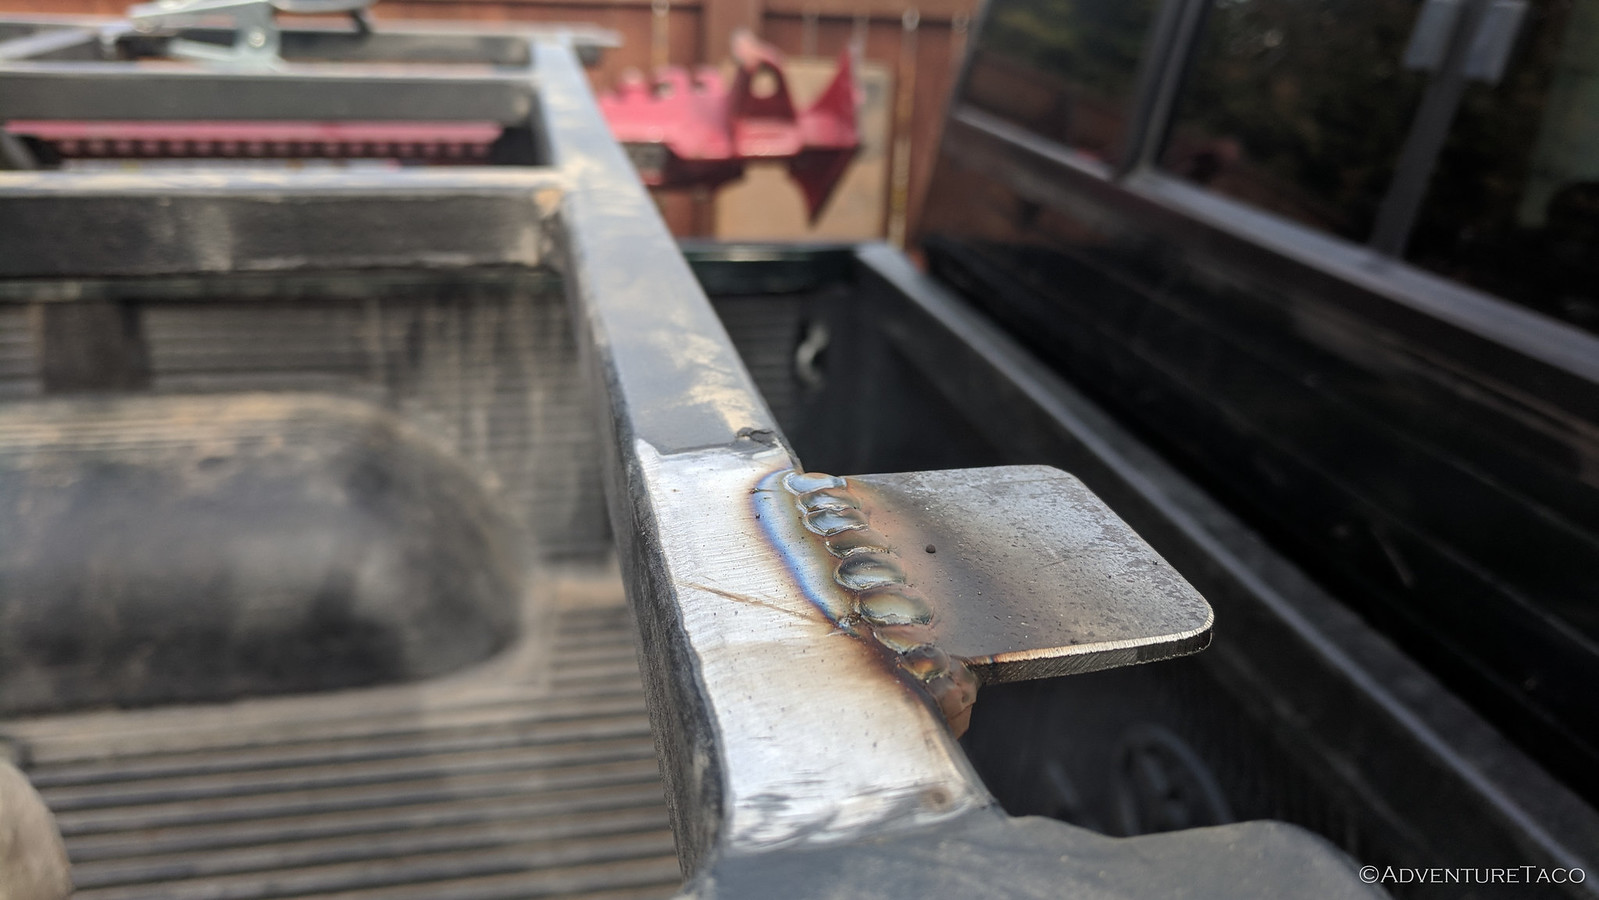

Now on the home stretch, I replaced the tent with the help of @mrs.turbodb and secured it with some 20mm M8 bolts and corresponding lock nuts. At 20mm long (just under an inch), these bolts were plenty long to engage the tabs and nuts but plenty short to stay above the bottom of the rail.
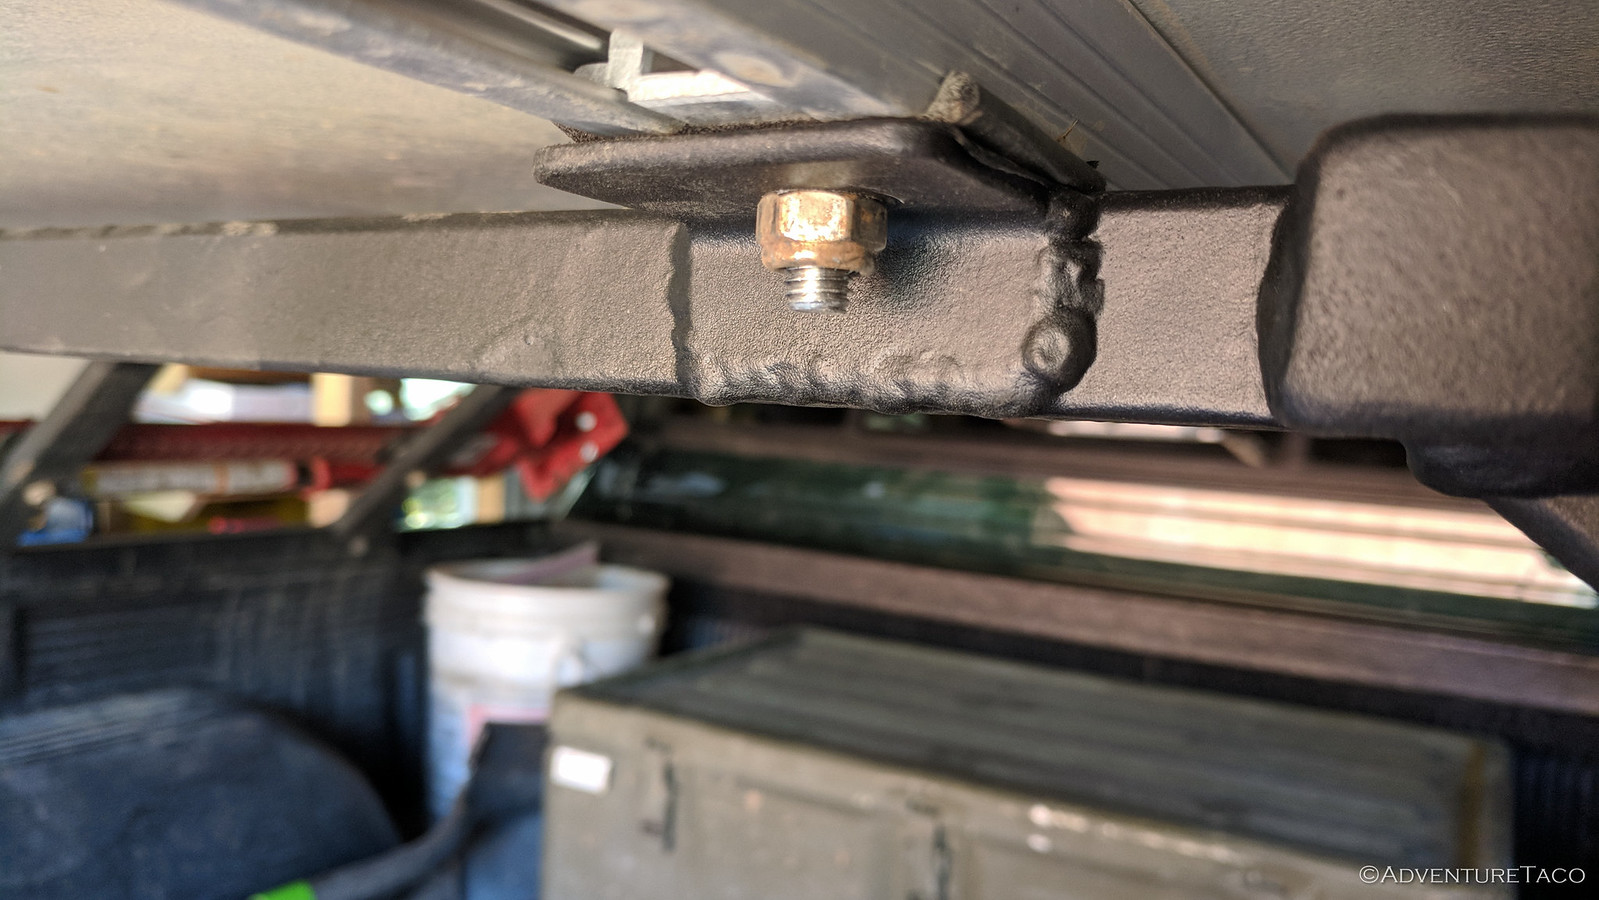
And with that, the bed rack modification was complete and everything seems to fit like a glove. I've got a trip coming up, so time will be the true judge as to whether this whole situation works better than what I had going on before.
I for one, obviously, hope it does!
PS. I sell the bed racks. Hit me up if you want one. If you've got a second or third gen, I'll do those too for the same price - if you're in the Seattle area and I can measure your truck.